Set Up Automated Welcome Flow for New Subscribers on Nudge
In this video, we will show you how to set up your first Welcome Flow on Nudge — so every new subscriber gets a warm, on-brand experience from the moment they sign up.
Introduce Welcome Flow Setup
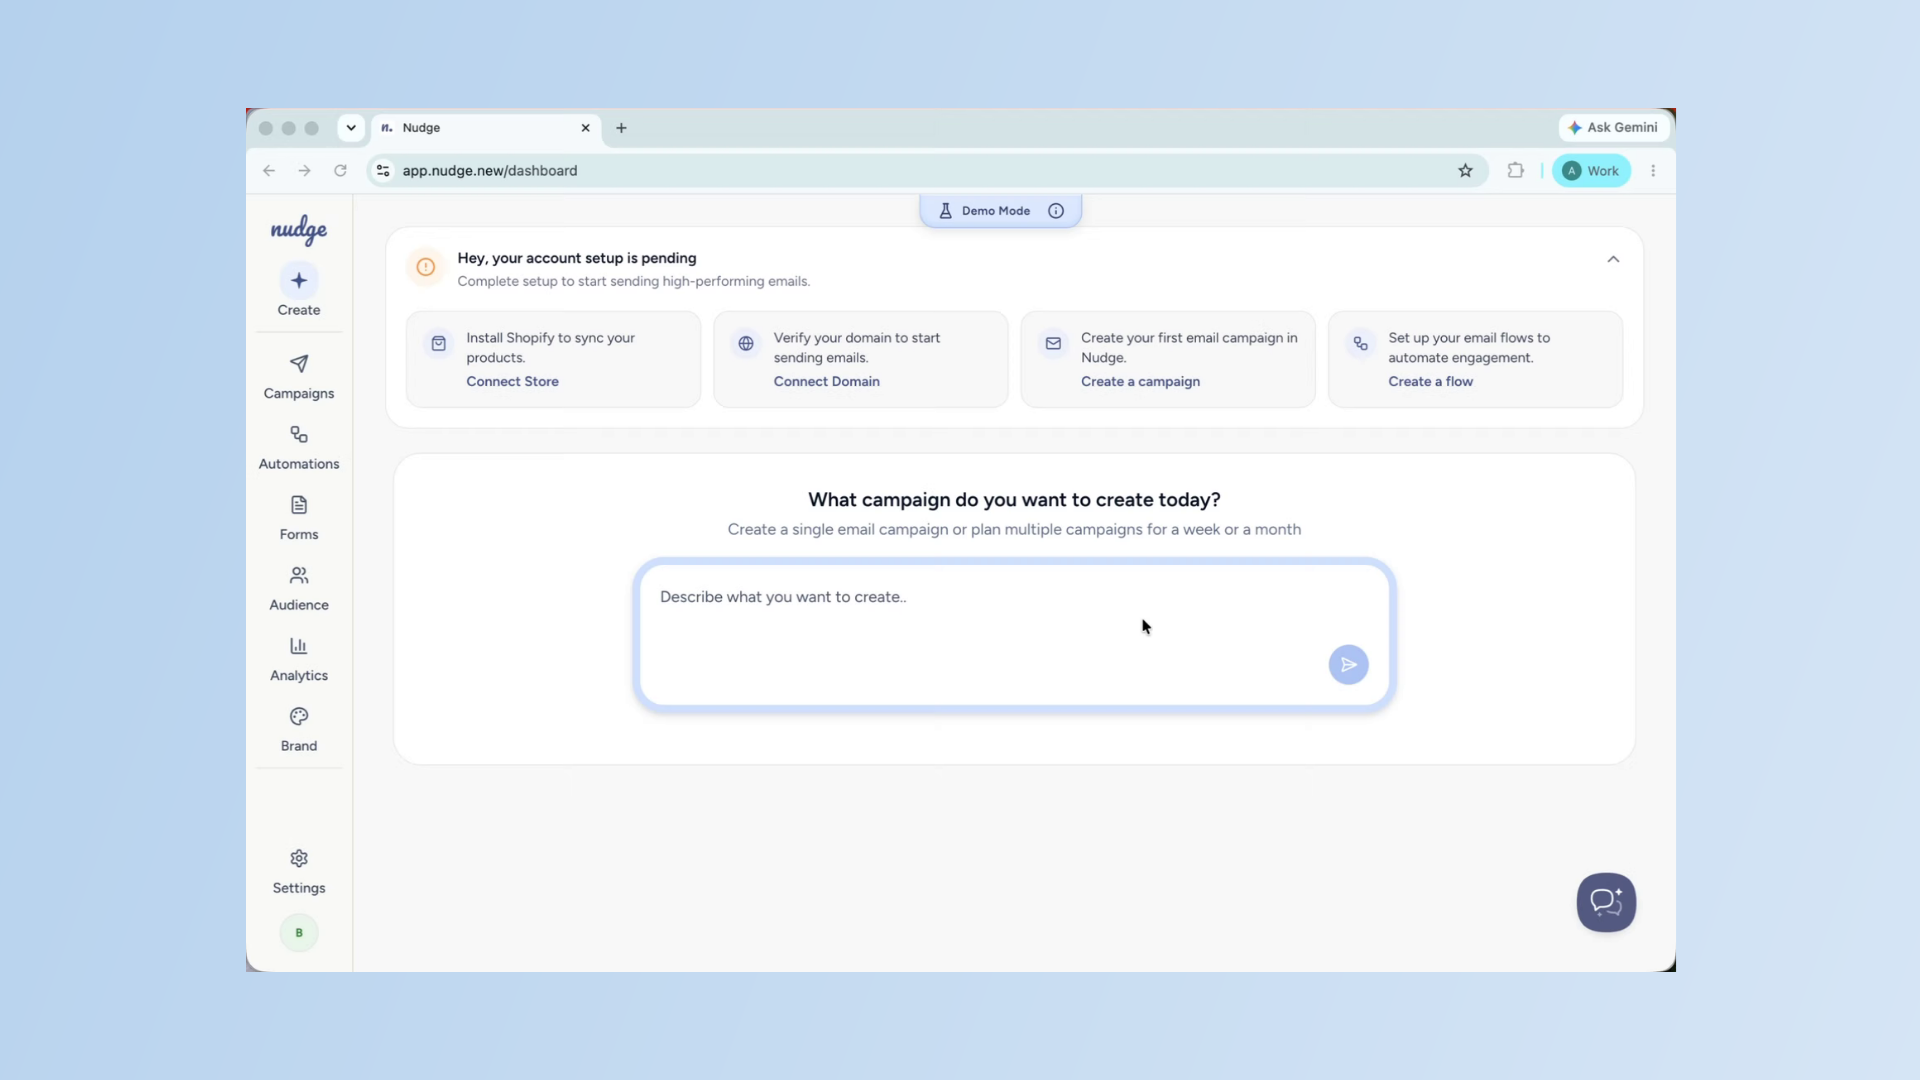
A Welcome Flow is the single most important automation you can set up for your store. It is the first thing a new subscriber hears from your brand, and getting it right sets the tone for the entire customer relationship. On Nudge, setting one up takes just a few minutes. Let's do it.
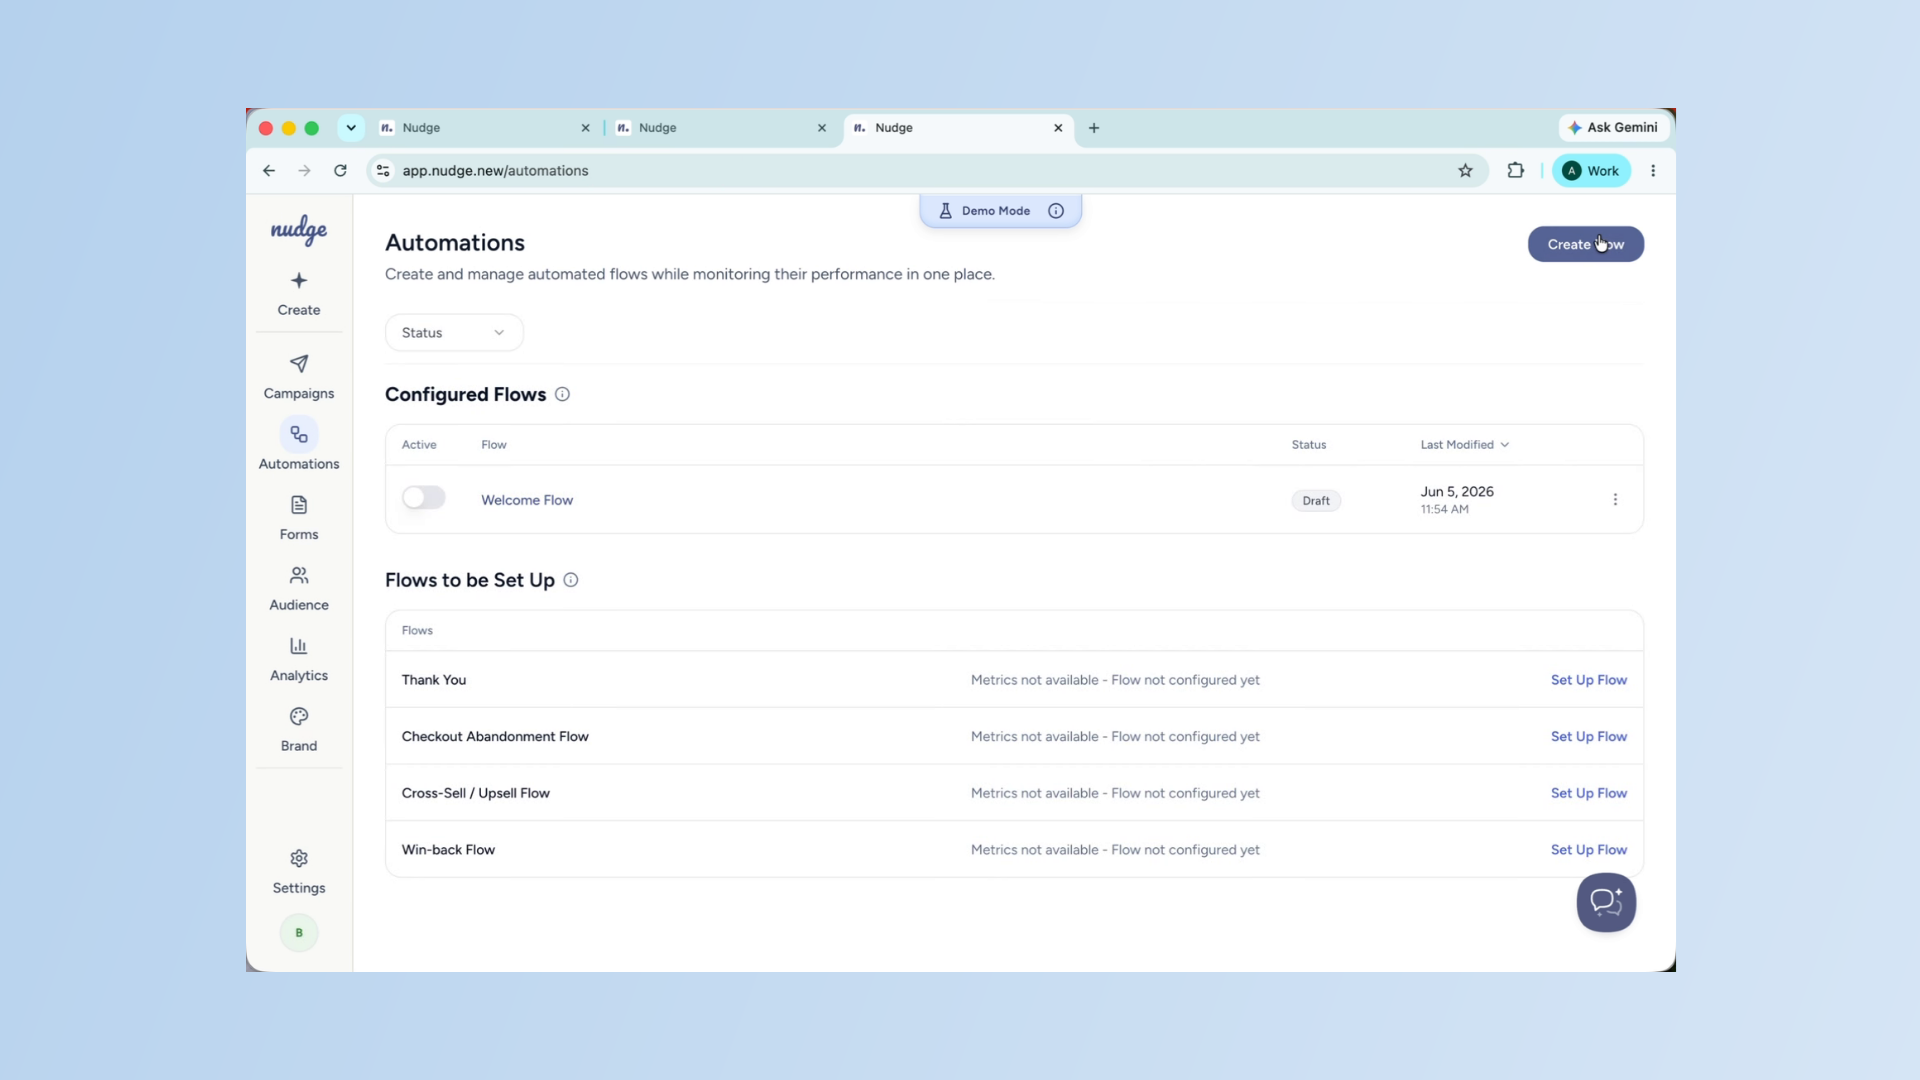
Access Flow Setup Options
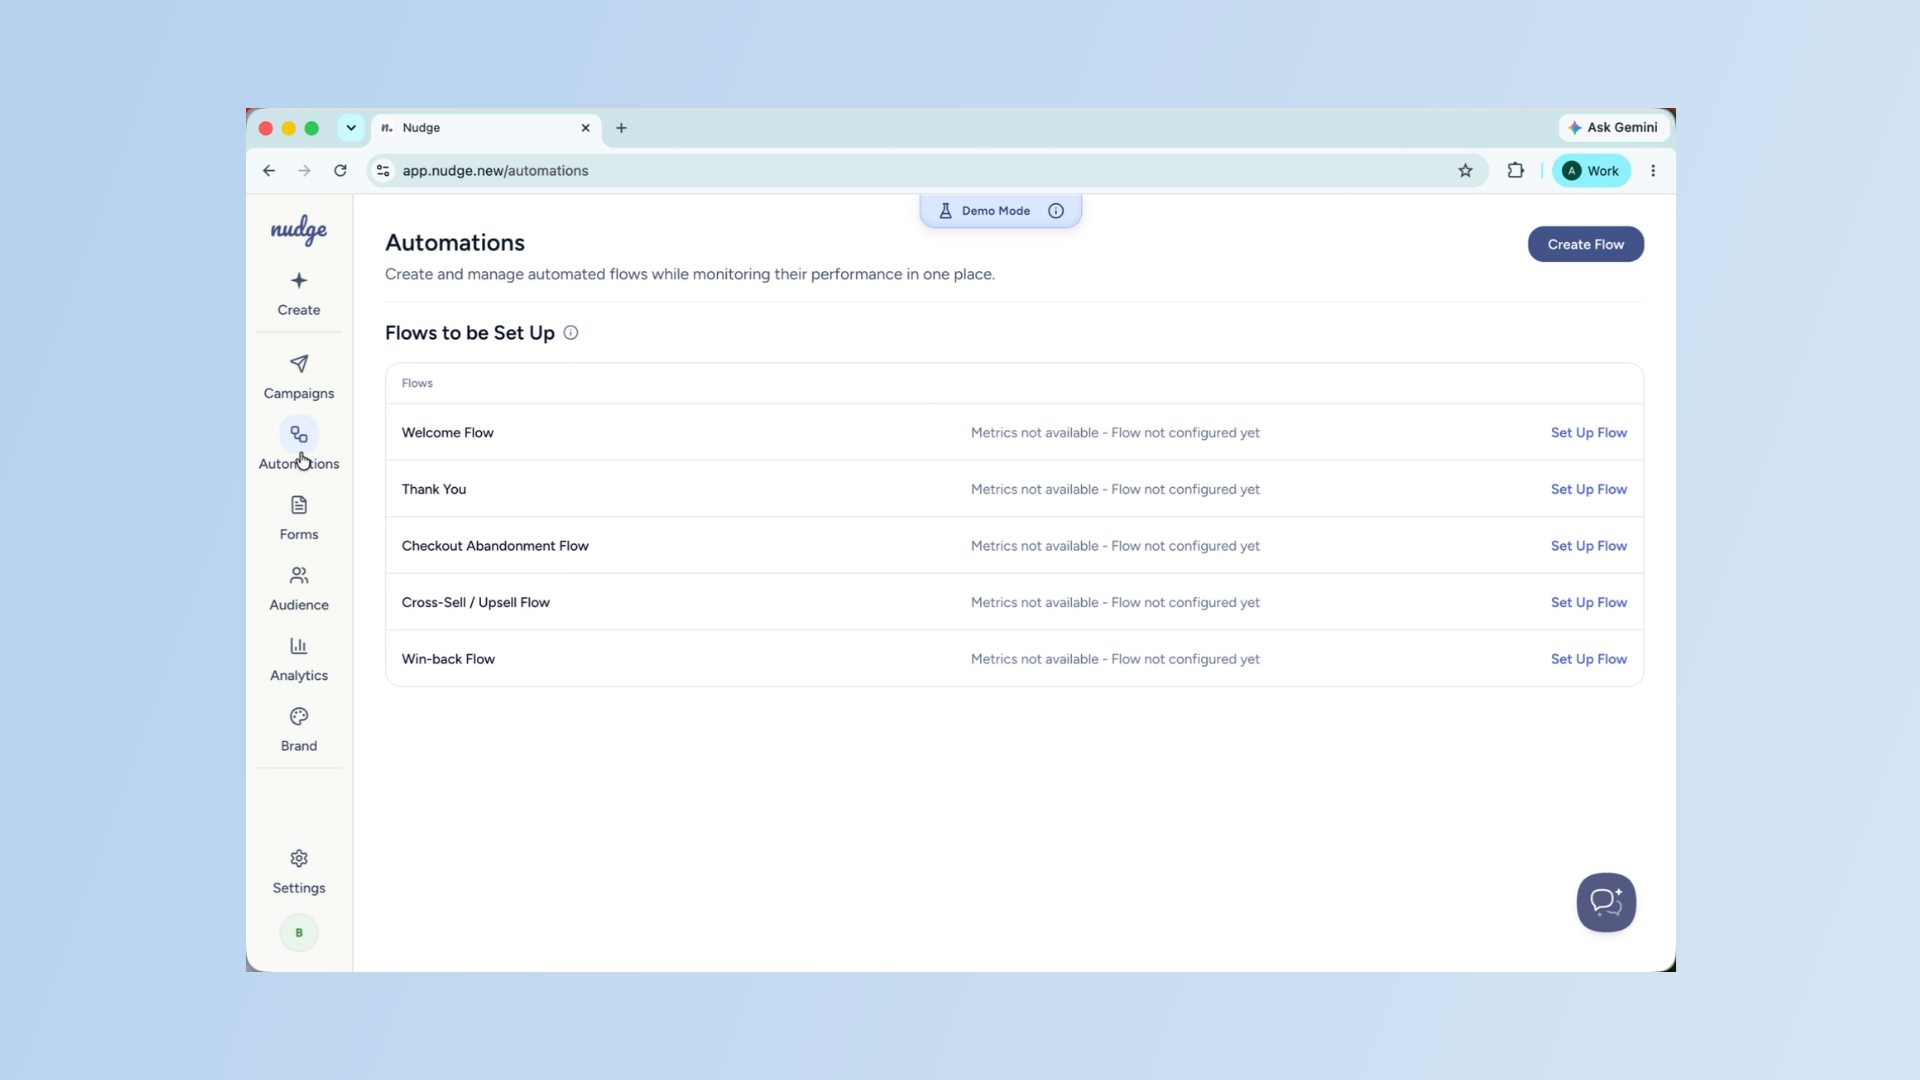
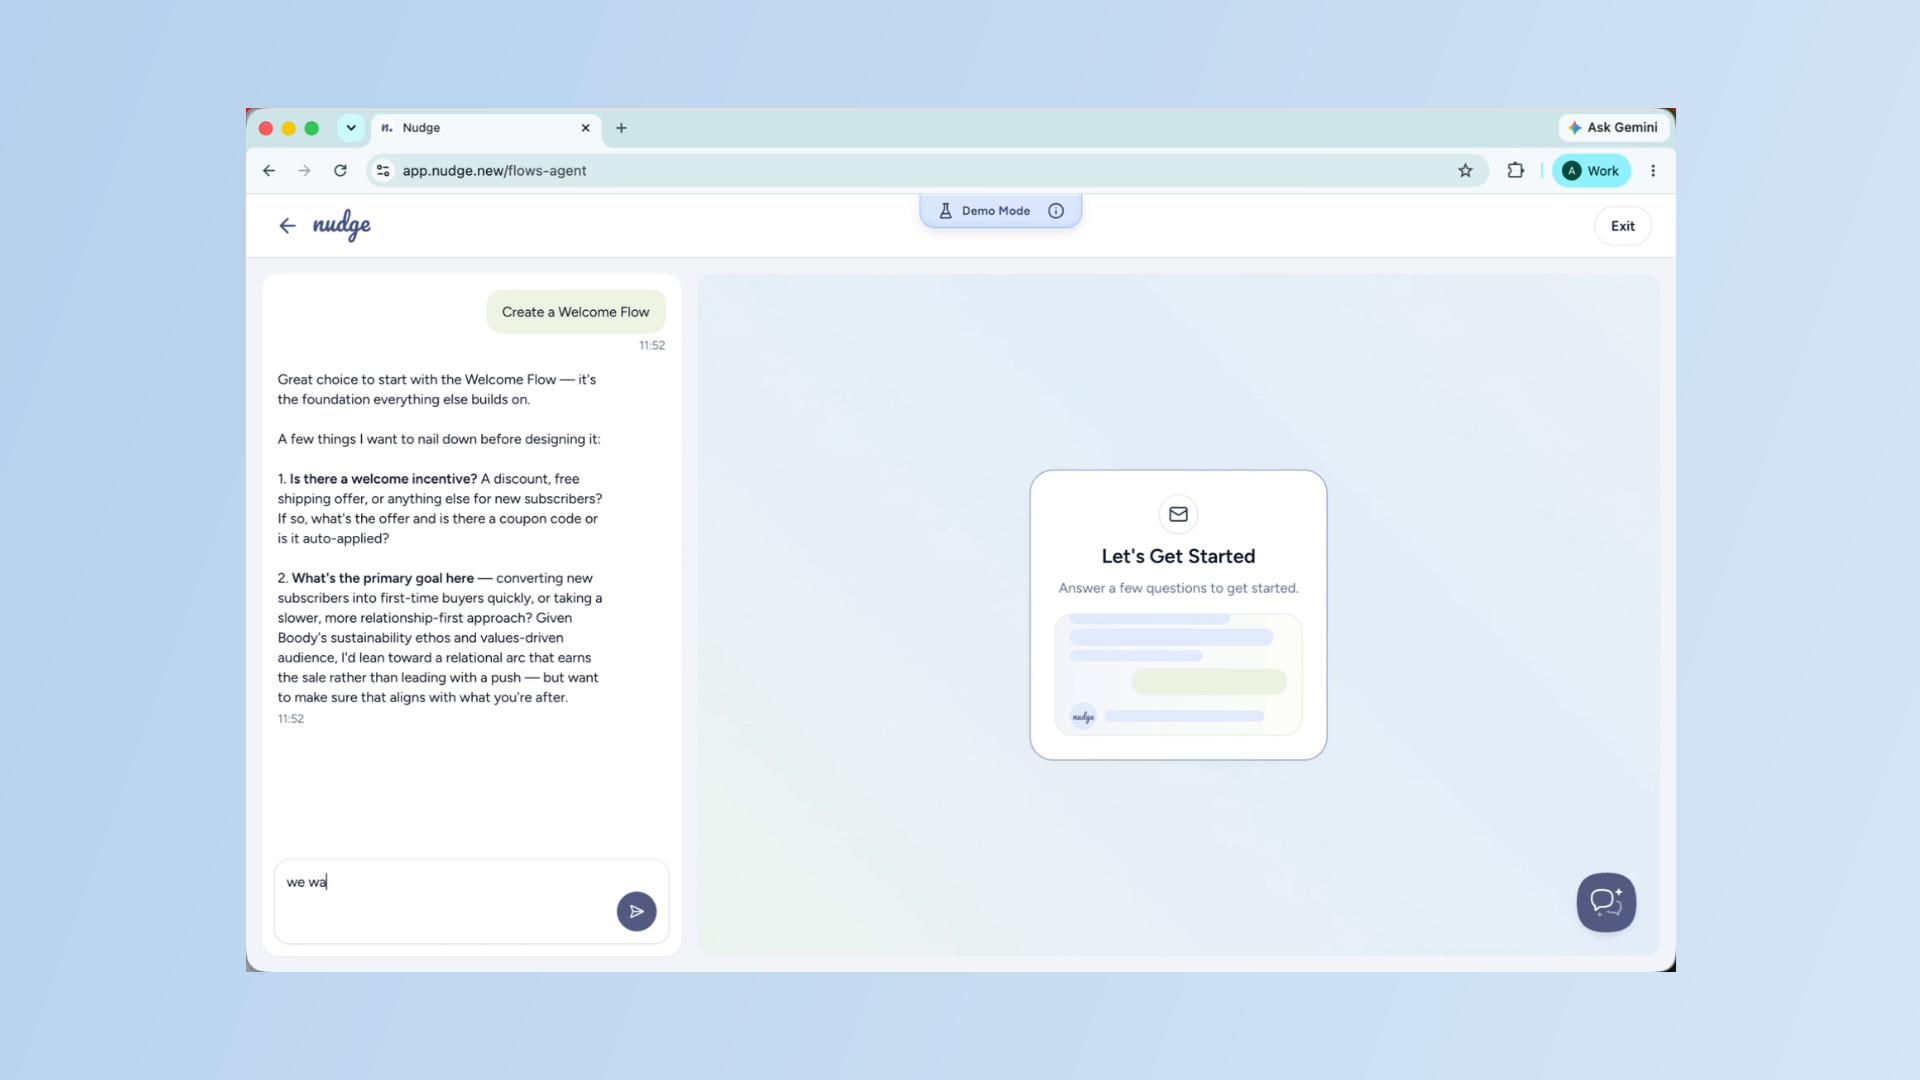
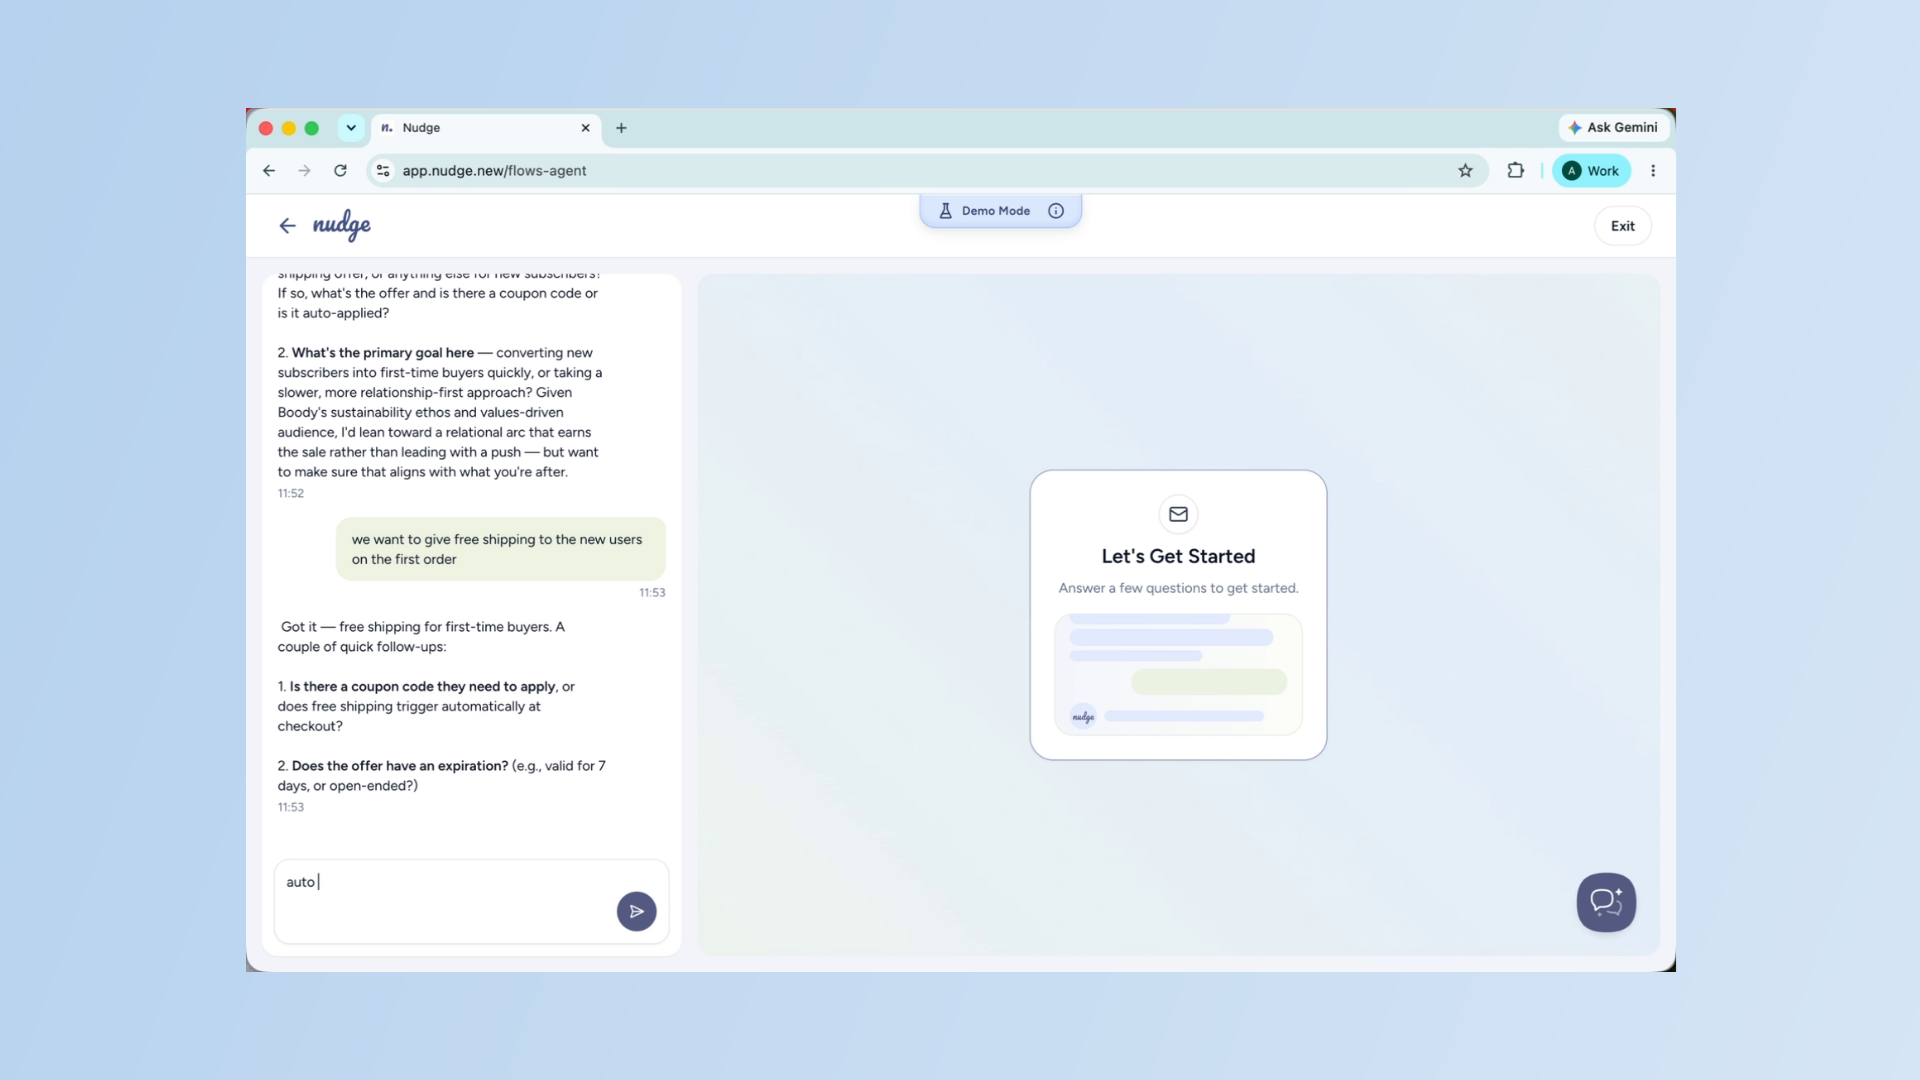
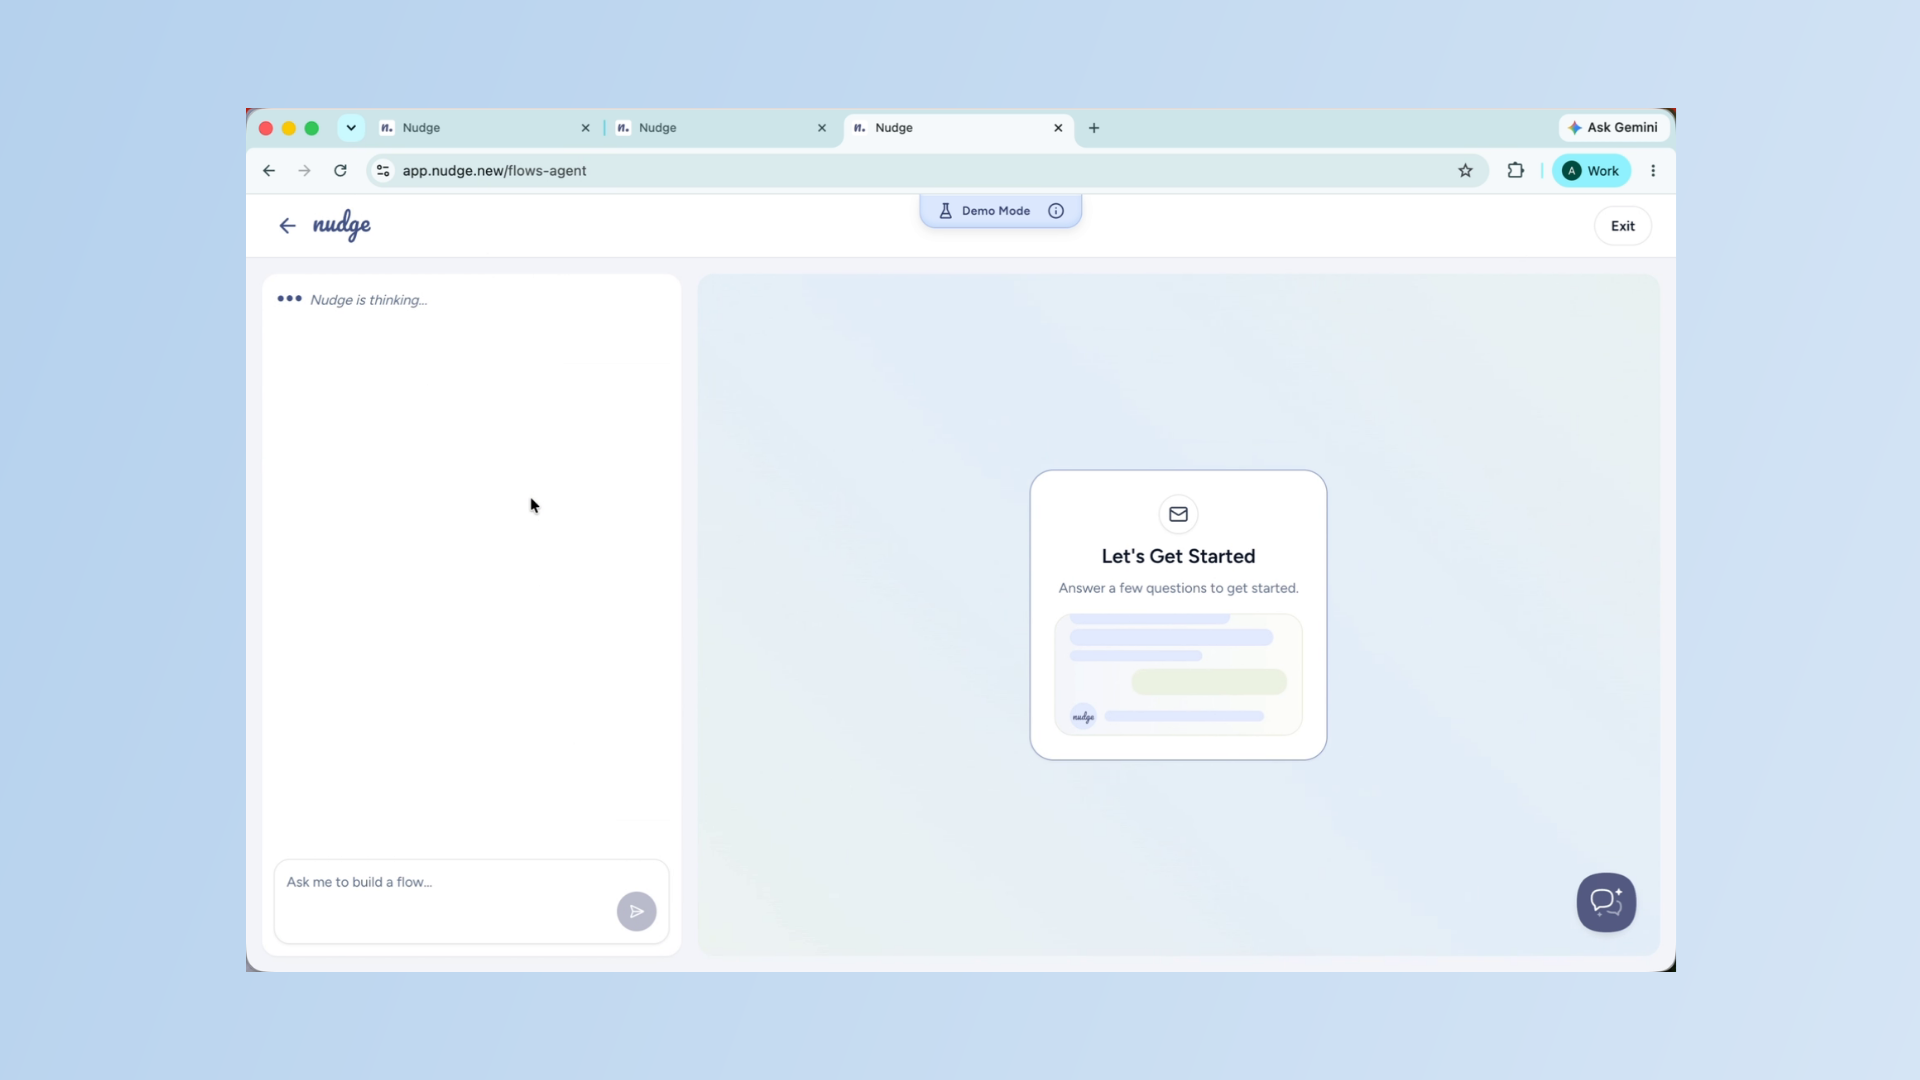
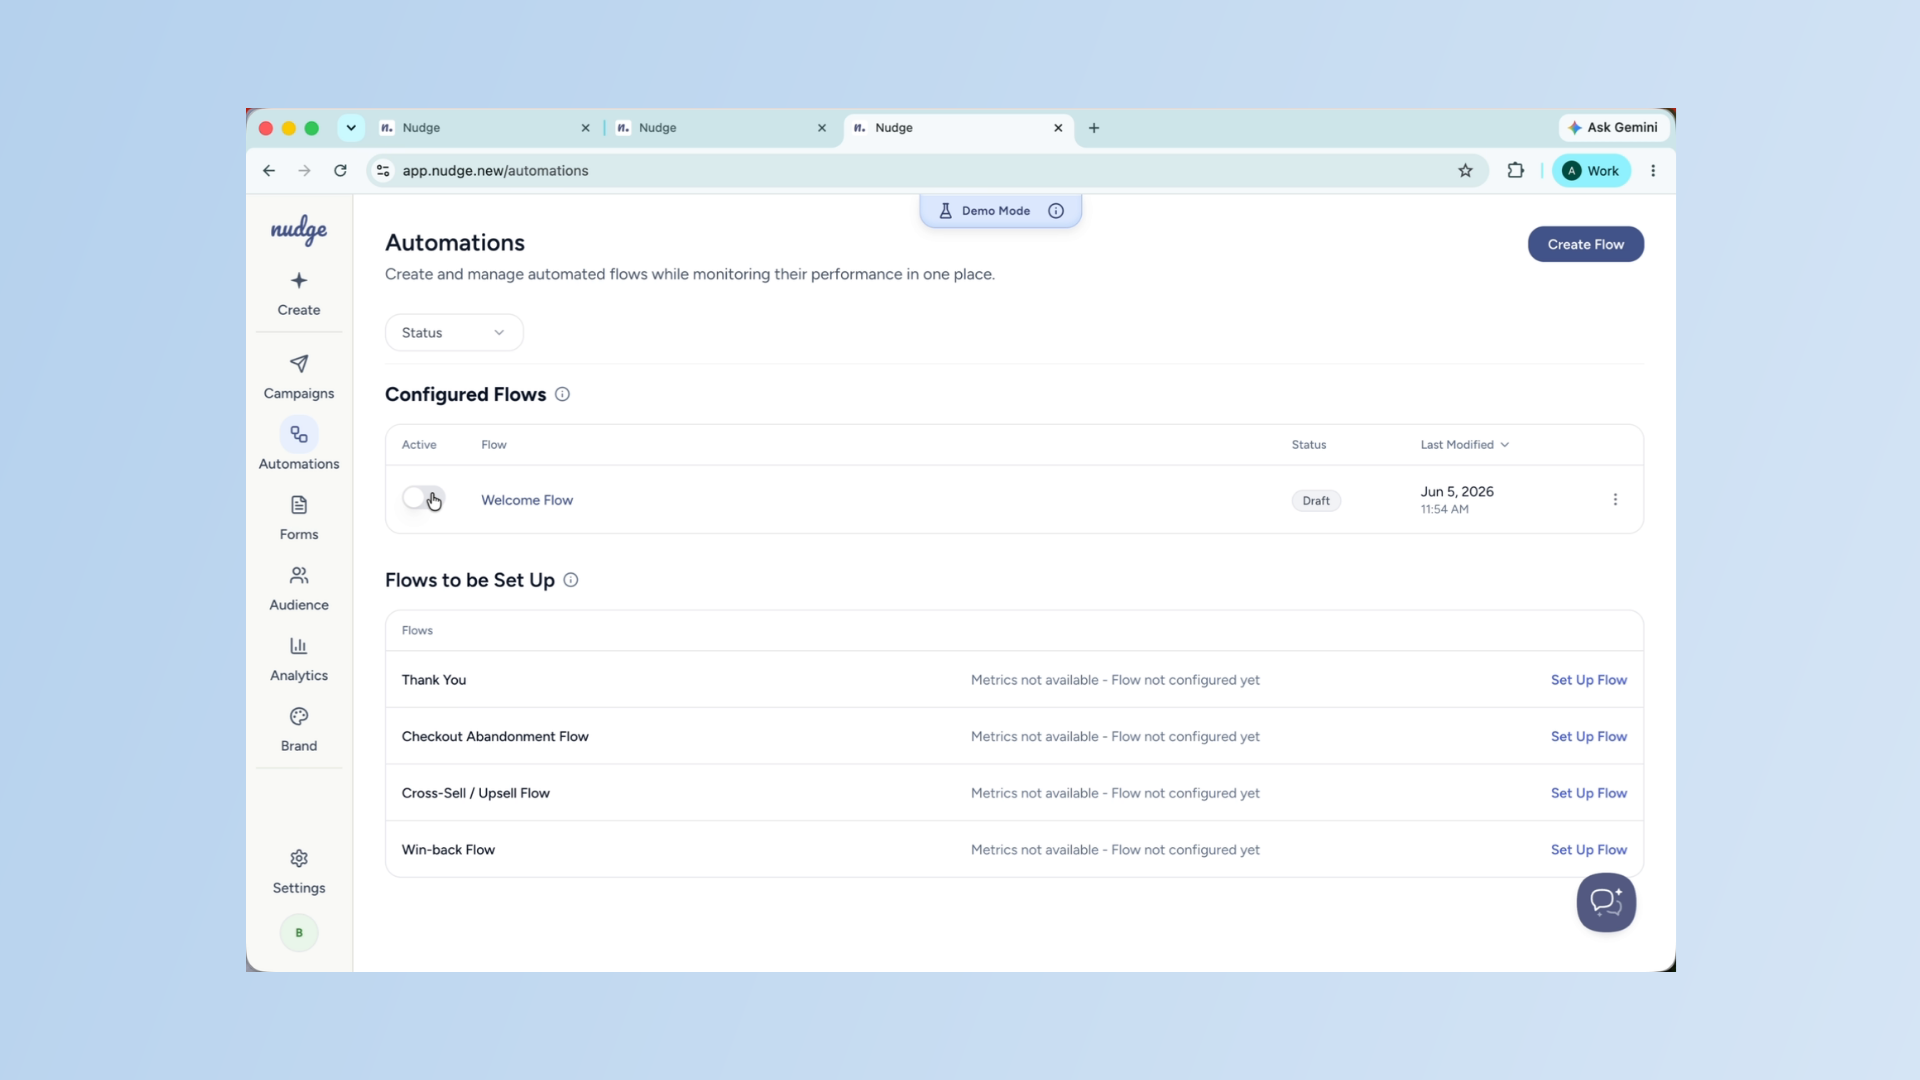
From the dashboard, click on Automations in the left panel. This is where all your flows live. Click Set Up Flow to get started and choose Welcome Flow from the available options. Just like creating a campaign, you start by giving Nudge some context. Tell it about your brand, who you are targeting, and what you want to offer new subscribers.
Define Welcome Offer
For example — 'We want to welcome new subscribers with free shipping on their first order.'
Define Welcome Offer - Segment
The agent will use this to shape every email in the flow.
Confirm Initial Setup - Segment
Enter Flow Details
Enter the necessary details to customize your welcome flow according to your brand and goals.
Express Gratitude
Thank you.
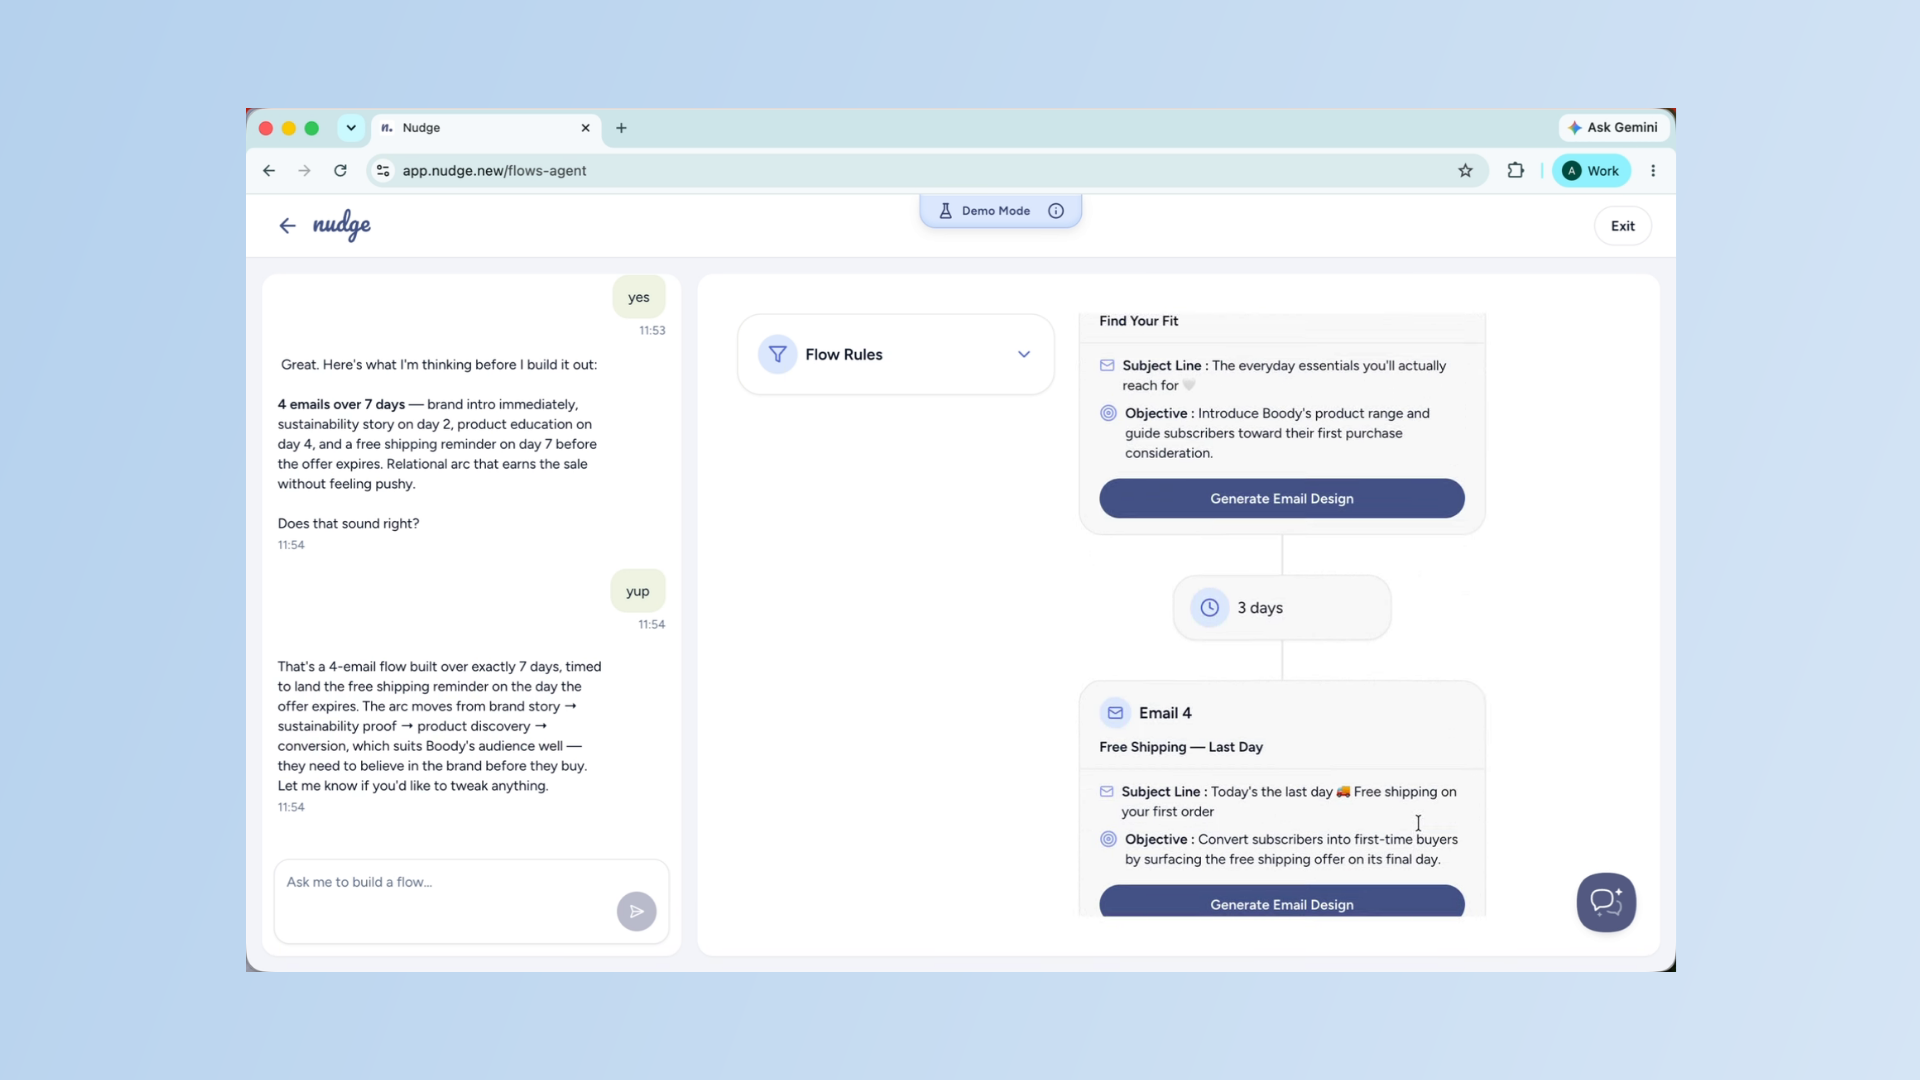
Review Flow Structure
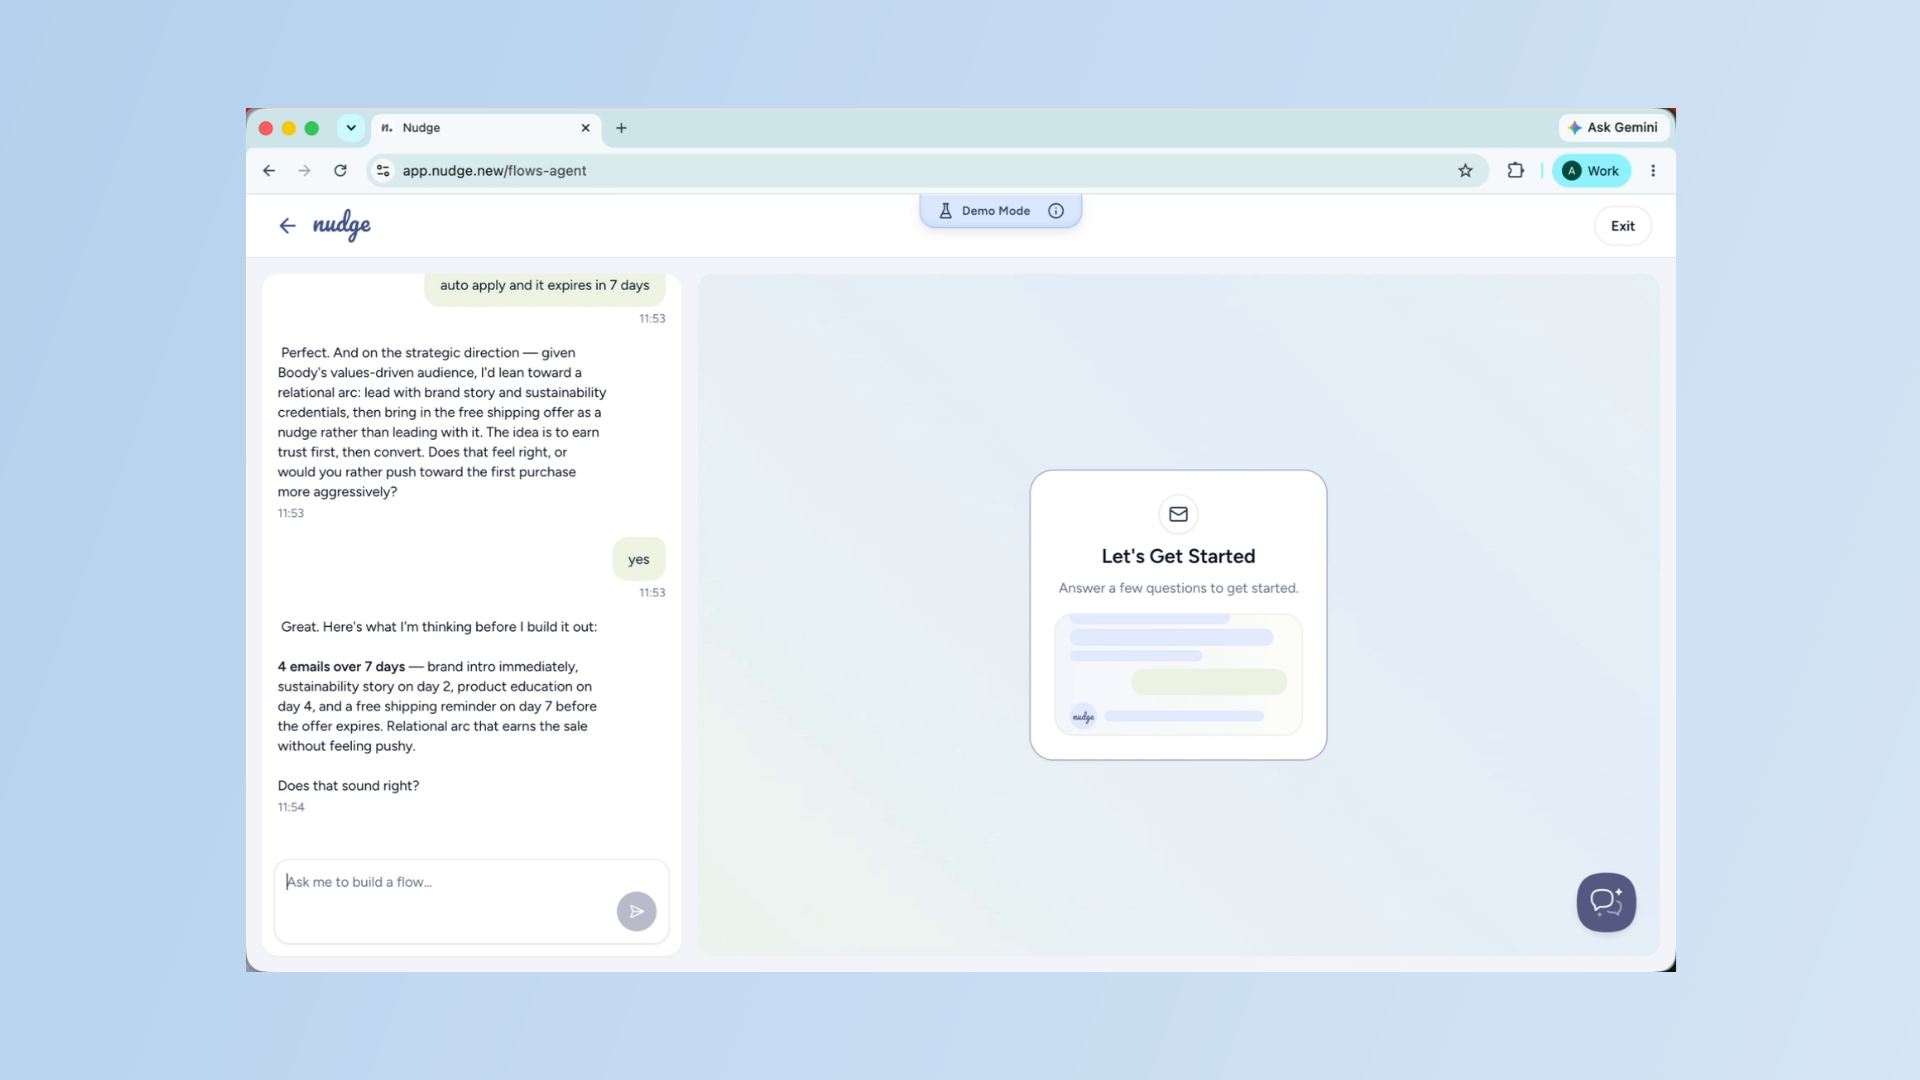
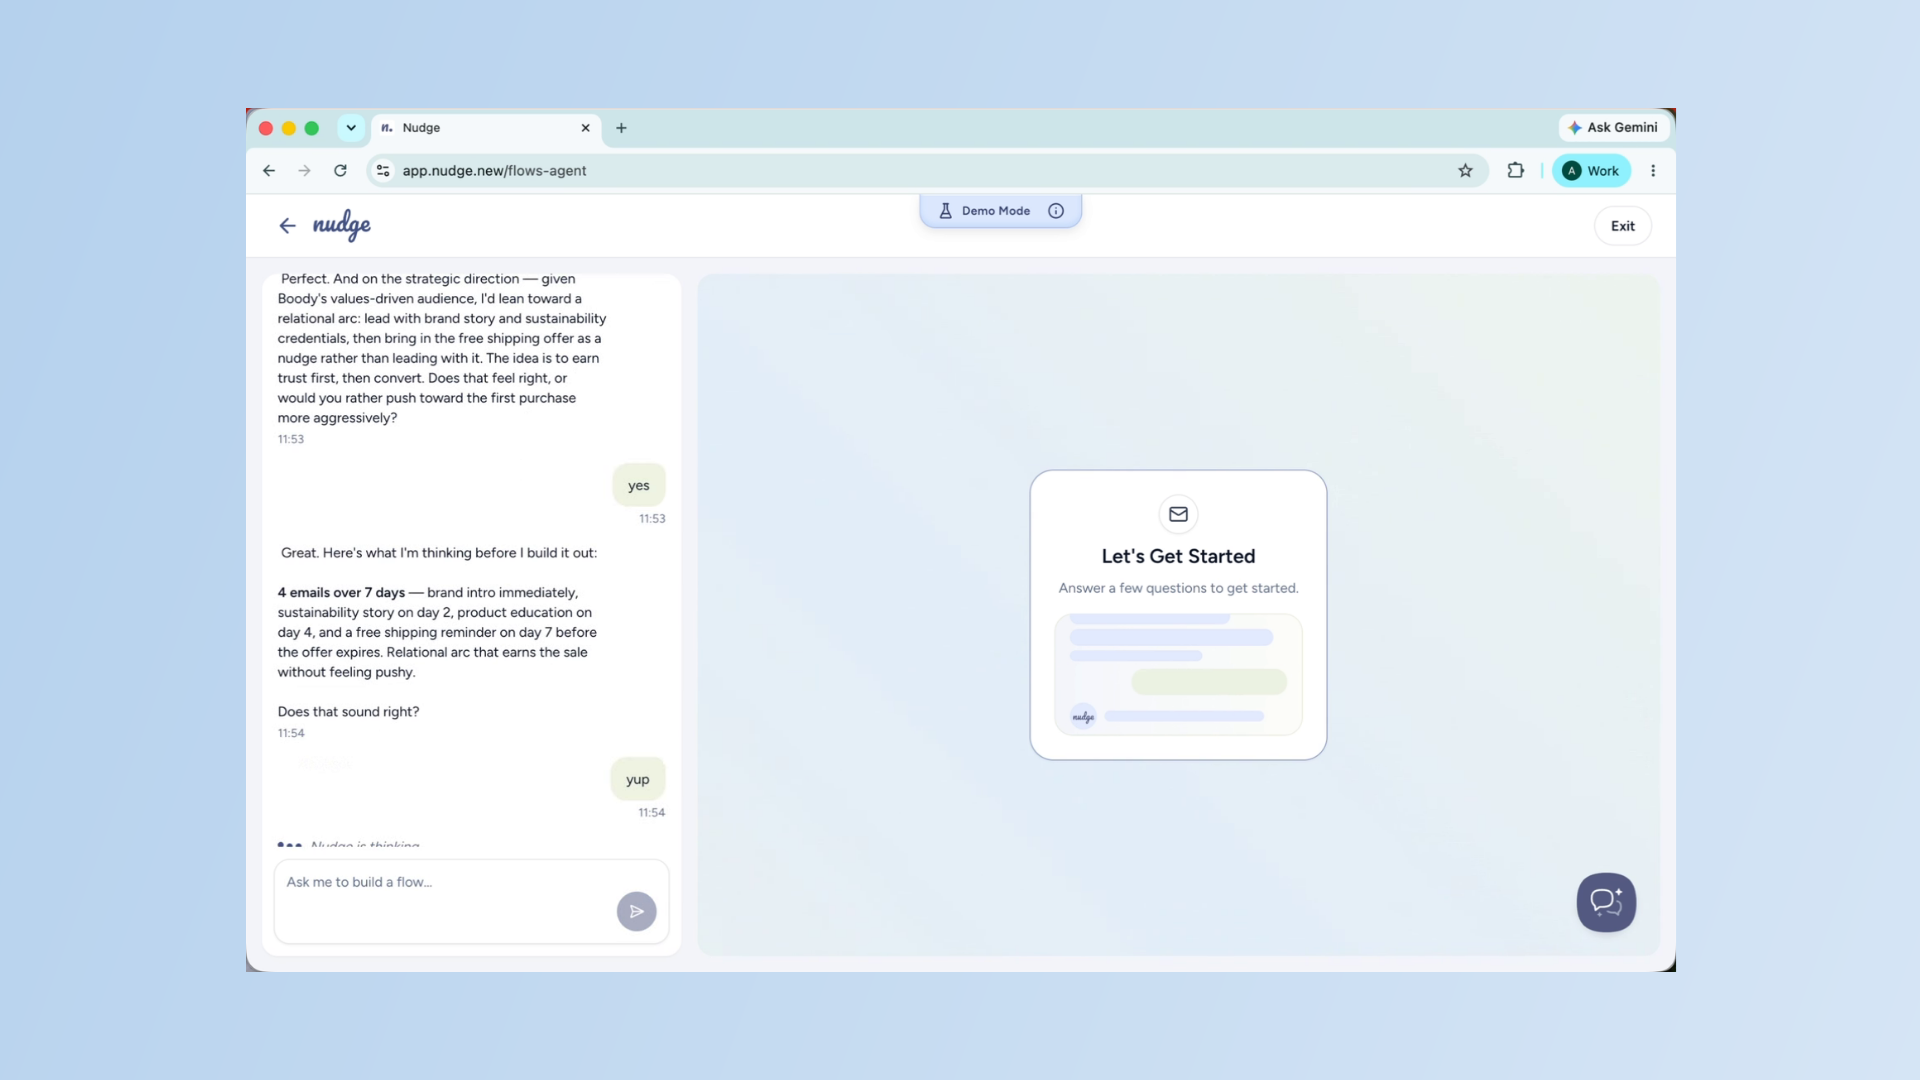
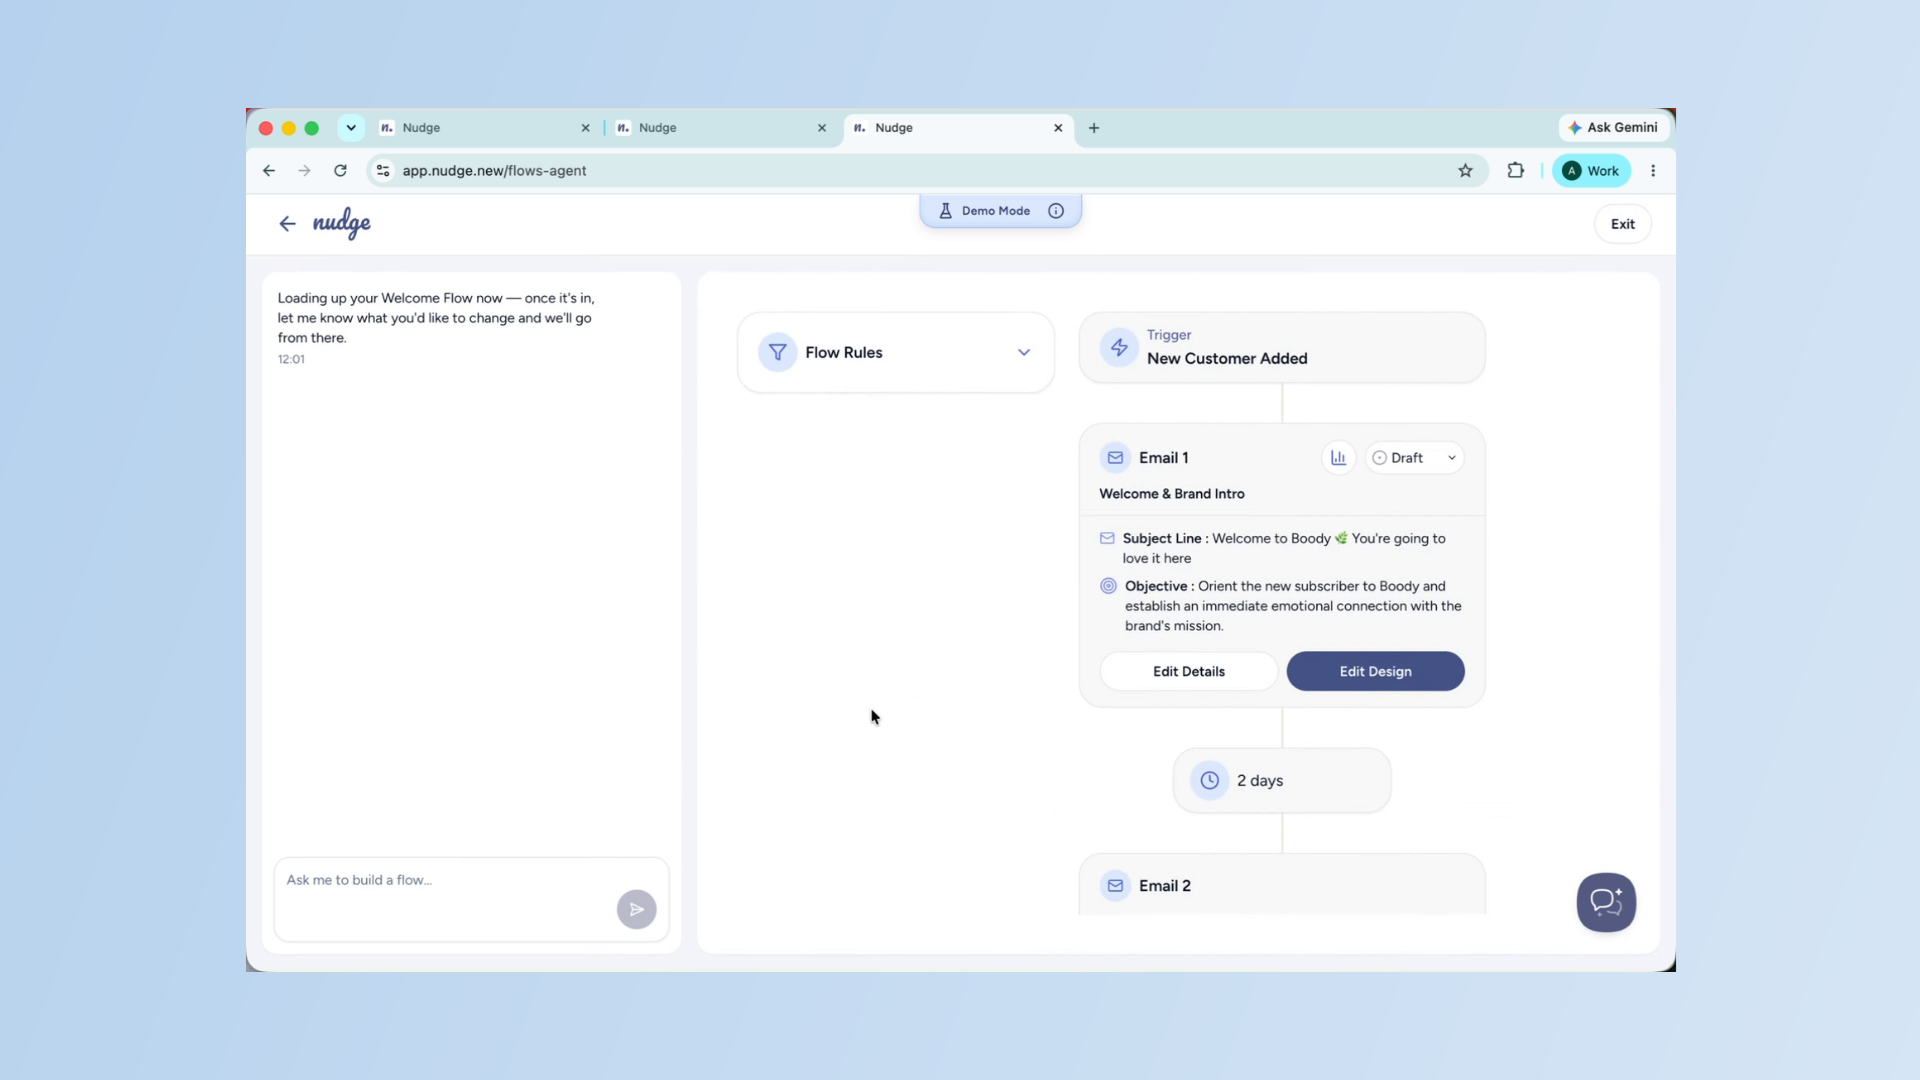
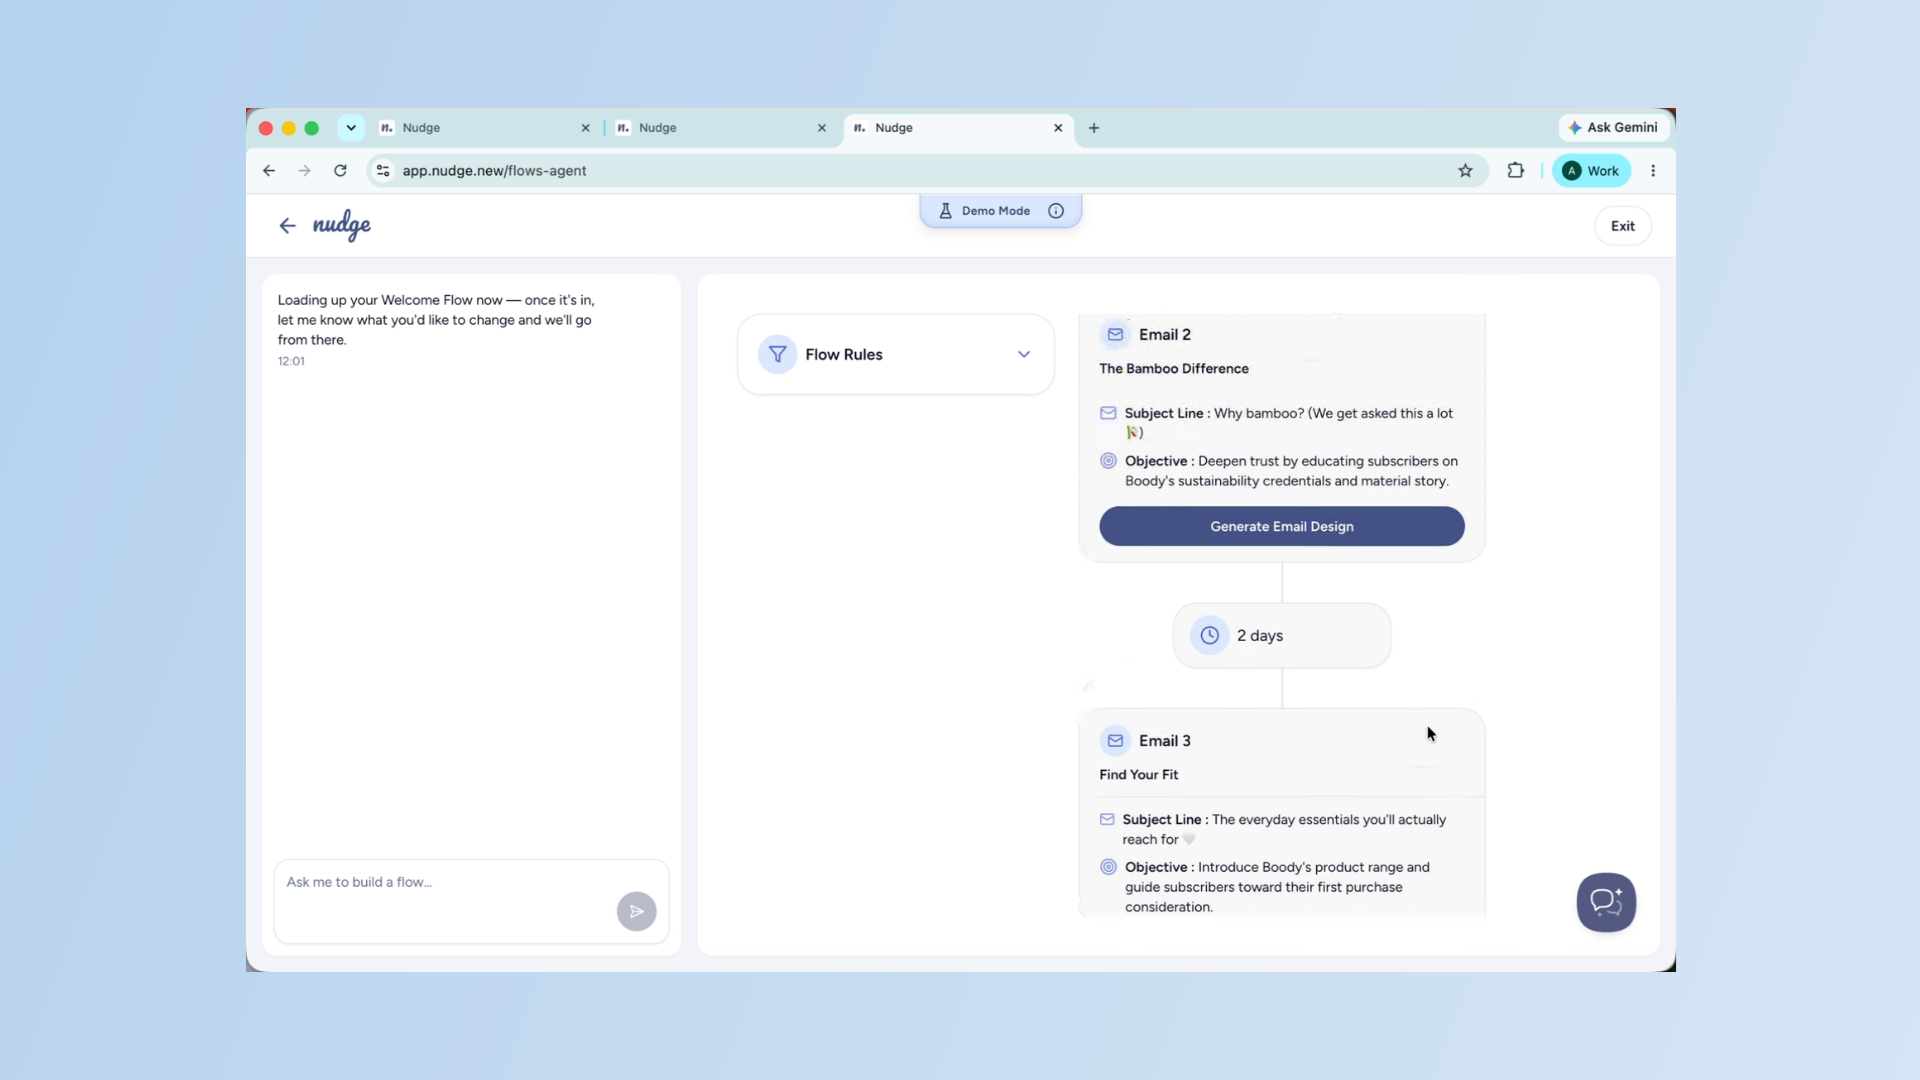
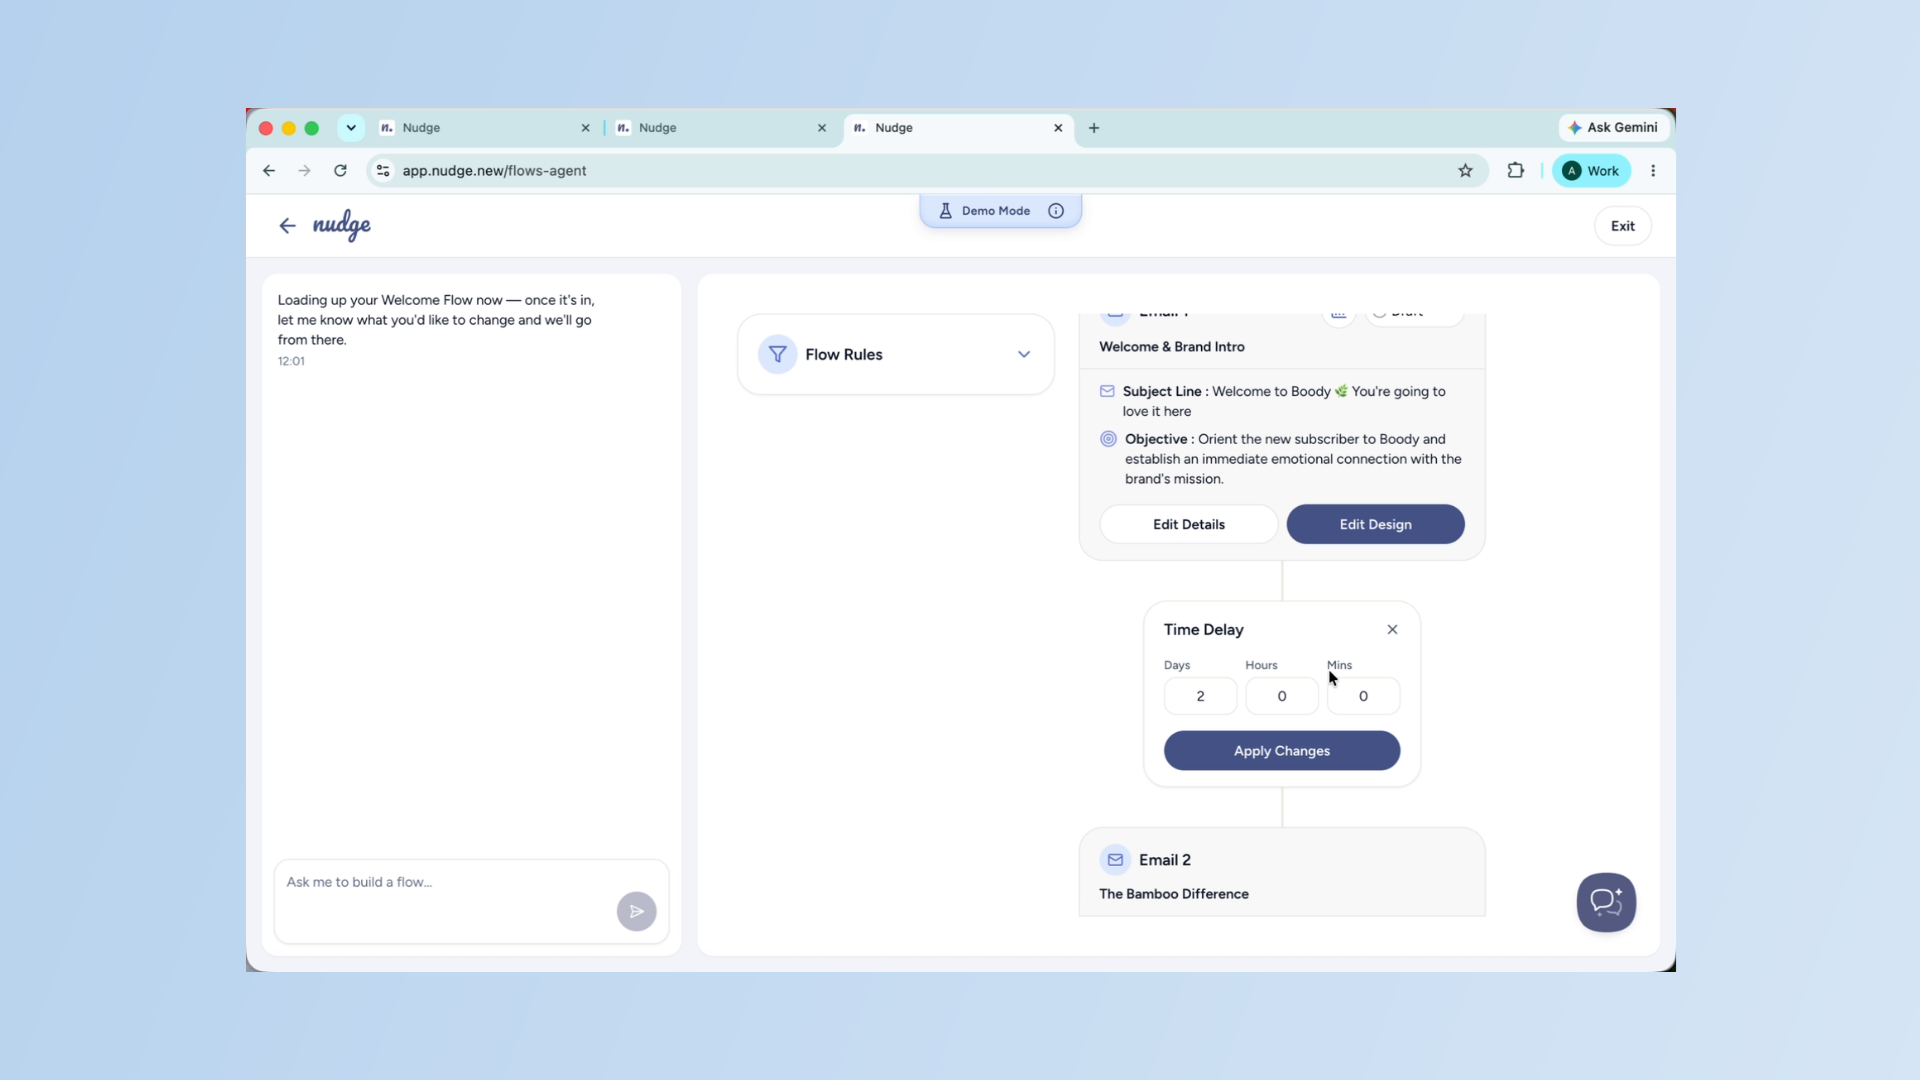
After interacting through the chat, Nudge will lay out the full flow — how many emails, what each one covers, and the timing between them.

Review Flow Structure - Segment
A typical Welcome Flow has three to four emails spread across the first week. Review this carefully and adjust anything that does not feel right before moving on to design.
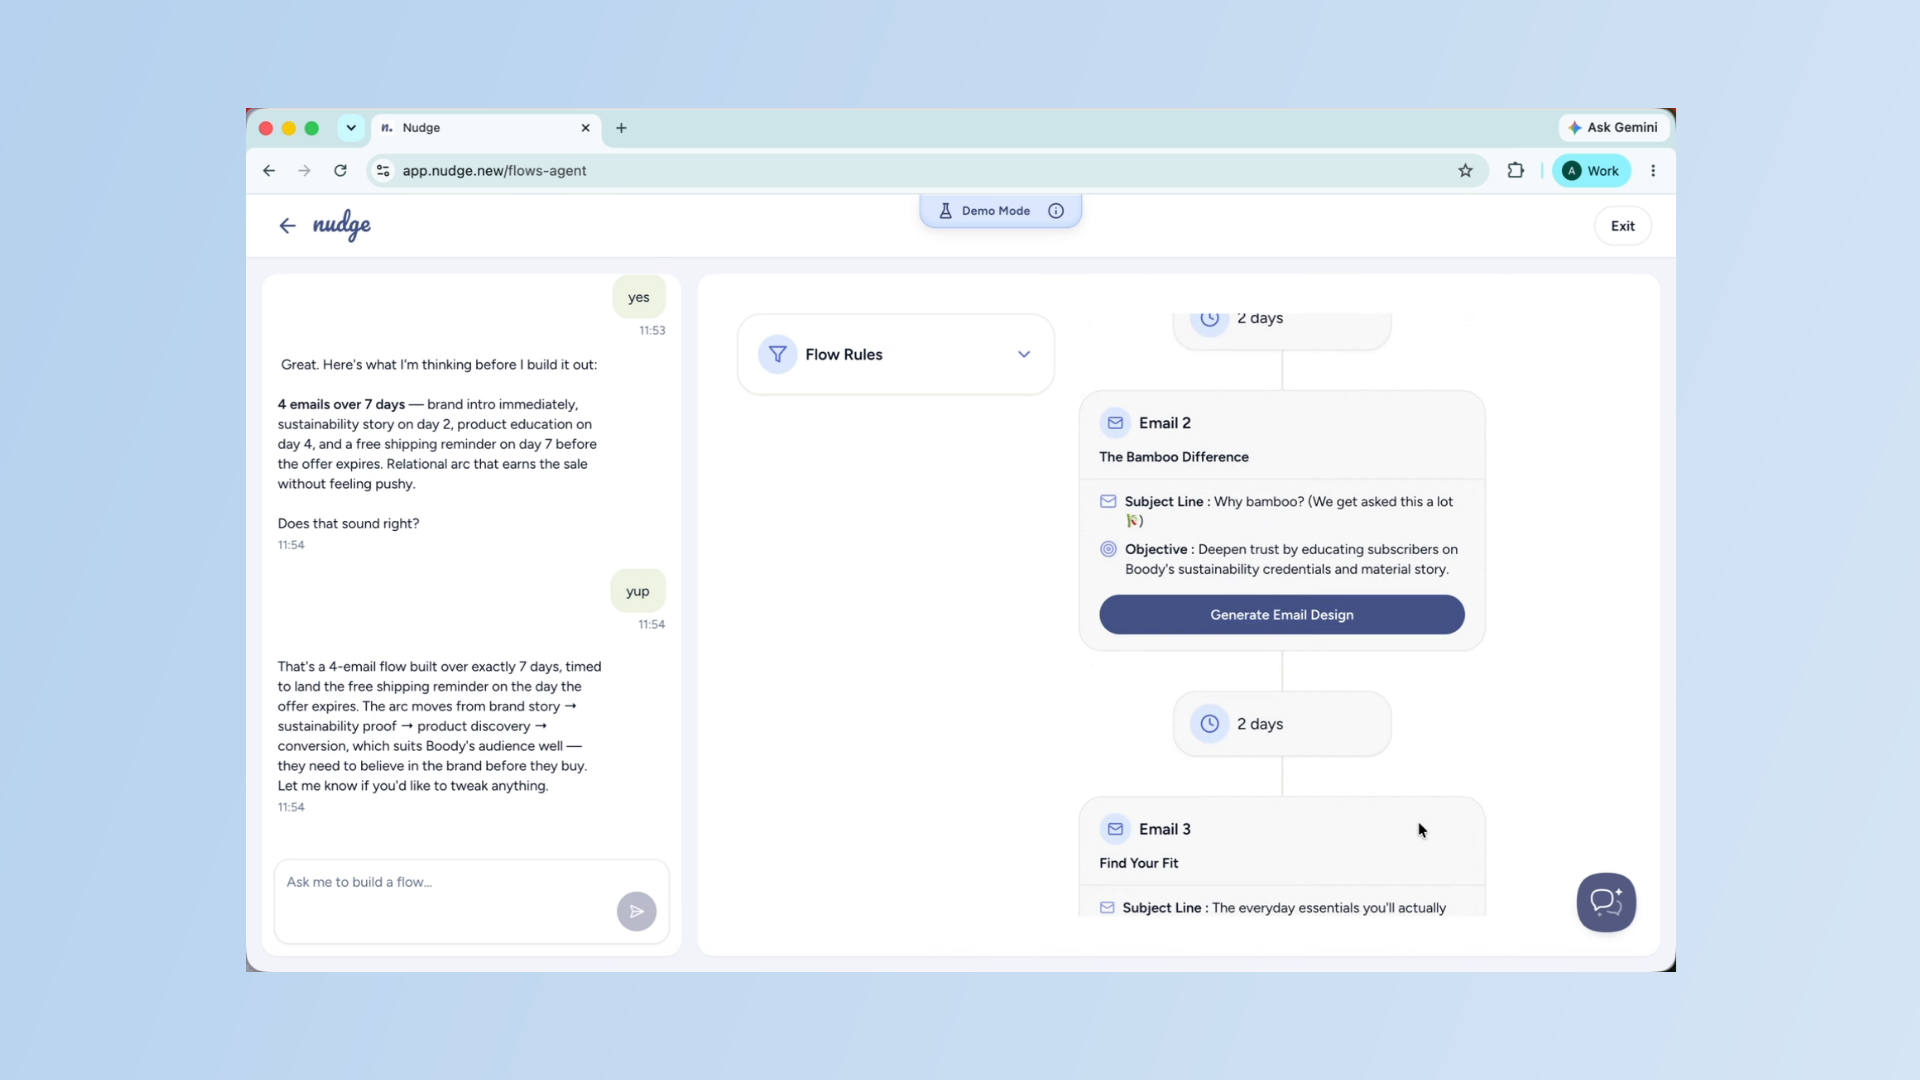
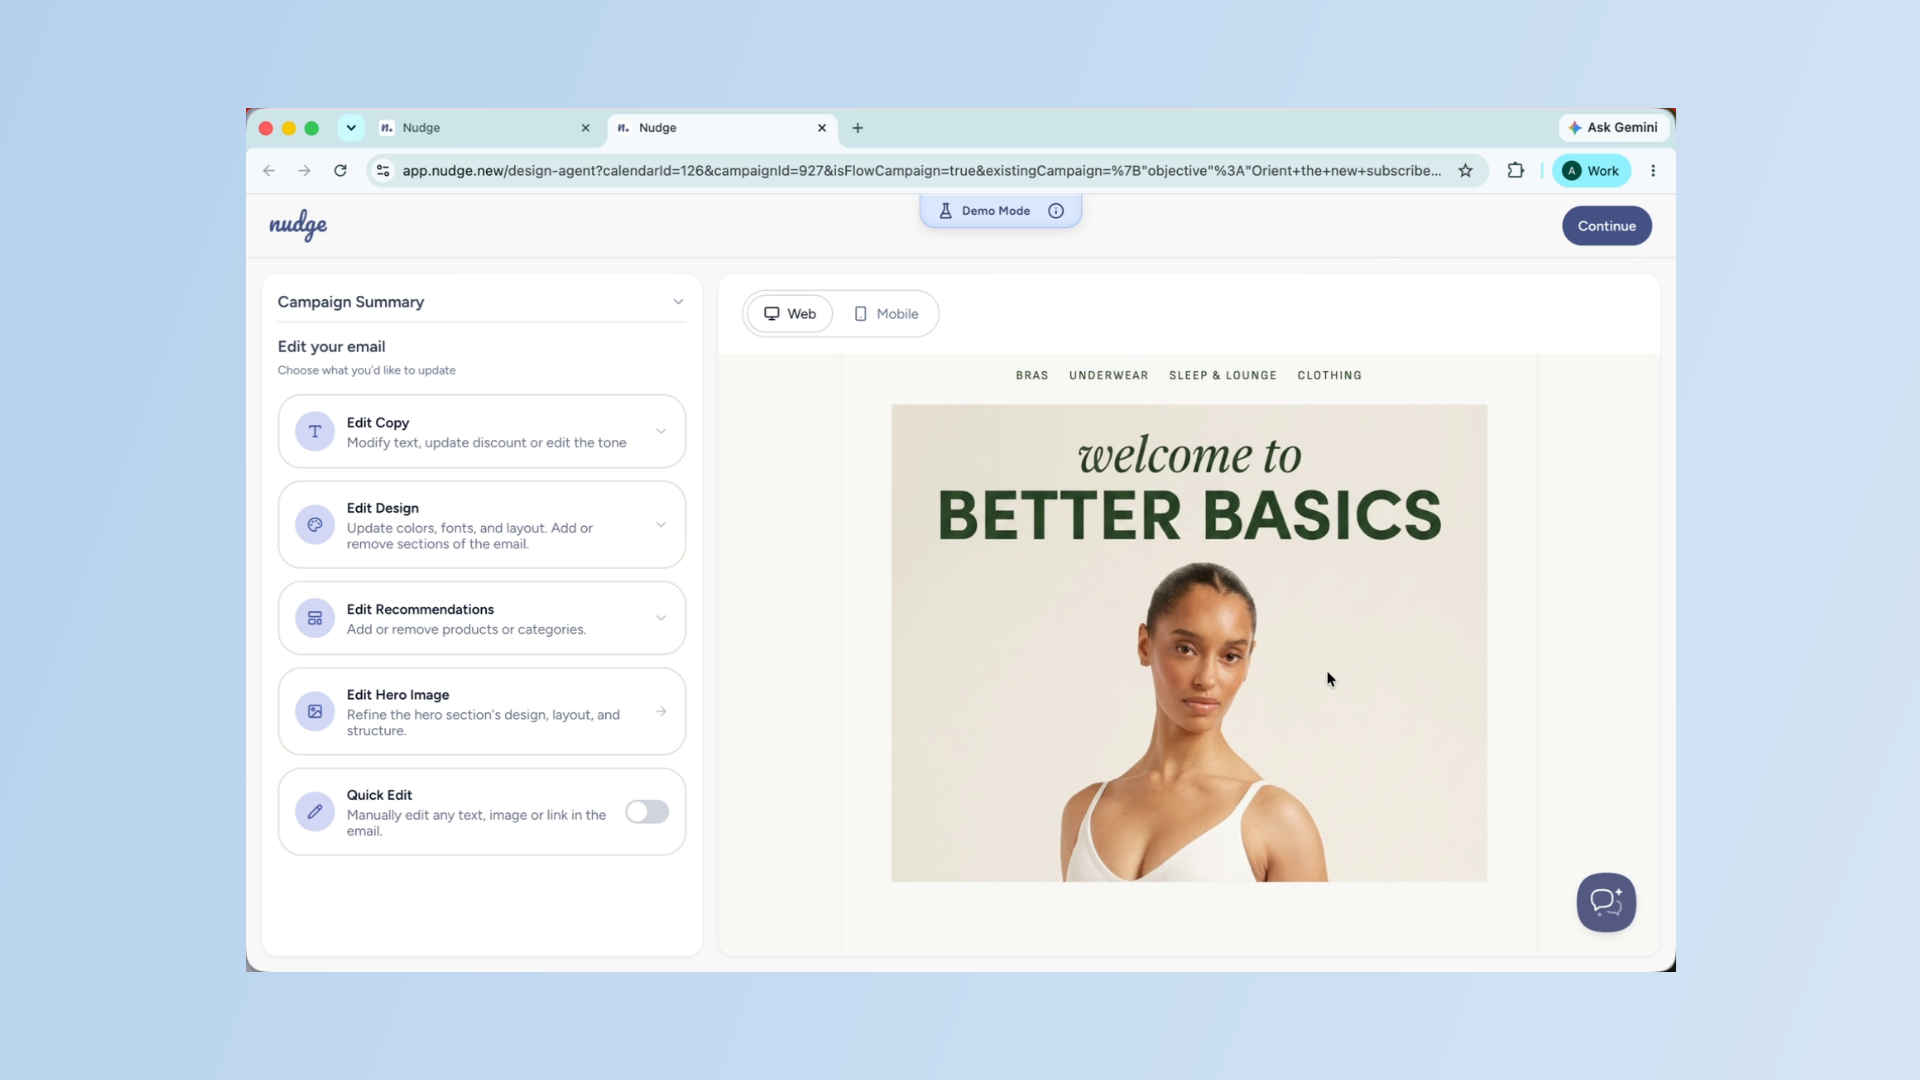
Generate Email Design
Now it is time to design the emails. Click Generate Email Design for the first email in your flow. Nudge will build it using your brand assets and flow brief.
Acknowledge Progress
Once the design loads, you will see the same editing panel you use for campaigns — with all the same options available to you.

Edit Email Copy
Let me quickly walk you through the five options you see on the left panel and their functions. Use Edit Copy to fine-tune the text in your email — the body copy, headings, subject line, CTA, and tone. For a Welcome Flow, the first email especially should feel personal and warm. Make sure the copy sounds like your brand and clearly communicates the offer or benefit you promised when they signed up.
Adjust Email Design
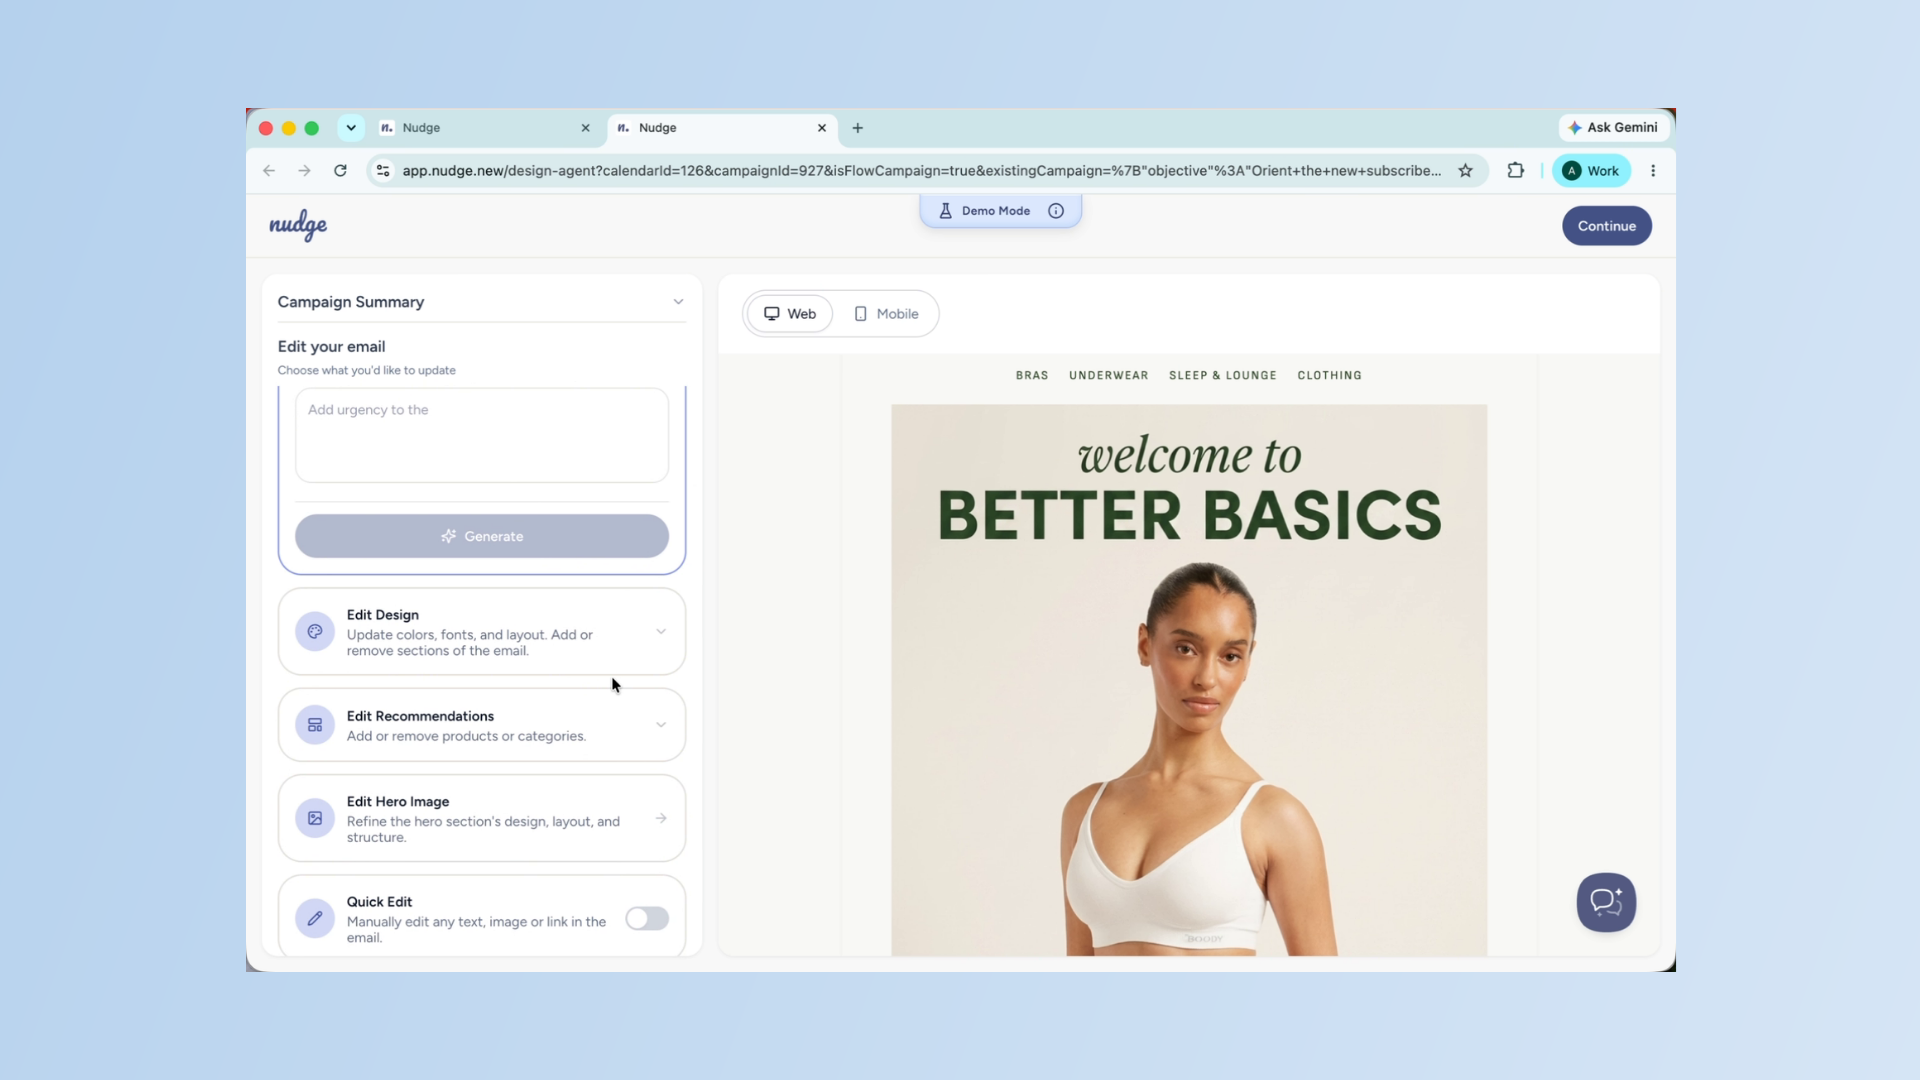
Use Edit Design to adjust the visual layout — colours, fonts, block structure, and sections. If you want to add a personal message block at the top or remove a section that does not feel relevant for a welcome email, this is where to do it.
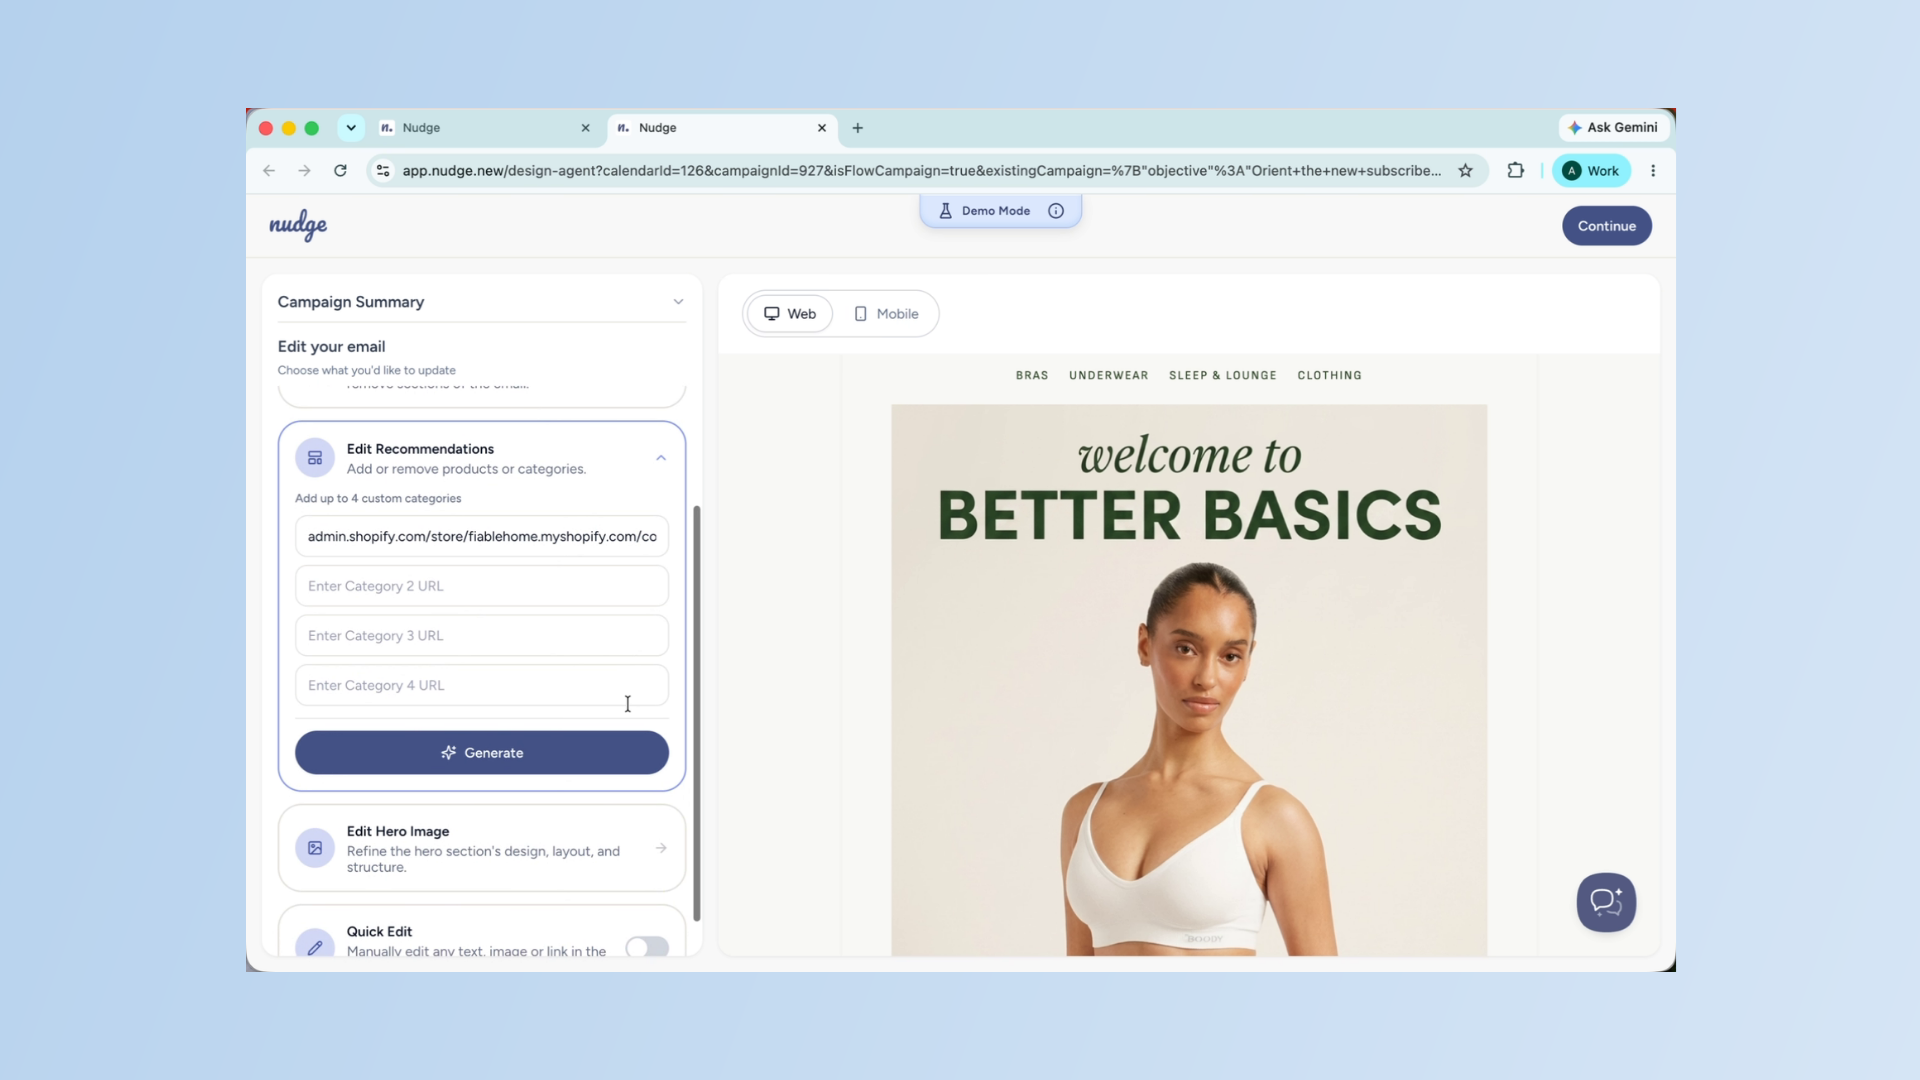
Edit Product Recommendations
If your welcome email includes product recommendations, use Edit Recommendations to control what appears. You can select from your product range or add custom product URLs. Keep it to three or four of your best sellers — a welcome email works best when it is focused, not overwhelming.
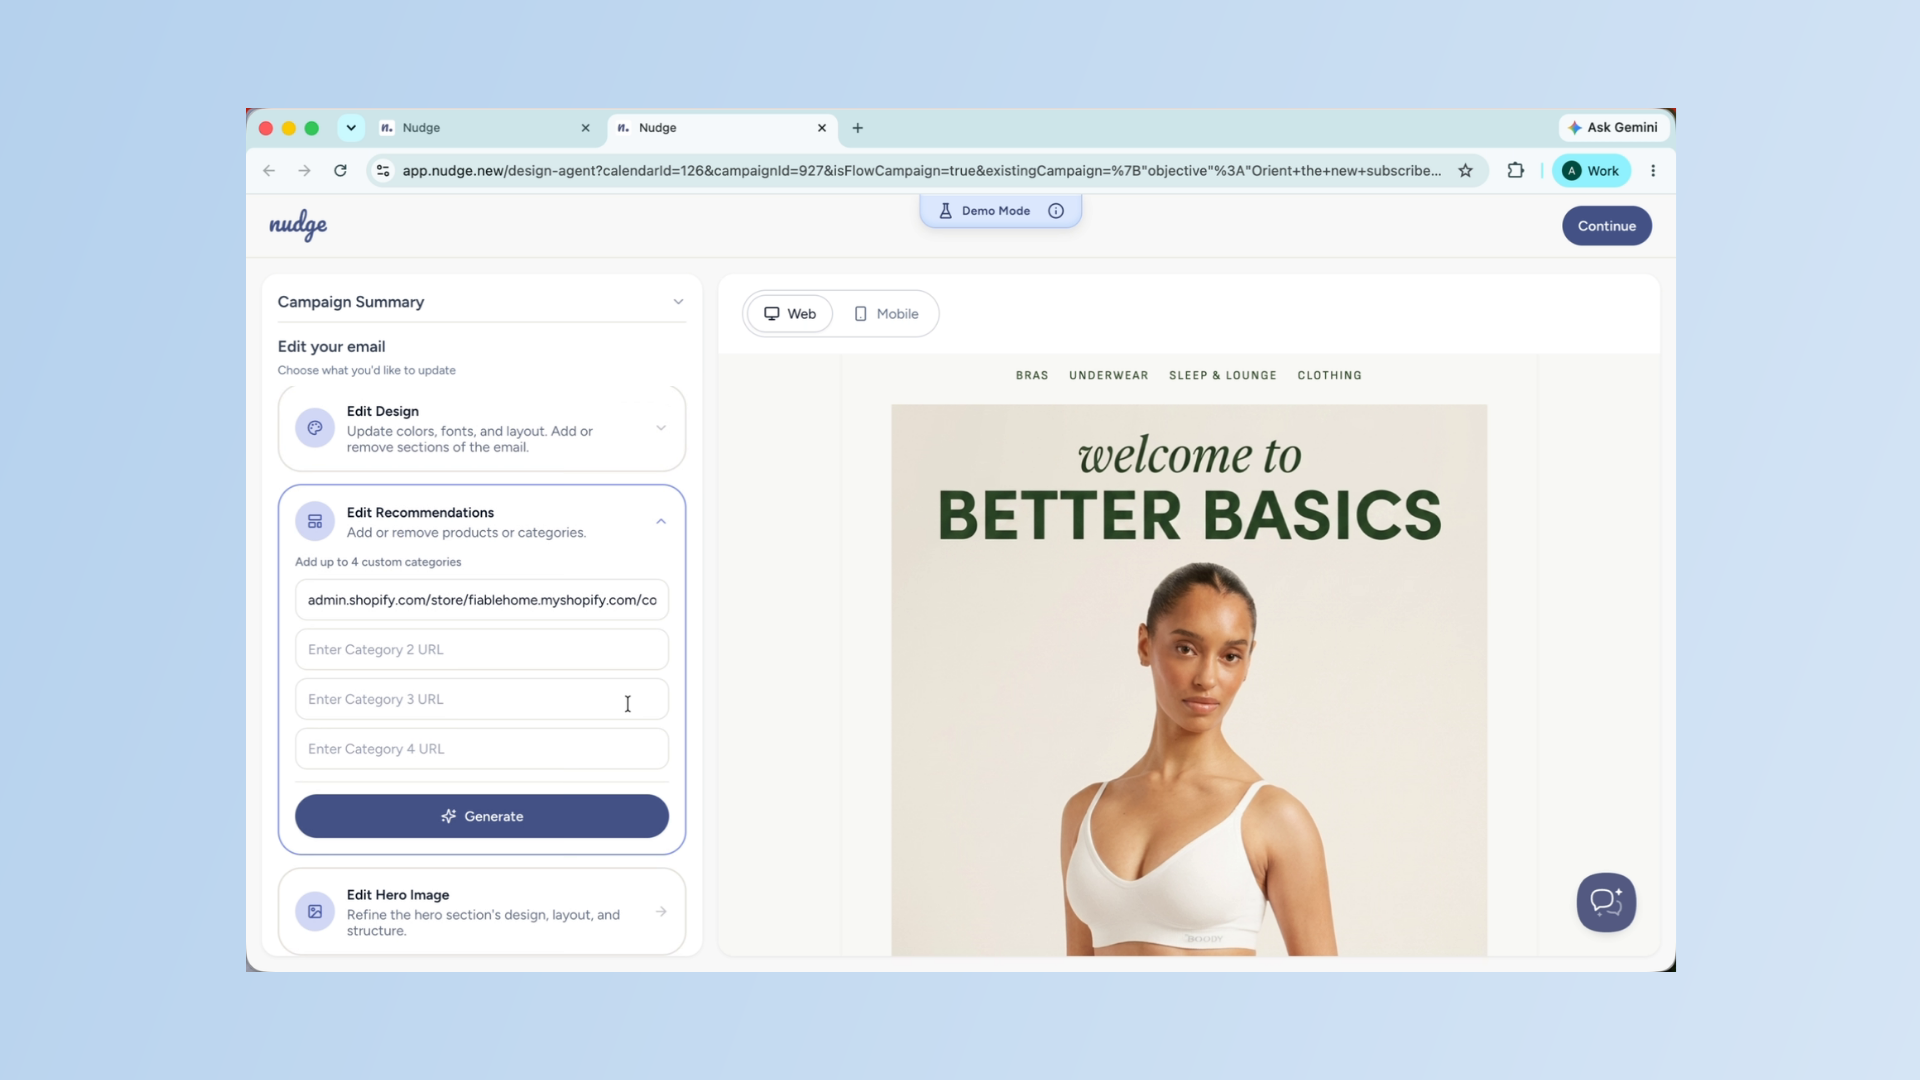
Edit Product Recommendations - Segment
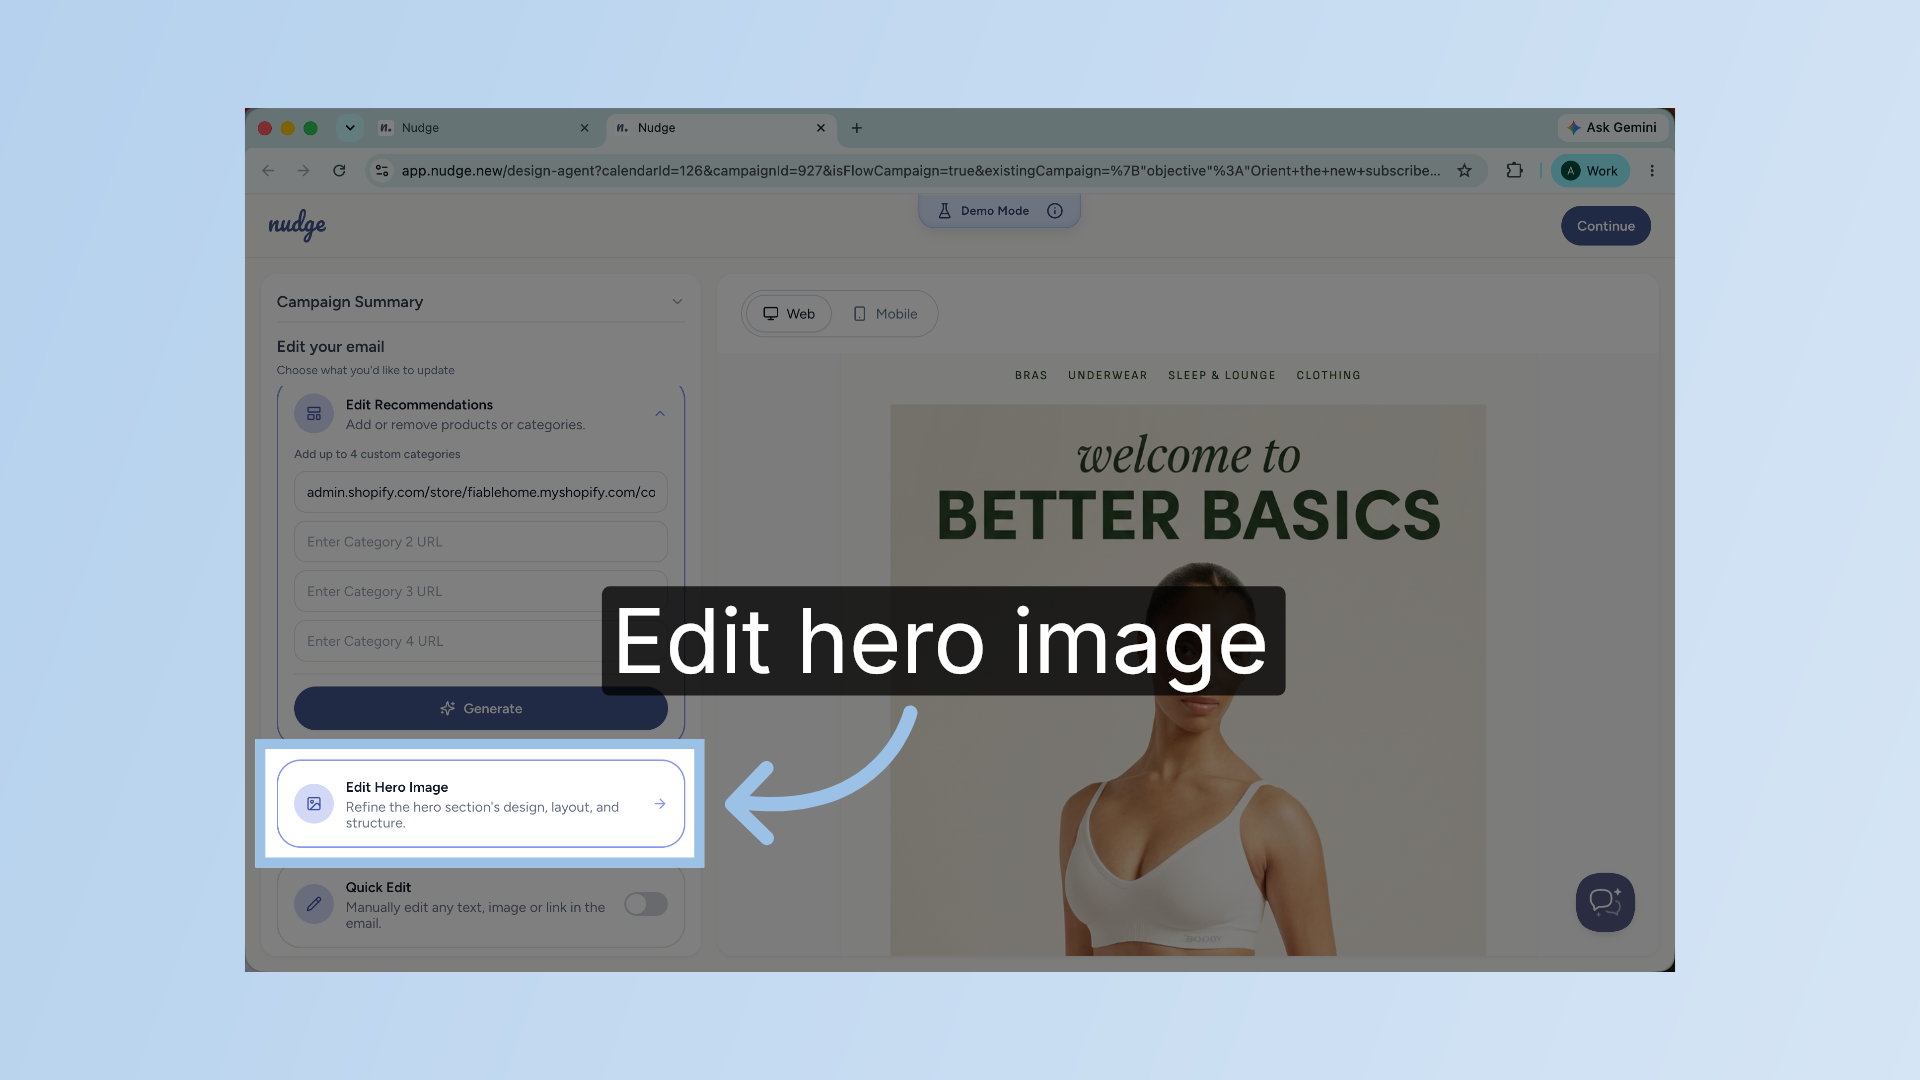
Edit Hero Image Section
Refine the hero section's design, layout, and structure to better fit your welcome message.
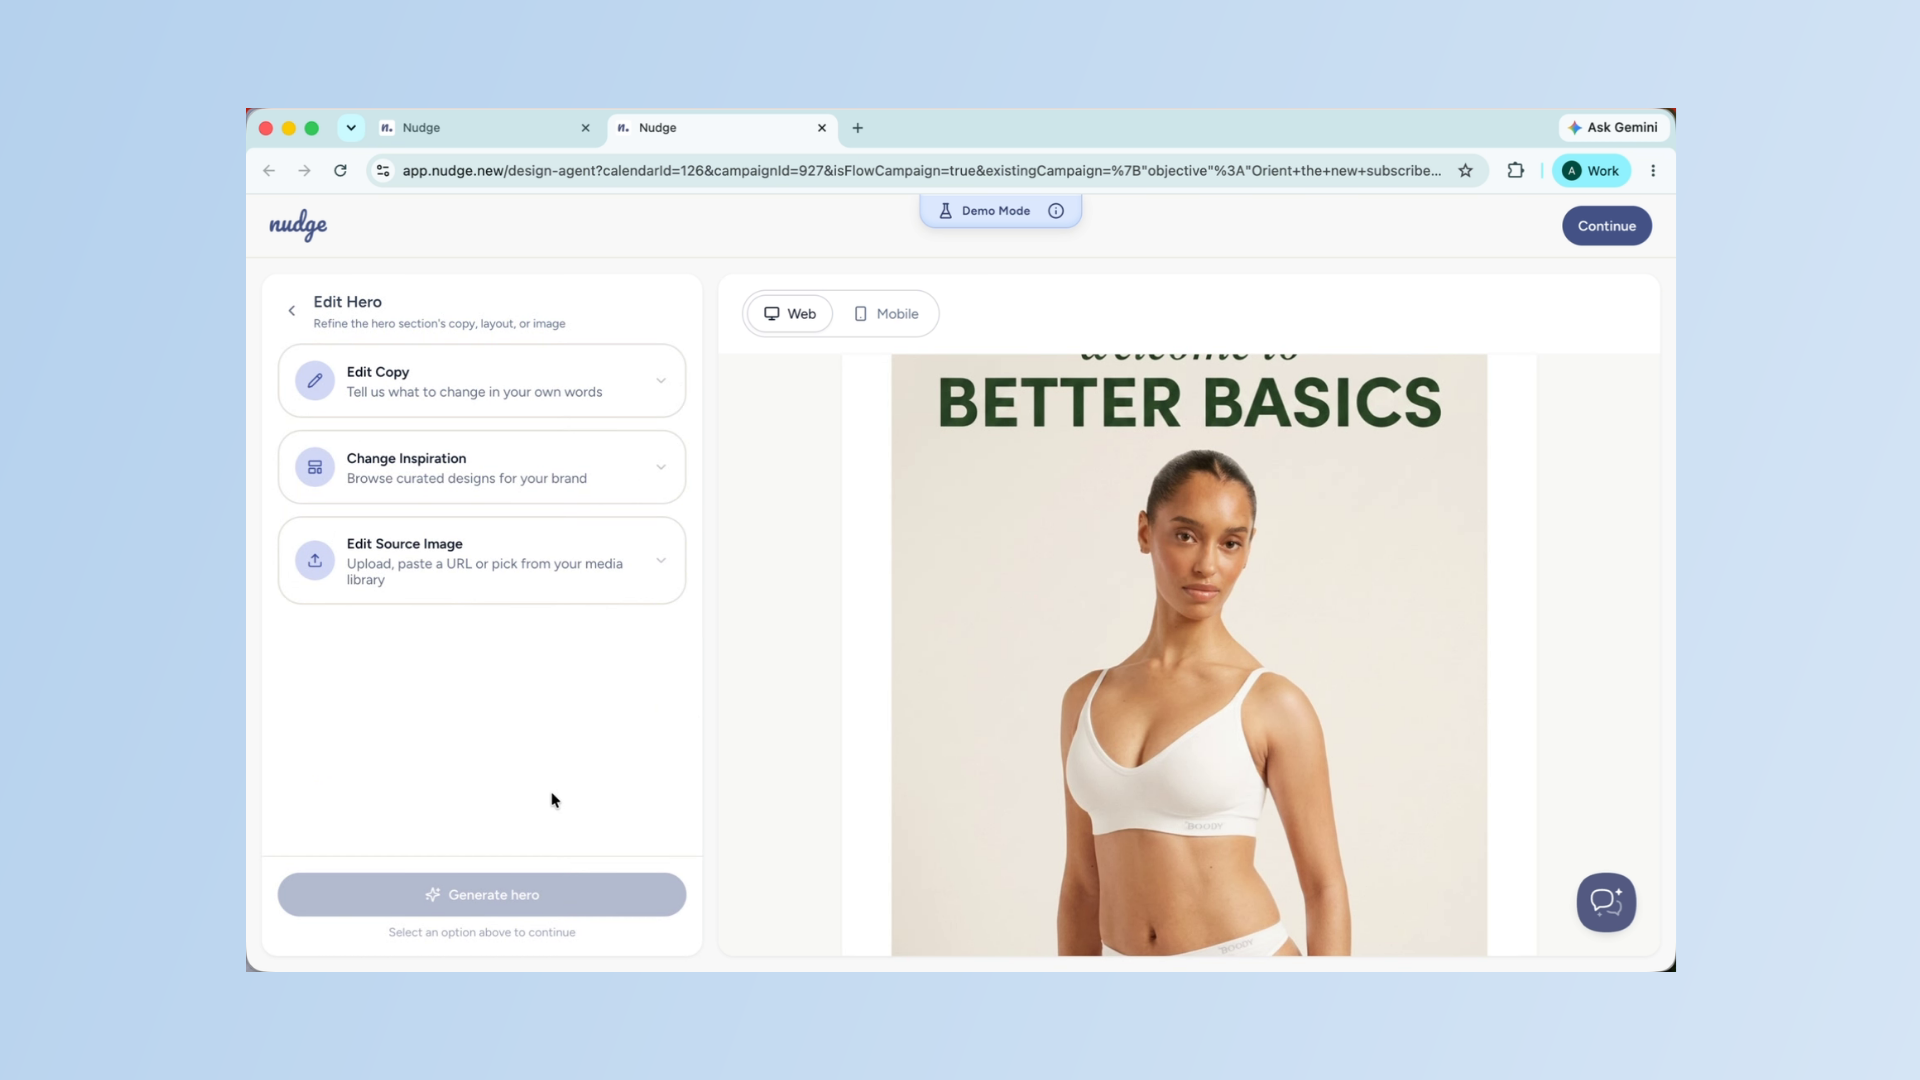
Customize Hero Section
Use Edit Hero to update the hero section of your email. You can tweak the hero copy, choose a new design inspiration from the library, or replace the source image with something more relevant to your welcome message. Save the hero once you are happy with it to apply it to the email.
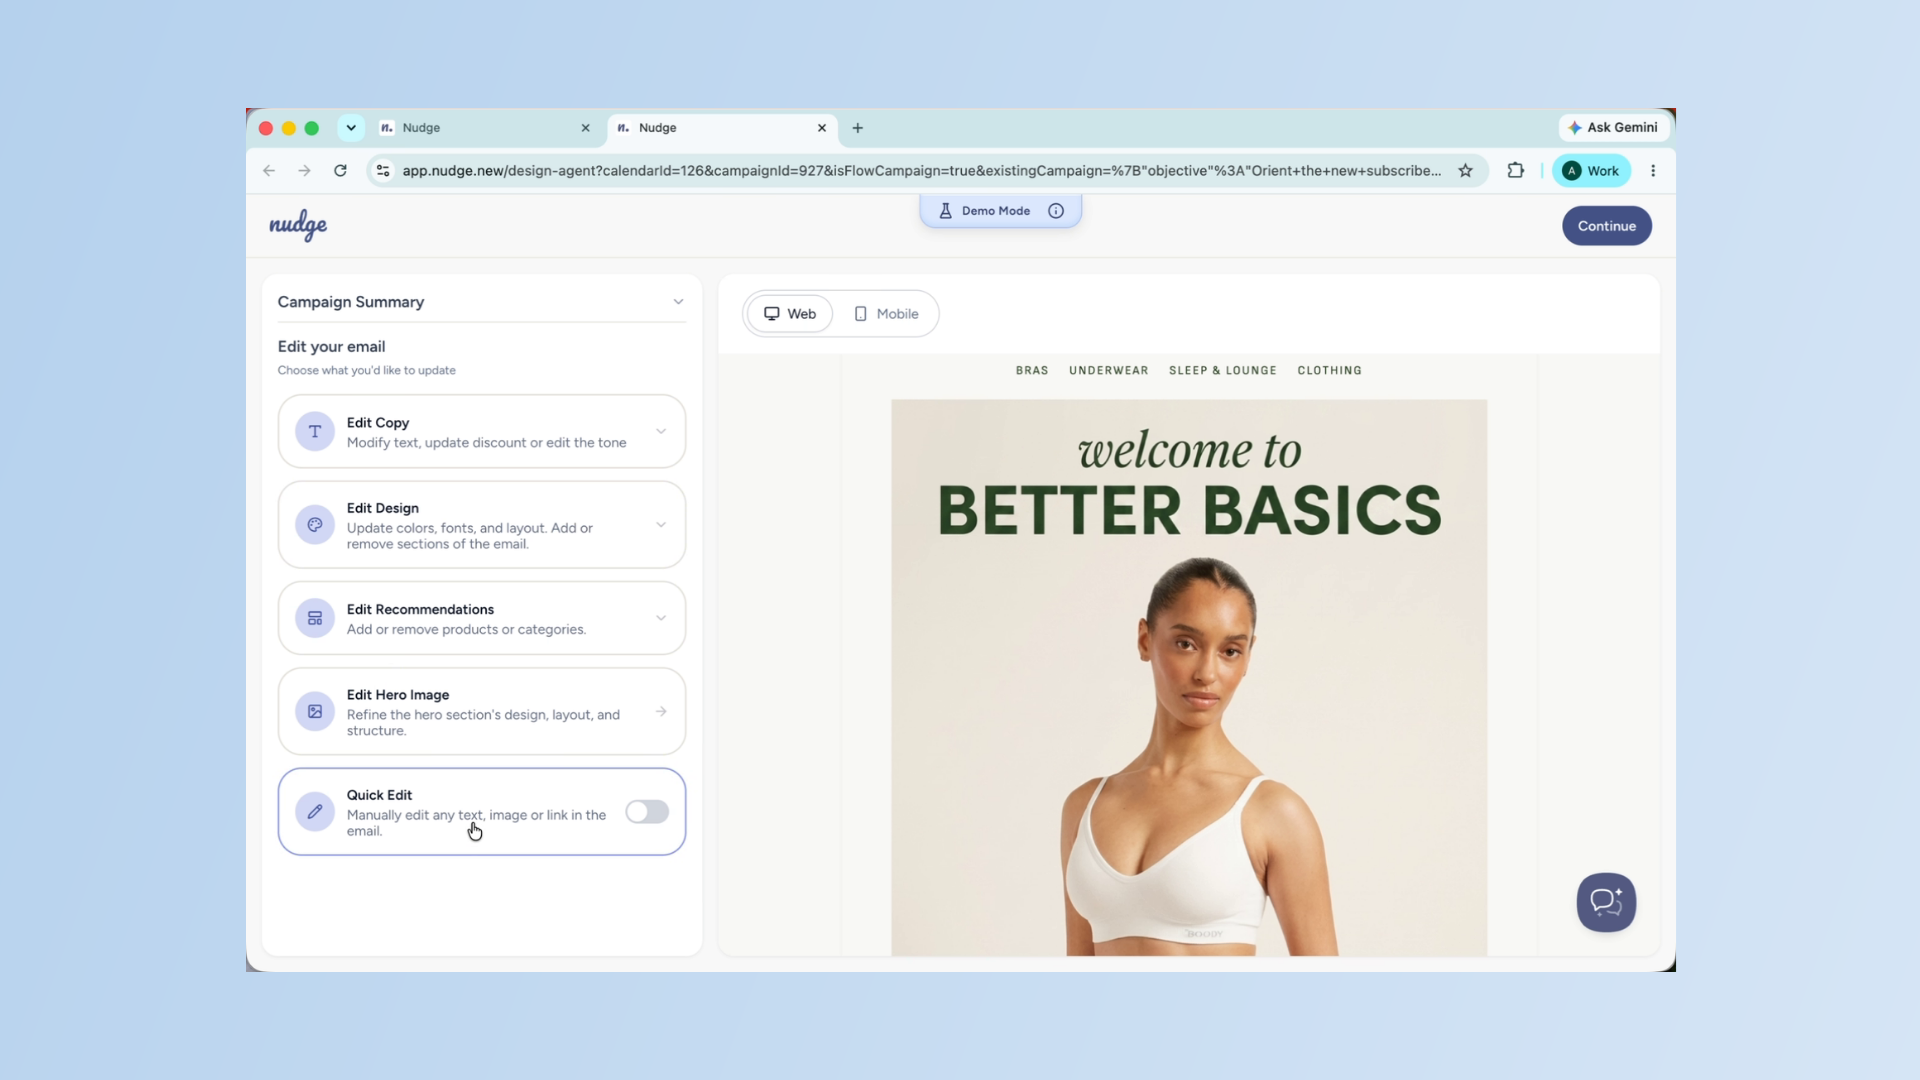
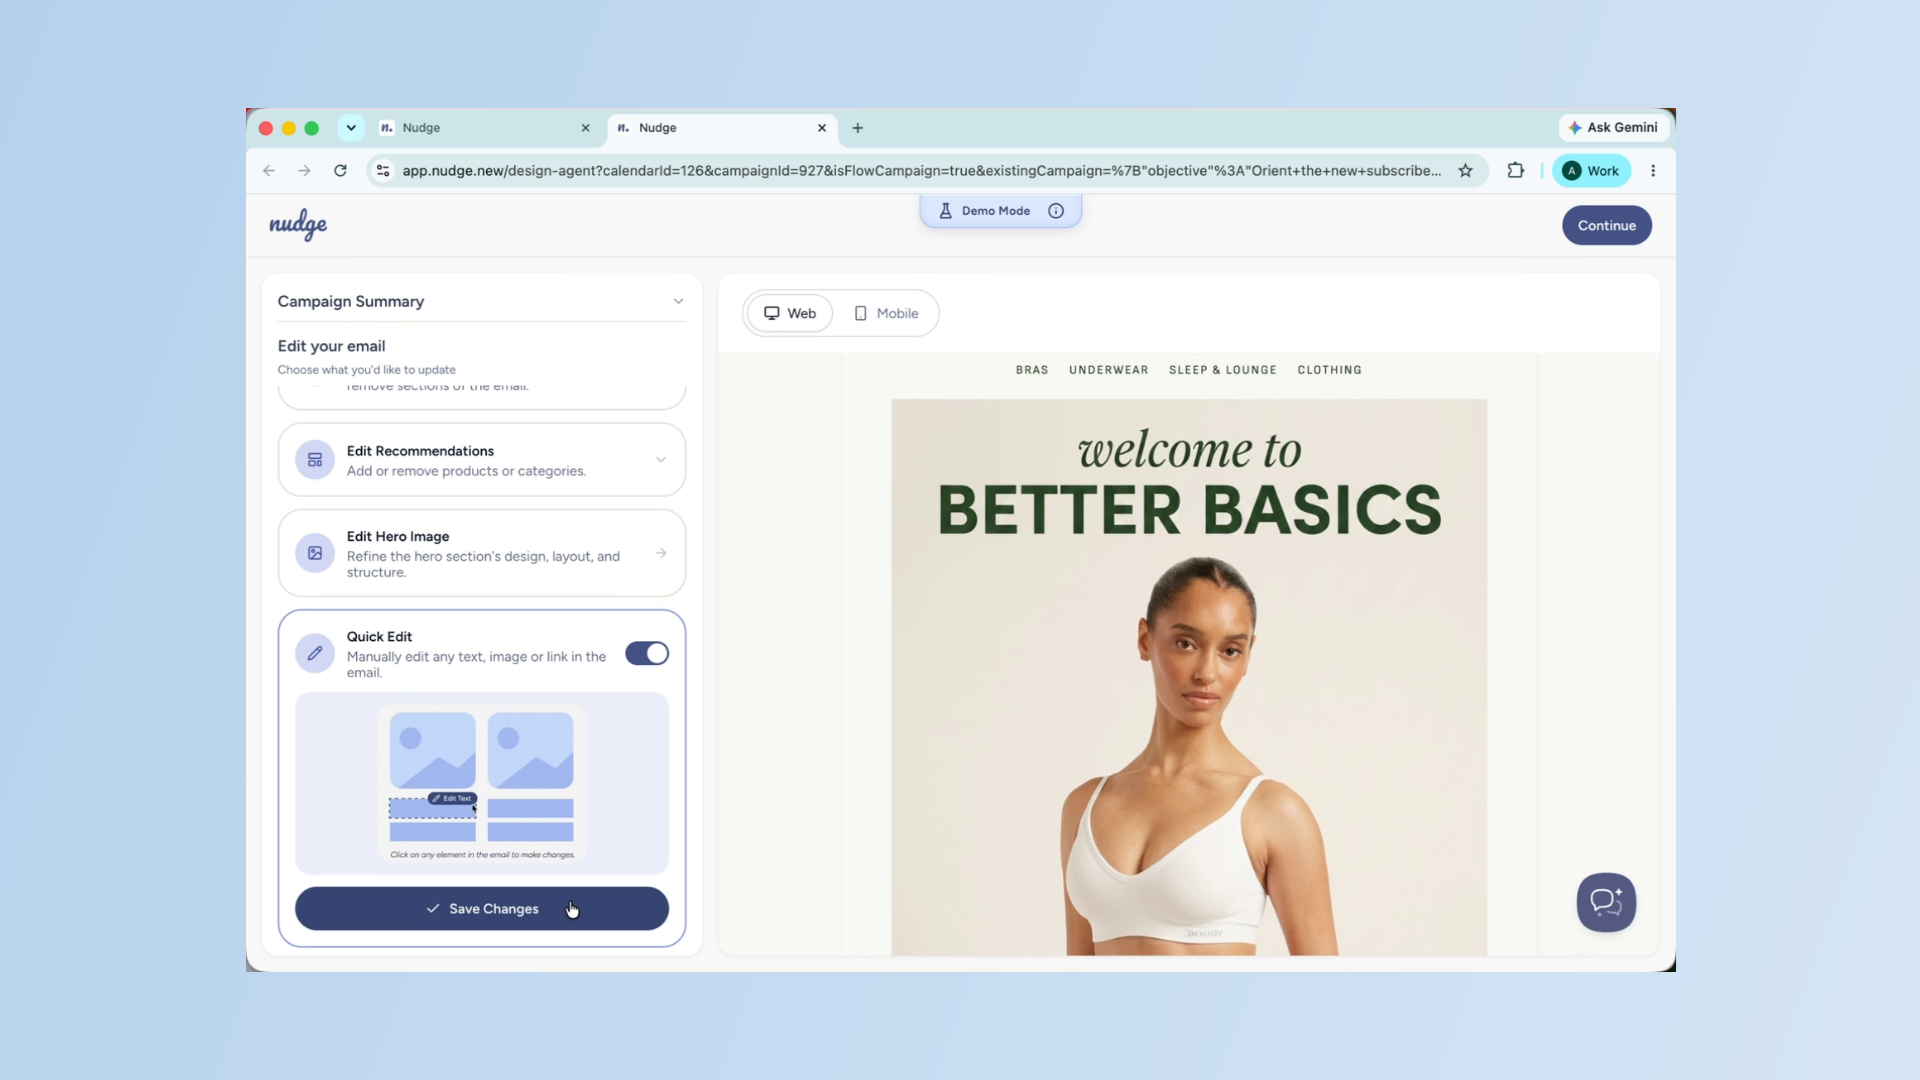
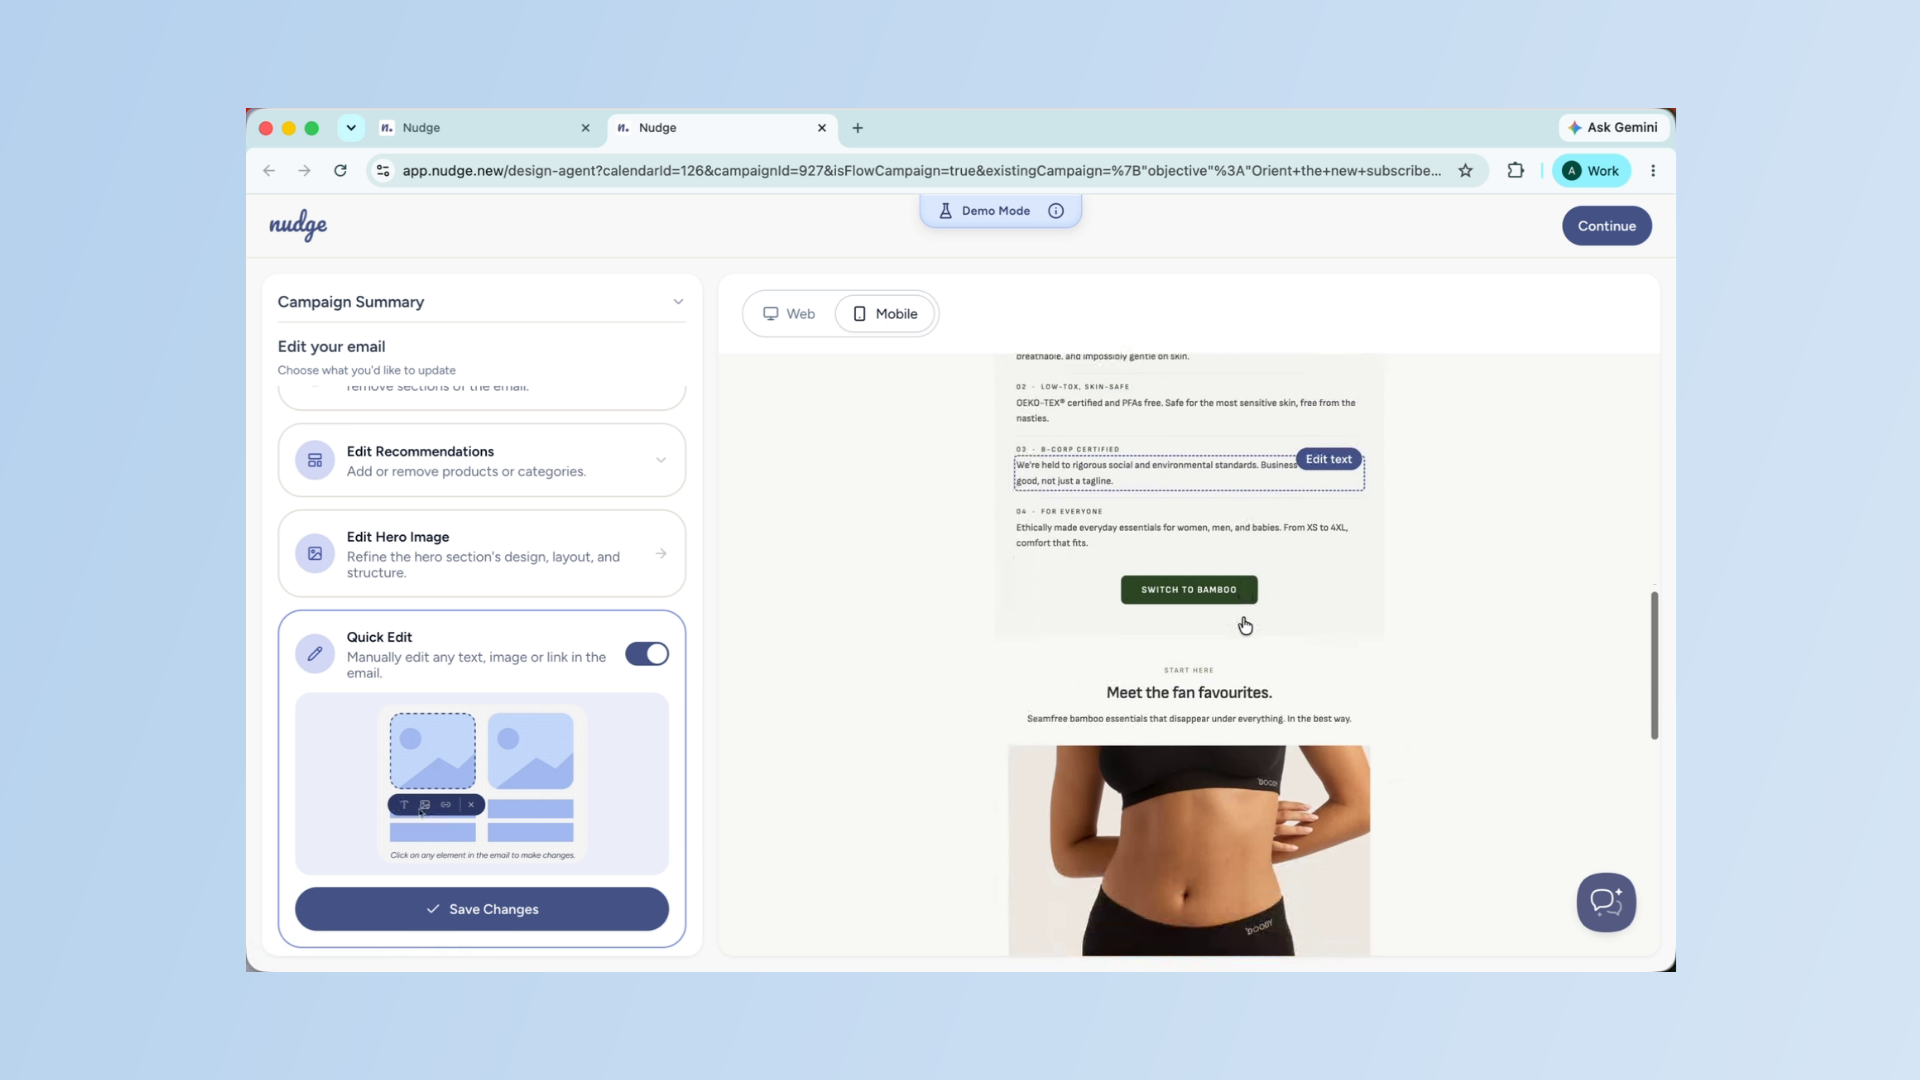
Use Quick Edit Feature
For any last minute tweaks — a word change here, a button URL update there — toggle on Quick Edit to make changes directly on the canvas without going back into the chat. Hit Save Changes when you are done
Check Mobile View
Before moving on, check the mobile view to make sure the email looks great on a phone screen as well. When everything looks right, save the design and move on to the next email in the flow.
Check Mobile View - Segment
Continue to Next Step
Proceed by clicking Continue to move forward in the setup process.
Save Your Work
Click Save to ensure all your changes are stored securely.
Proceed to Next Email
When everything looks right, save the design and move on to the next email in the flow.
Proceed to Next Email - Segment
Repeat Email Design Process
Repeat the same process for each remaining email until all of them are designed and ready.
Set Email Delays
Between each email, set a time delay that feels natural. For a Welcome Flow, one to two days between emails usually works well. You can adjust delays in days, hours, and minutes from the flow builder.
Adjust Flow Pacing
Take your time getting these right — the pacing of your flow has a big impact on how subscribers experience your brand. Once all your emails are designed and your delays are set, it's time to make the email flow live.
Activate Email Flow
Click Activate and from this point on, every new subscriber will automatically receive your Welcome Flow at exactly the right time — no manual work needed.
Your Welcome Flow is live and running in the background, greeting every new subscriber on your behalf. It is one of those things you set up once and it keeps working for you every single day. When you are ready to take it further, check out our guide on setting up a Checkout Abandonment flow to start recovering lost sales. See you in the next one!