Your First 7 Days on Nudge
Just signed up to Nudge? In this video, we will walk you through exactly what to set up in your first week so you are ready to start sending like a pro.
Introduction To Nudge Setup
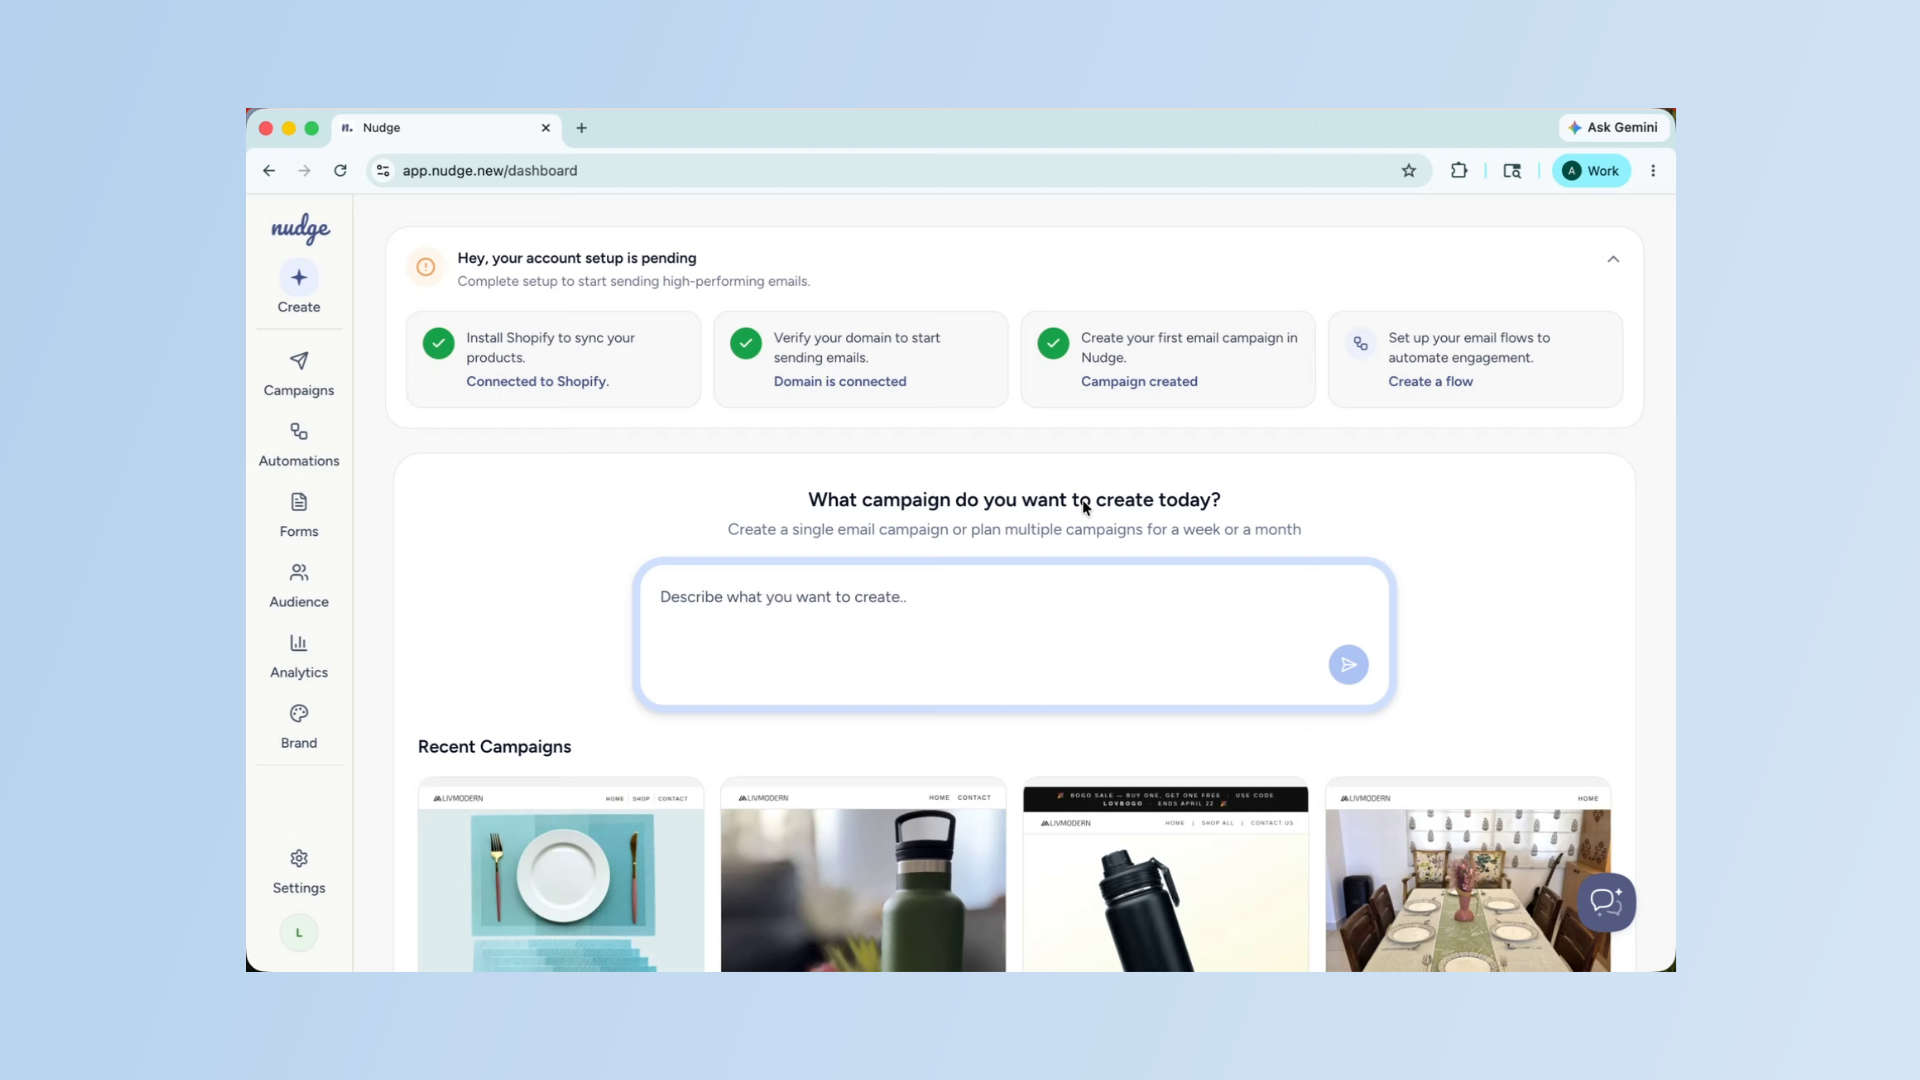
Getting started on a new platform can feel overwhelming, but on Nudge there are really just five things you need to get right in your first week. Once these are in place, everything else falls into place naturally. Let's go through them one by one.
Set Up Sending Domain
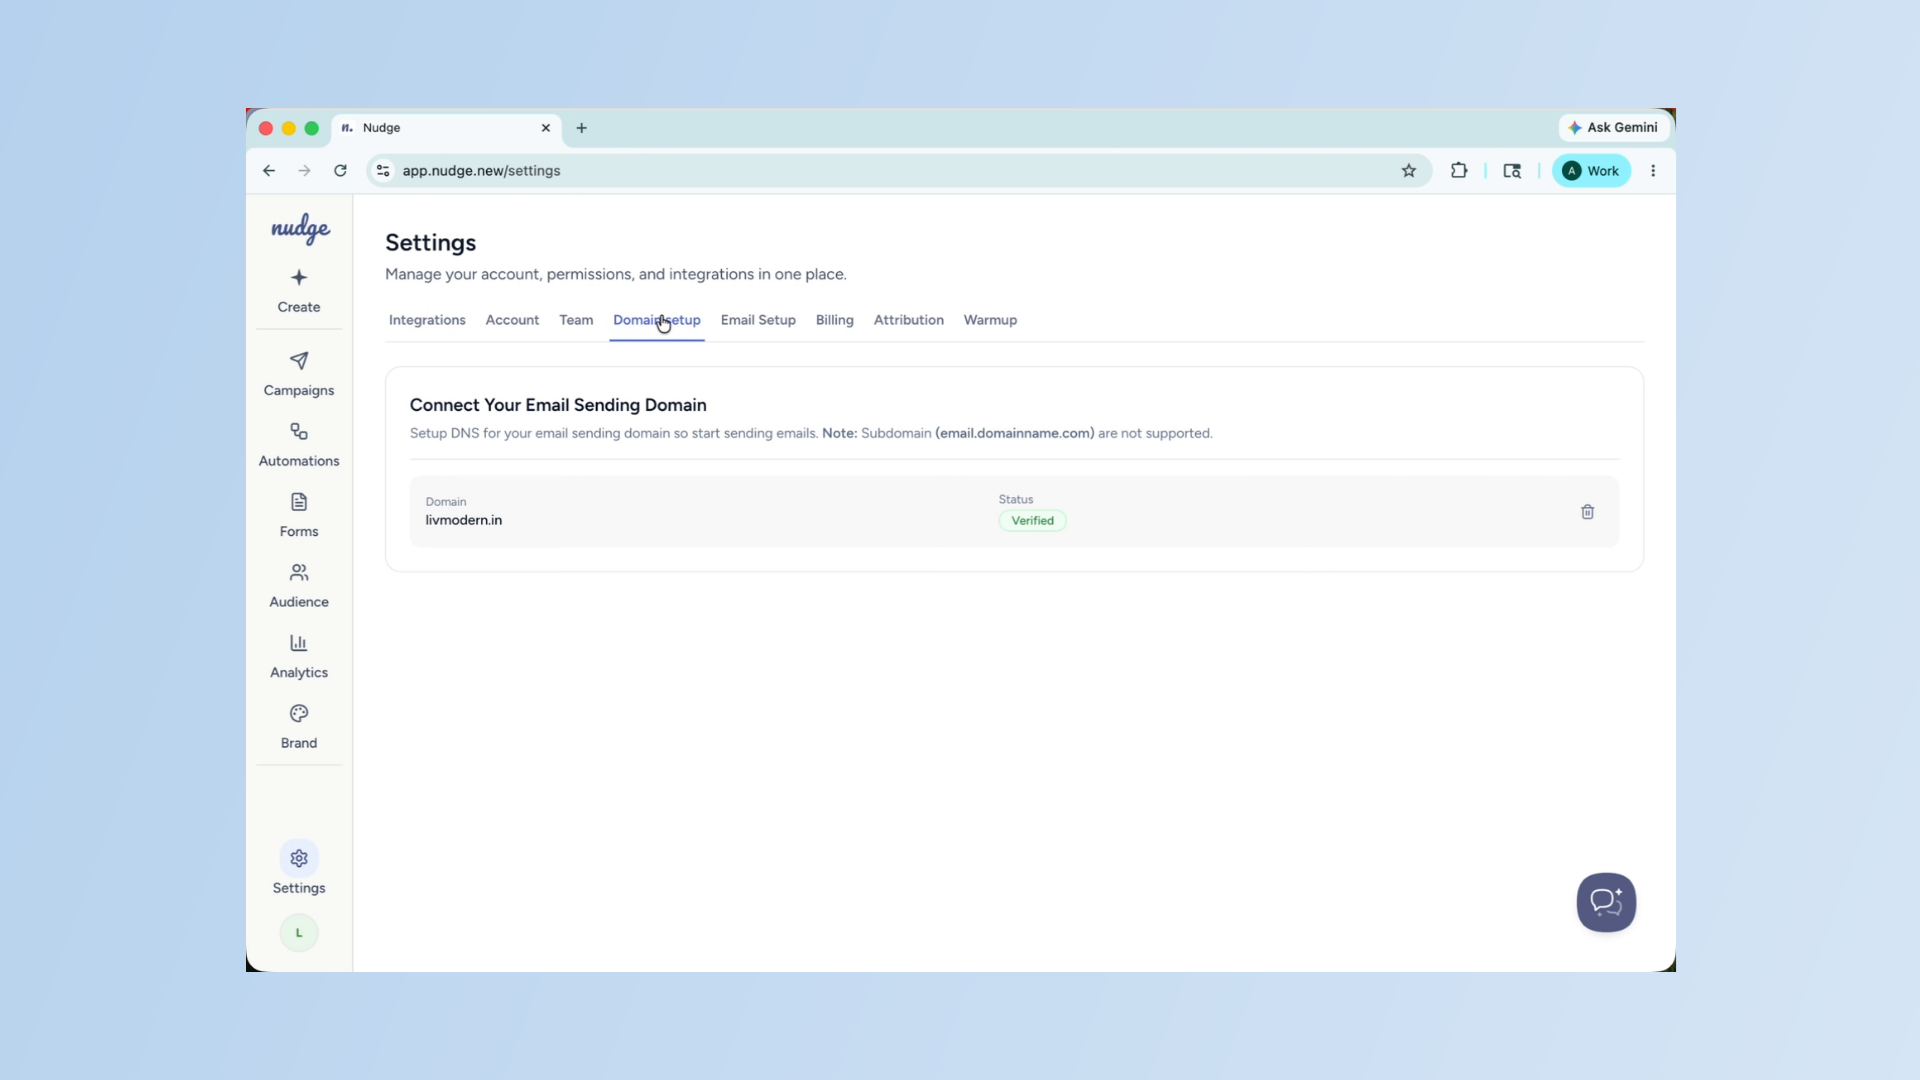
The very first thing to do is set up your sending domain. This is what makes your emails look legitimate and trustworthy to both email providers and your customers. Head to Settings, click on Domain Setup, and follow the steps to add and verify your domain. It can take up to 24 hours to verify, so doing this on day one means it will be ready when you need it.

Review Brand Kit And Voice
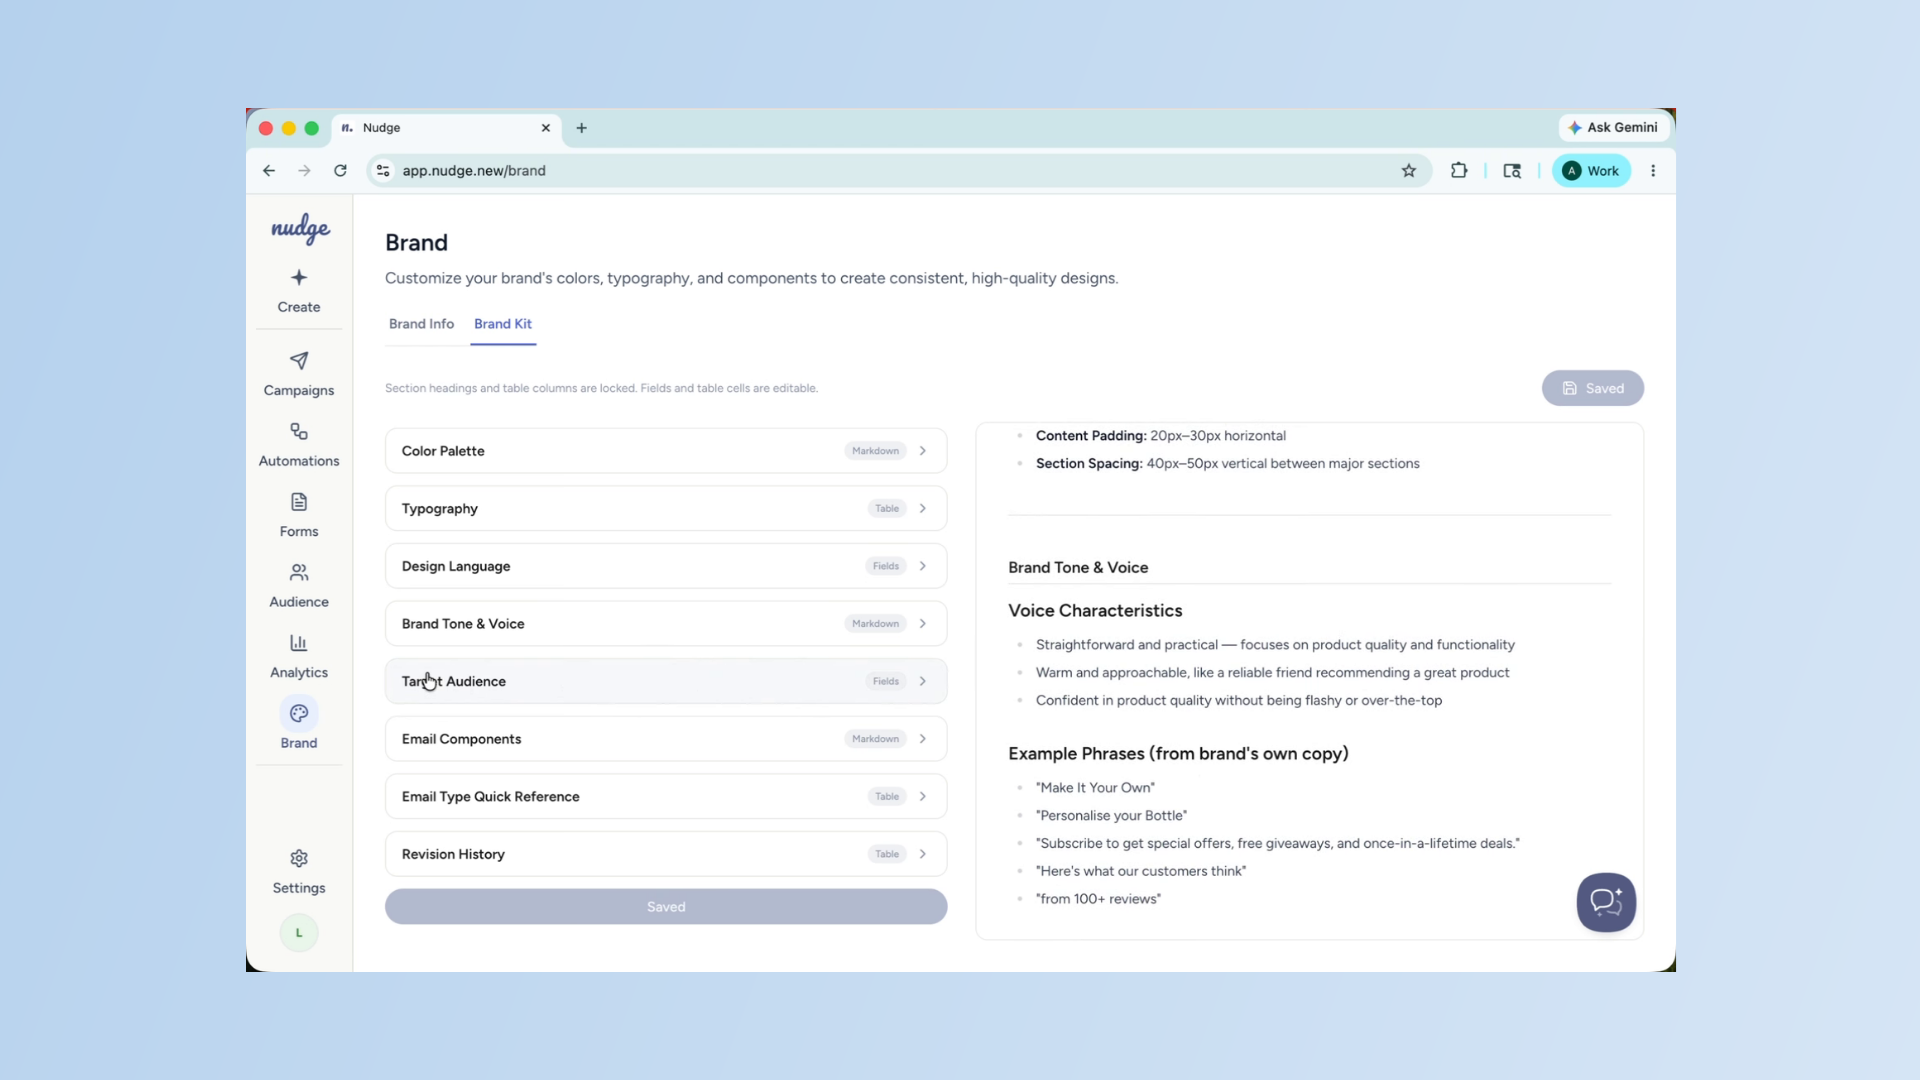
On day two, head to the Brand section and open your Brand Kit. Nudge will have already pulled your logo, colours, and fonts from your website — but it is worth checking that everything looks right. Pay special attention to your brand voice section. The more accurately this reflects how your brand speaks, the better every email Nudge generates will sound.
Import Customer Contacts
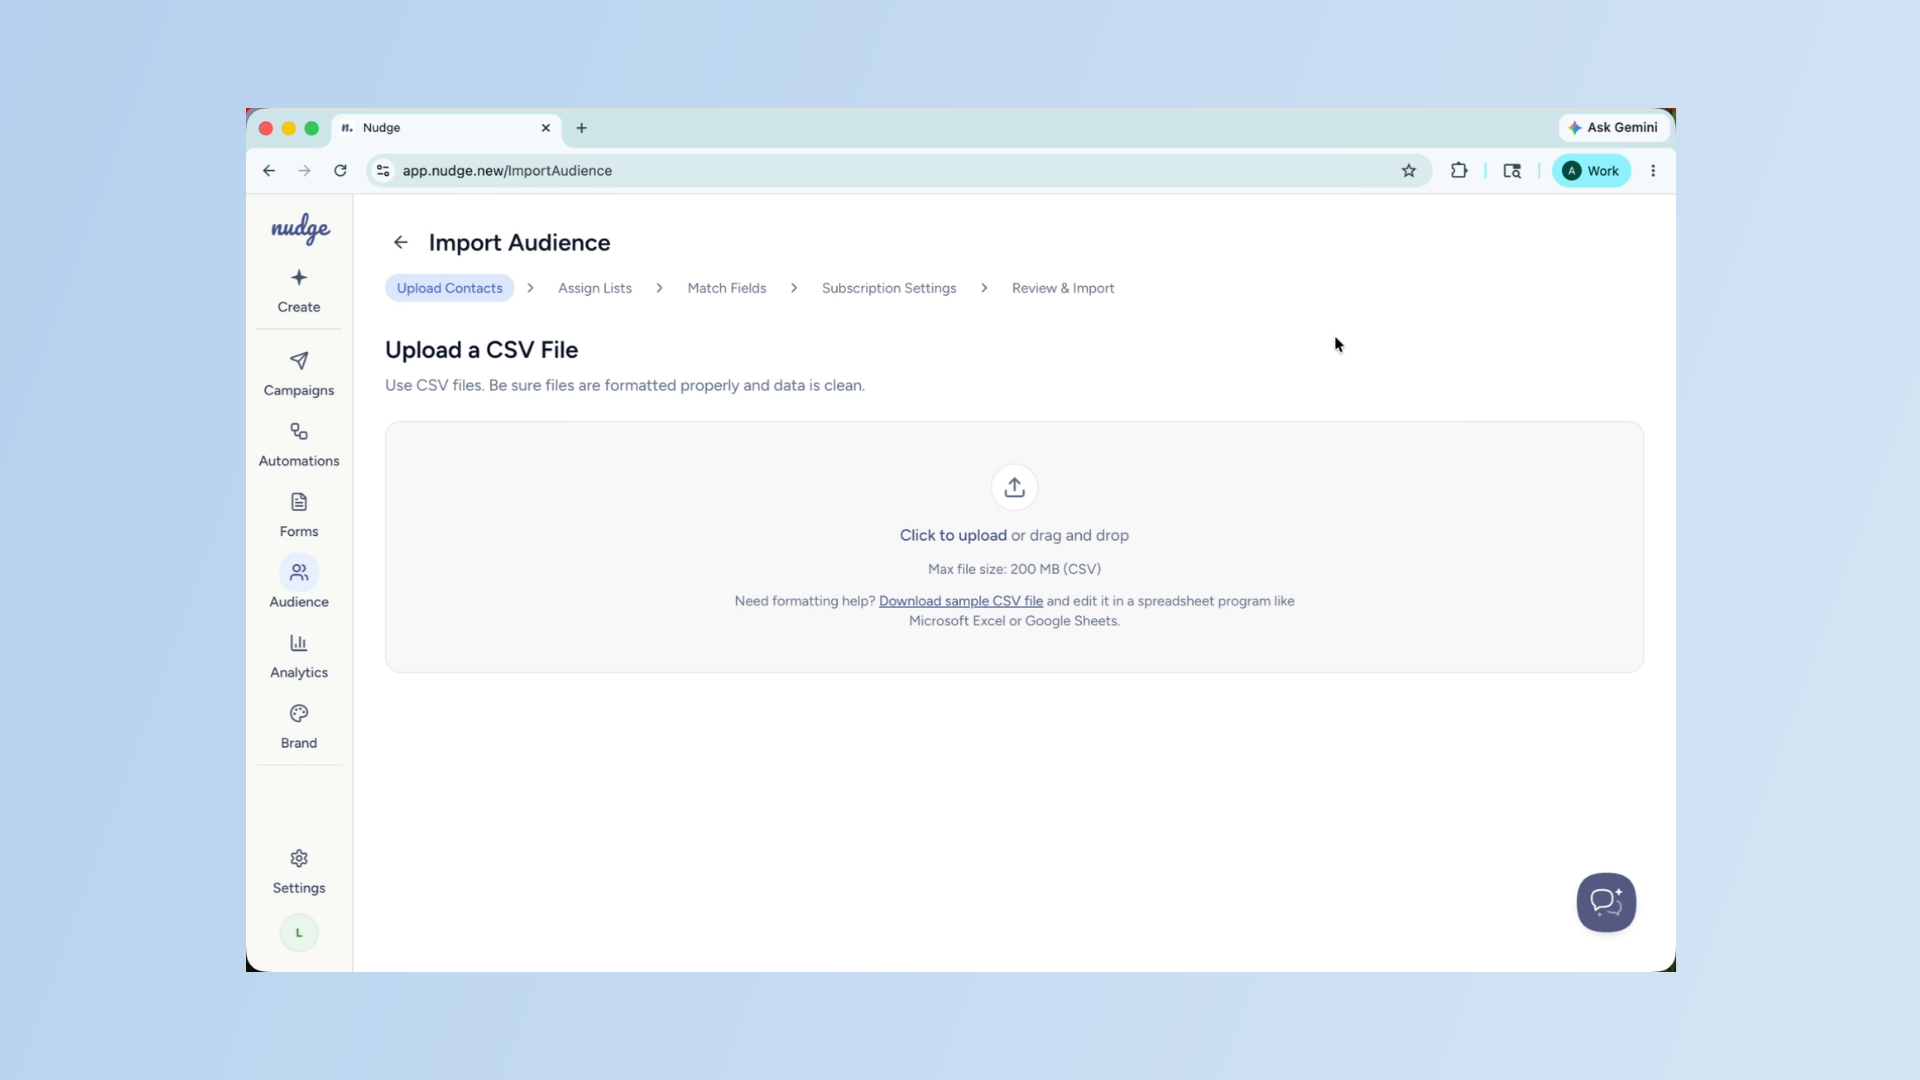
Now it is time to bring your existing customers into Nudge. Head to Audience, click on the Lists tab, and import your CSV file. Make sure your fields are mapped correctly and that contacts are marked with the right email marketing status. This is the audience your first campaign will go out to.
Import Customer Contacts - Segment

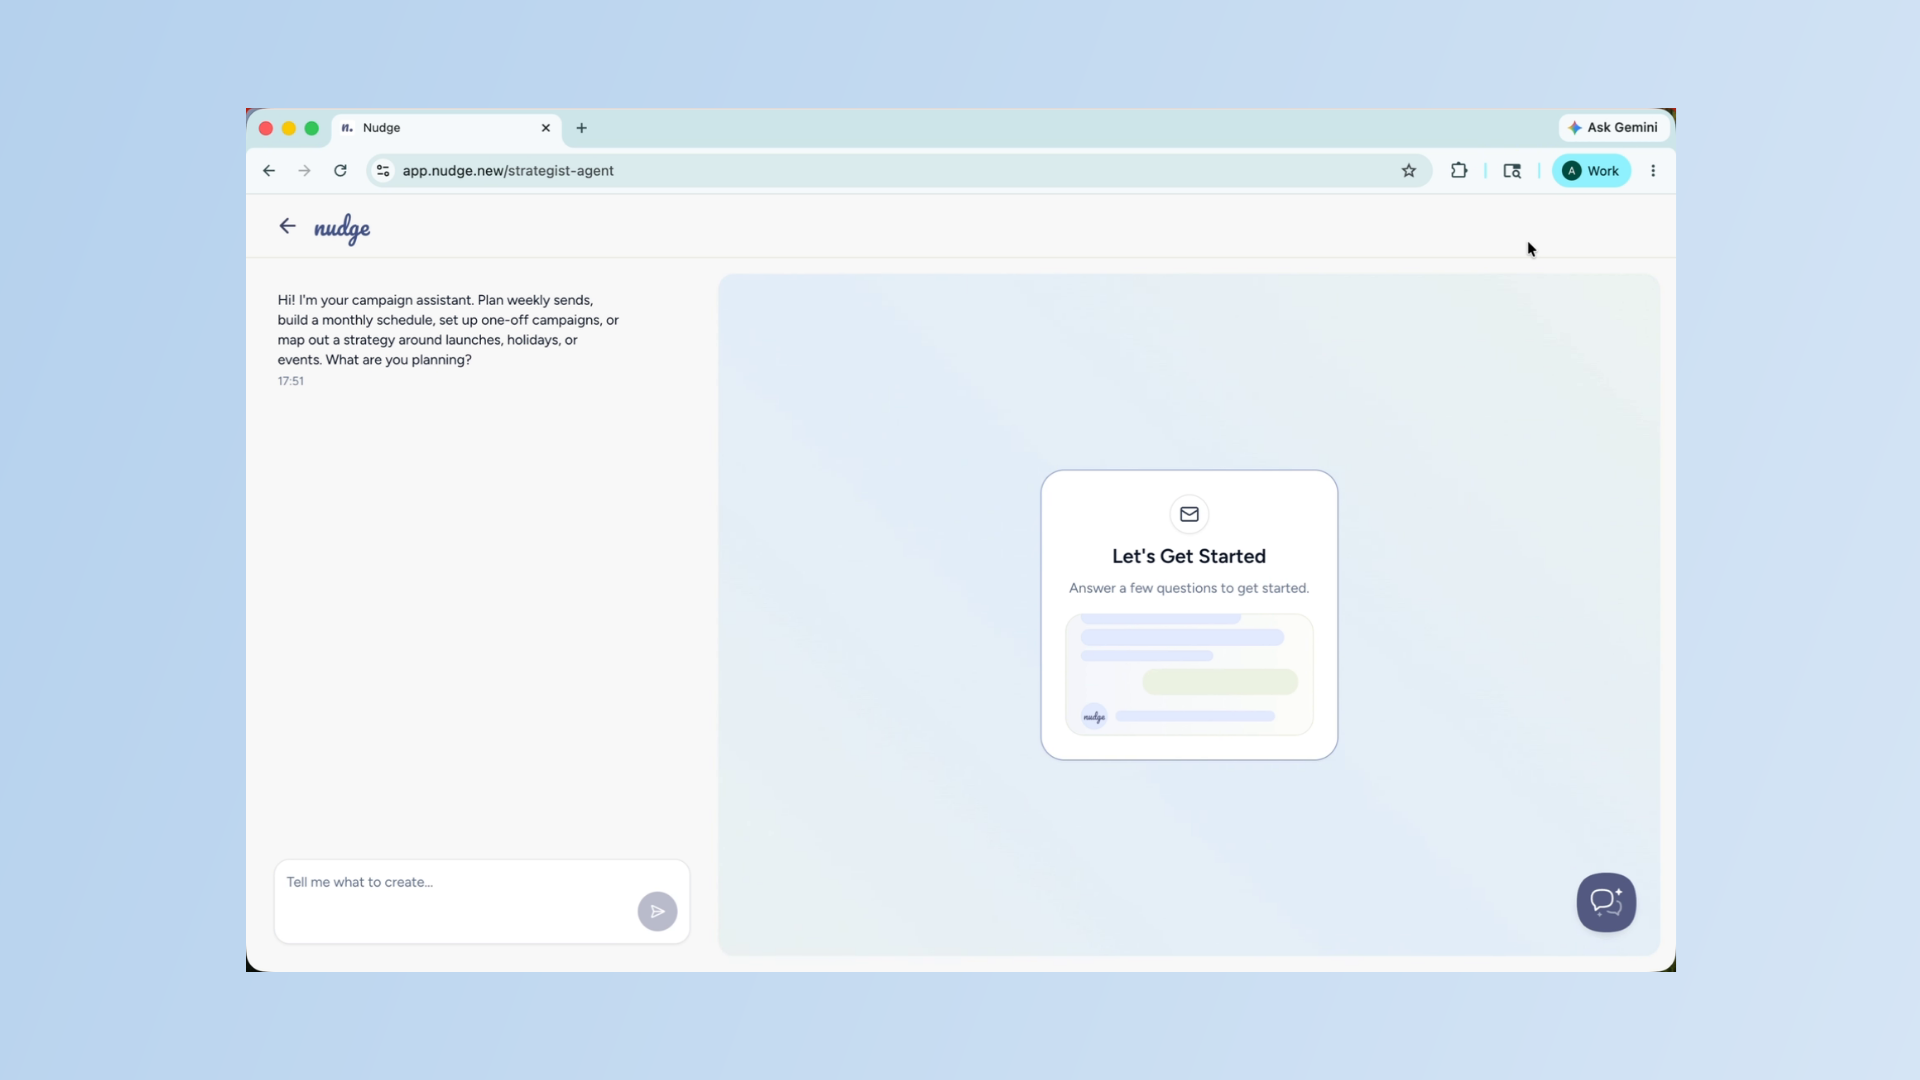
Create First Campaign Brief
With your domain verified, brand kit ready, and contacts imported, you are ready to send your first campaign. Head to Campaigns, click Create, and give Nudge a brief. Keep it simple for your first one — a welcome offer, a bestseller spotlight, or a brand introduction. Get comfortable with the flow before building anything complex.
Set Up Welcome Flow Automation
A Welcome Flow is the single highest-ROI automation you can set up, and it should be running before your first campaign goes out. Head to Automations, click Set Up Flow, and choose Welcome Flow. Brief the agent, generate your email designs, and activate it. From this point on, every new subscriber will automatically receive a warm welcome from your brand.
Create Pop-Up Form
Now set up a pop-up form on your website to start capturing new subscribers. Head to Forms, choose a template or generate one with AI.

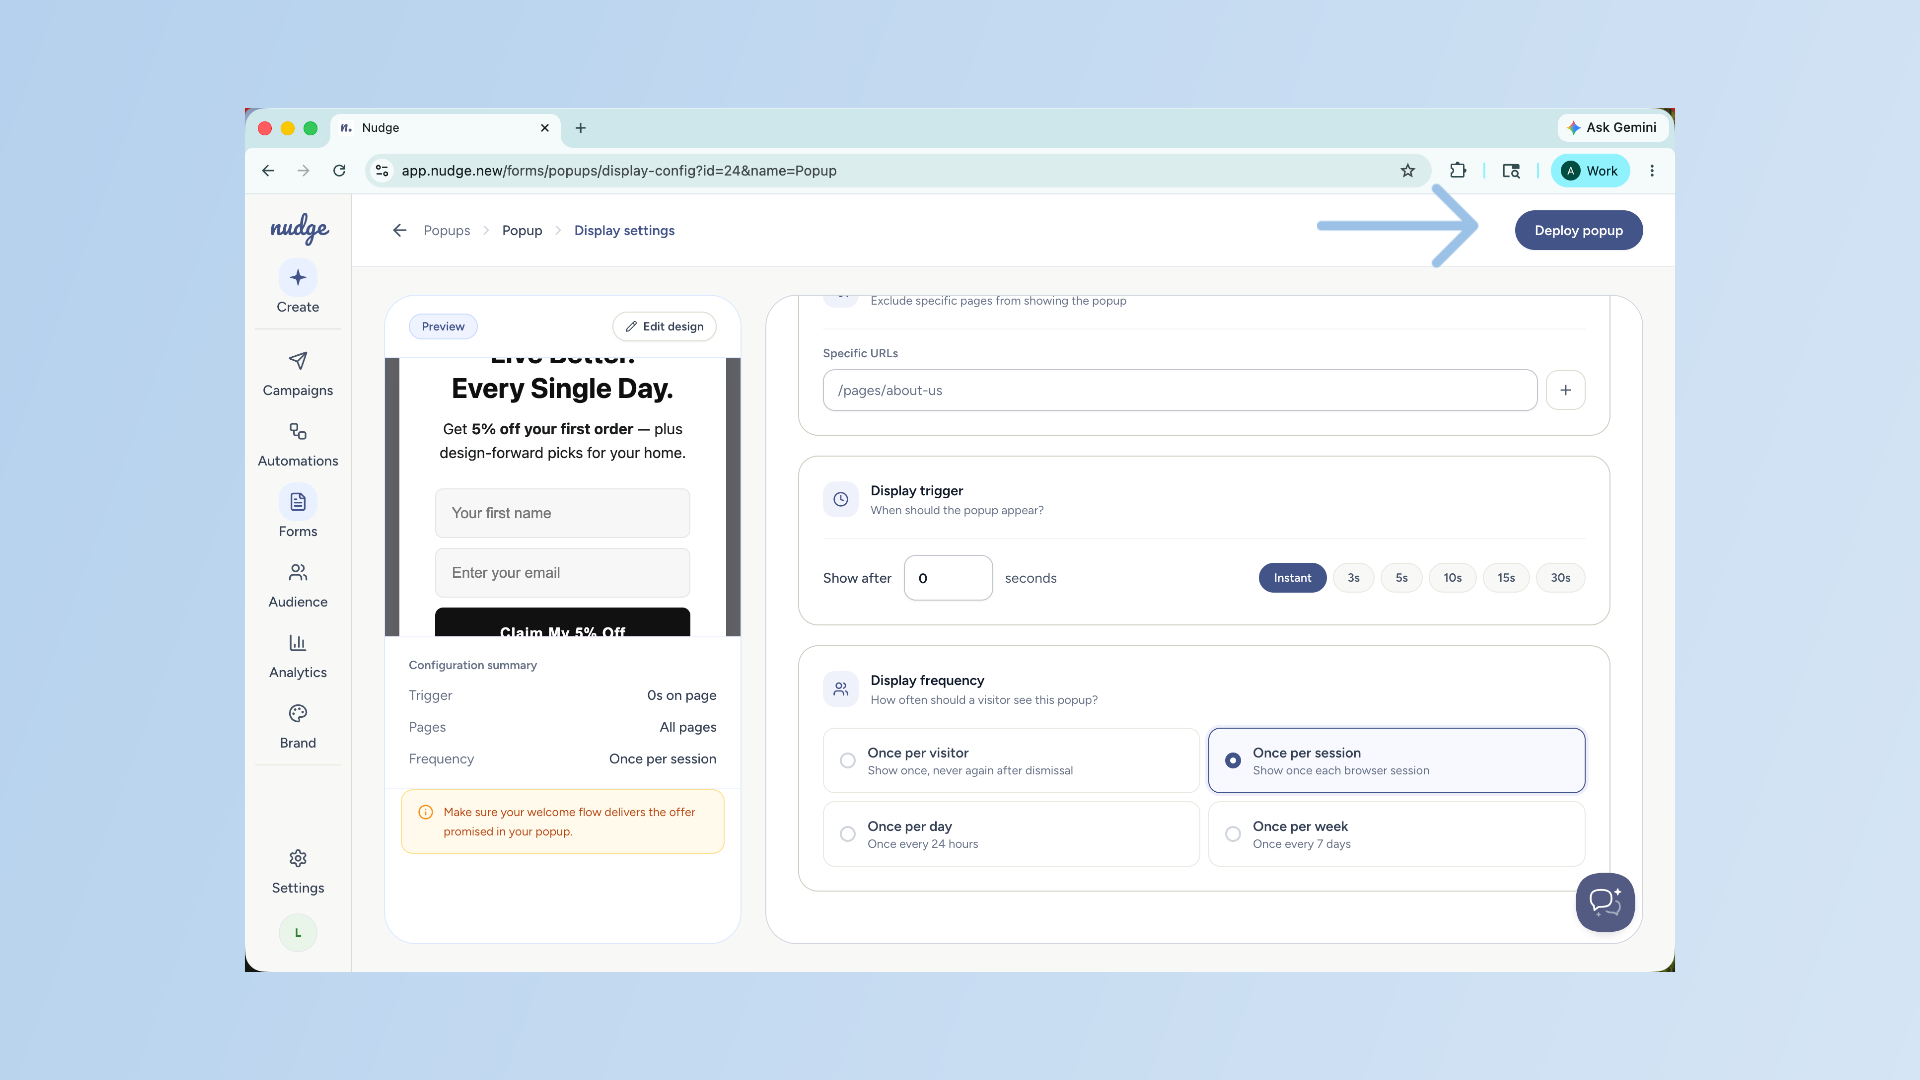
Click Create Button
Configure your display settings, and deploy it. This is what keeps your list growing passively in the background while you focus on everything else.
Analyze Campaign Performance
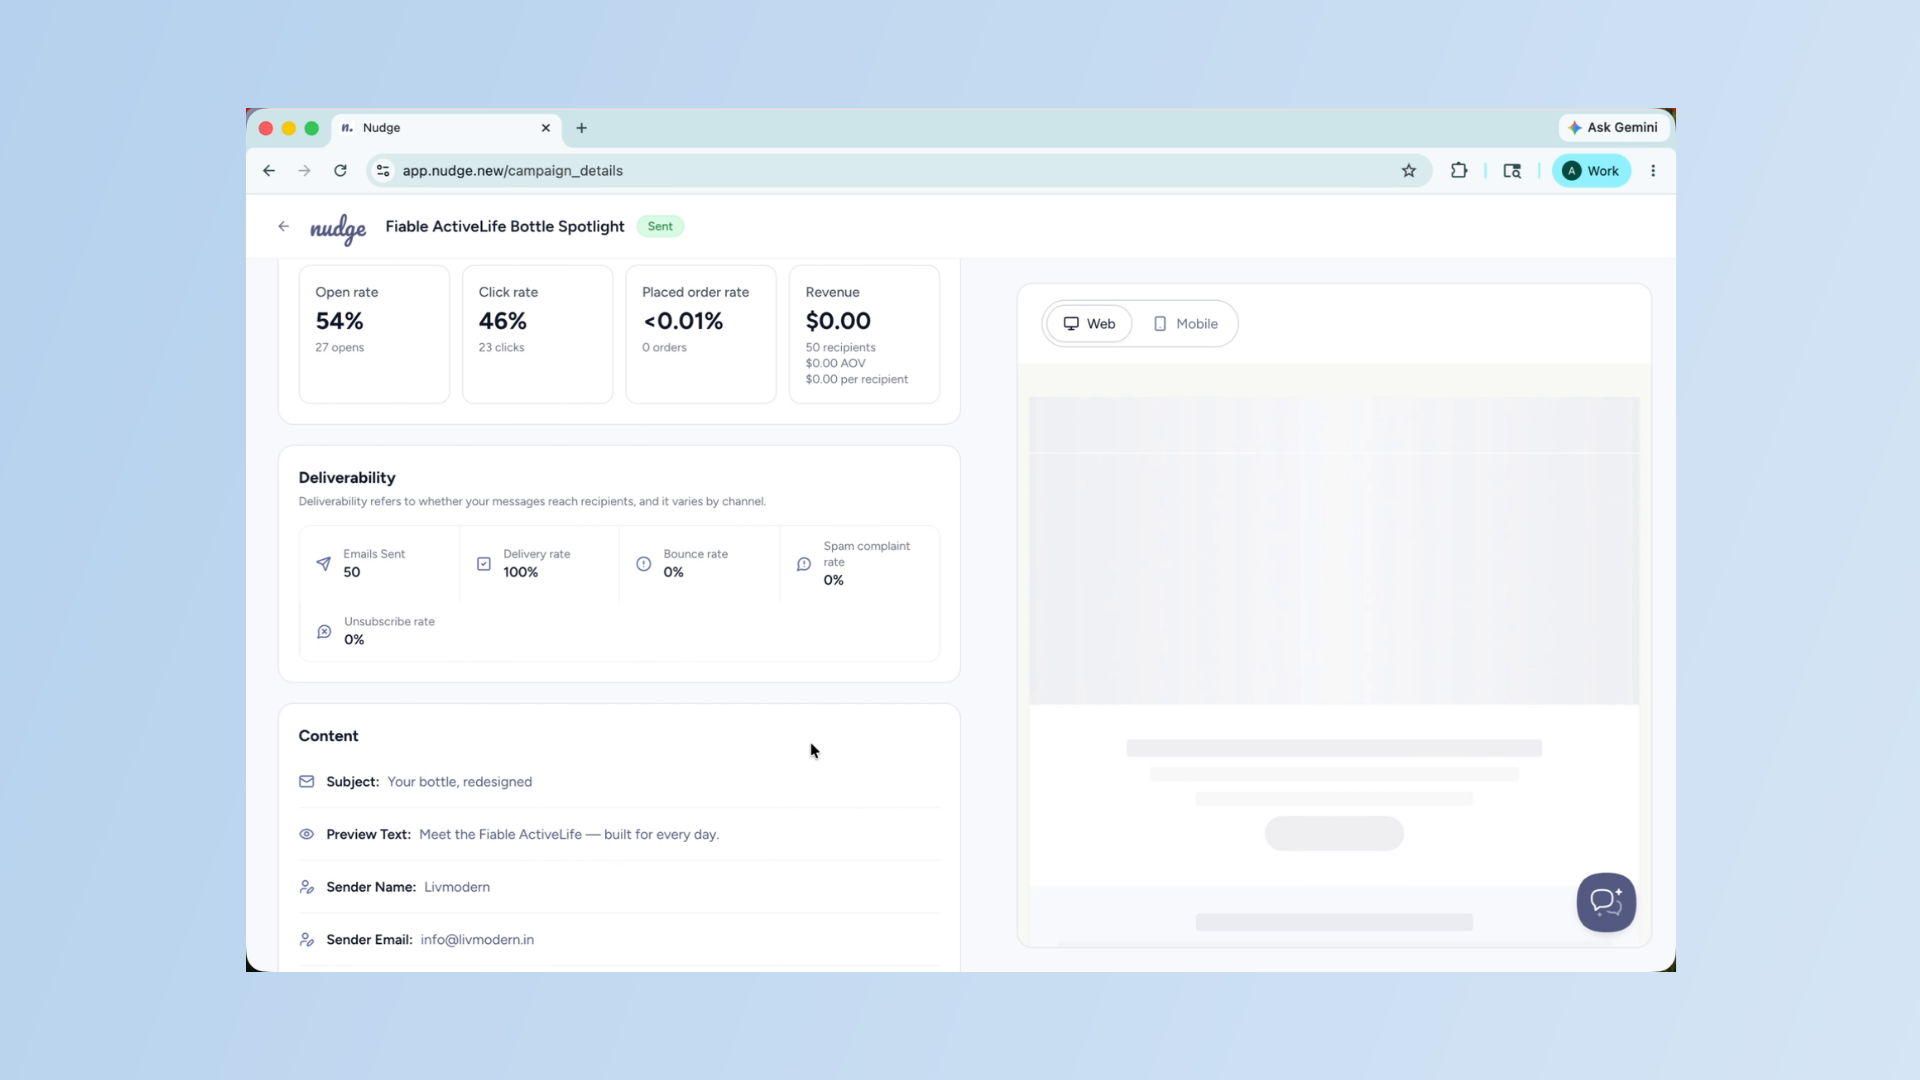
On day seven, head to Analytics and take a look at how your first campaign performed. Check your open rate, click rate, and any deliverability signals. This is your baseline — every campaign you send from here will be measured against it.

Analyze Campaign Performance - Segment
Use what you learn to make your next one even better.
Seven days, five foundations — domain, brand kit, contacts, first campaign, and first flow. Once these are in place, Nudge will do a lot of the heavy lifting for you. Head to our other guides to go deeper on any of these topics, and reach out to our support team if you need a hand at any point. Welcome to Nudge!