How to Set Up Your Sending Domain in Nudge
In this video, we will walk you through setting up your sending domain in Nudge — an important step to make sure your emails land in your customers' inboxes, not their spam folders.
Introduce Sending Domain Setup
Sending emails from a verified custom domain builds trust with email providers and significantly improves your deliverability. It also means your emails arrive from your own branded address rather than a generic one. Let's get it set up.
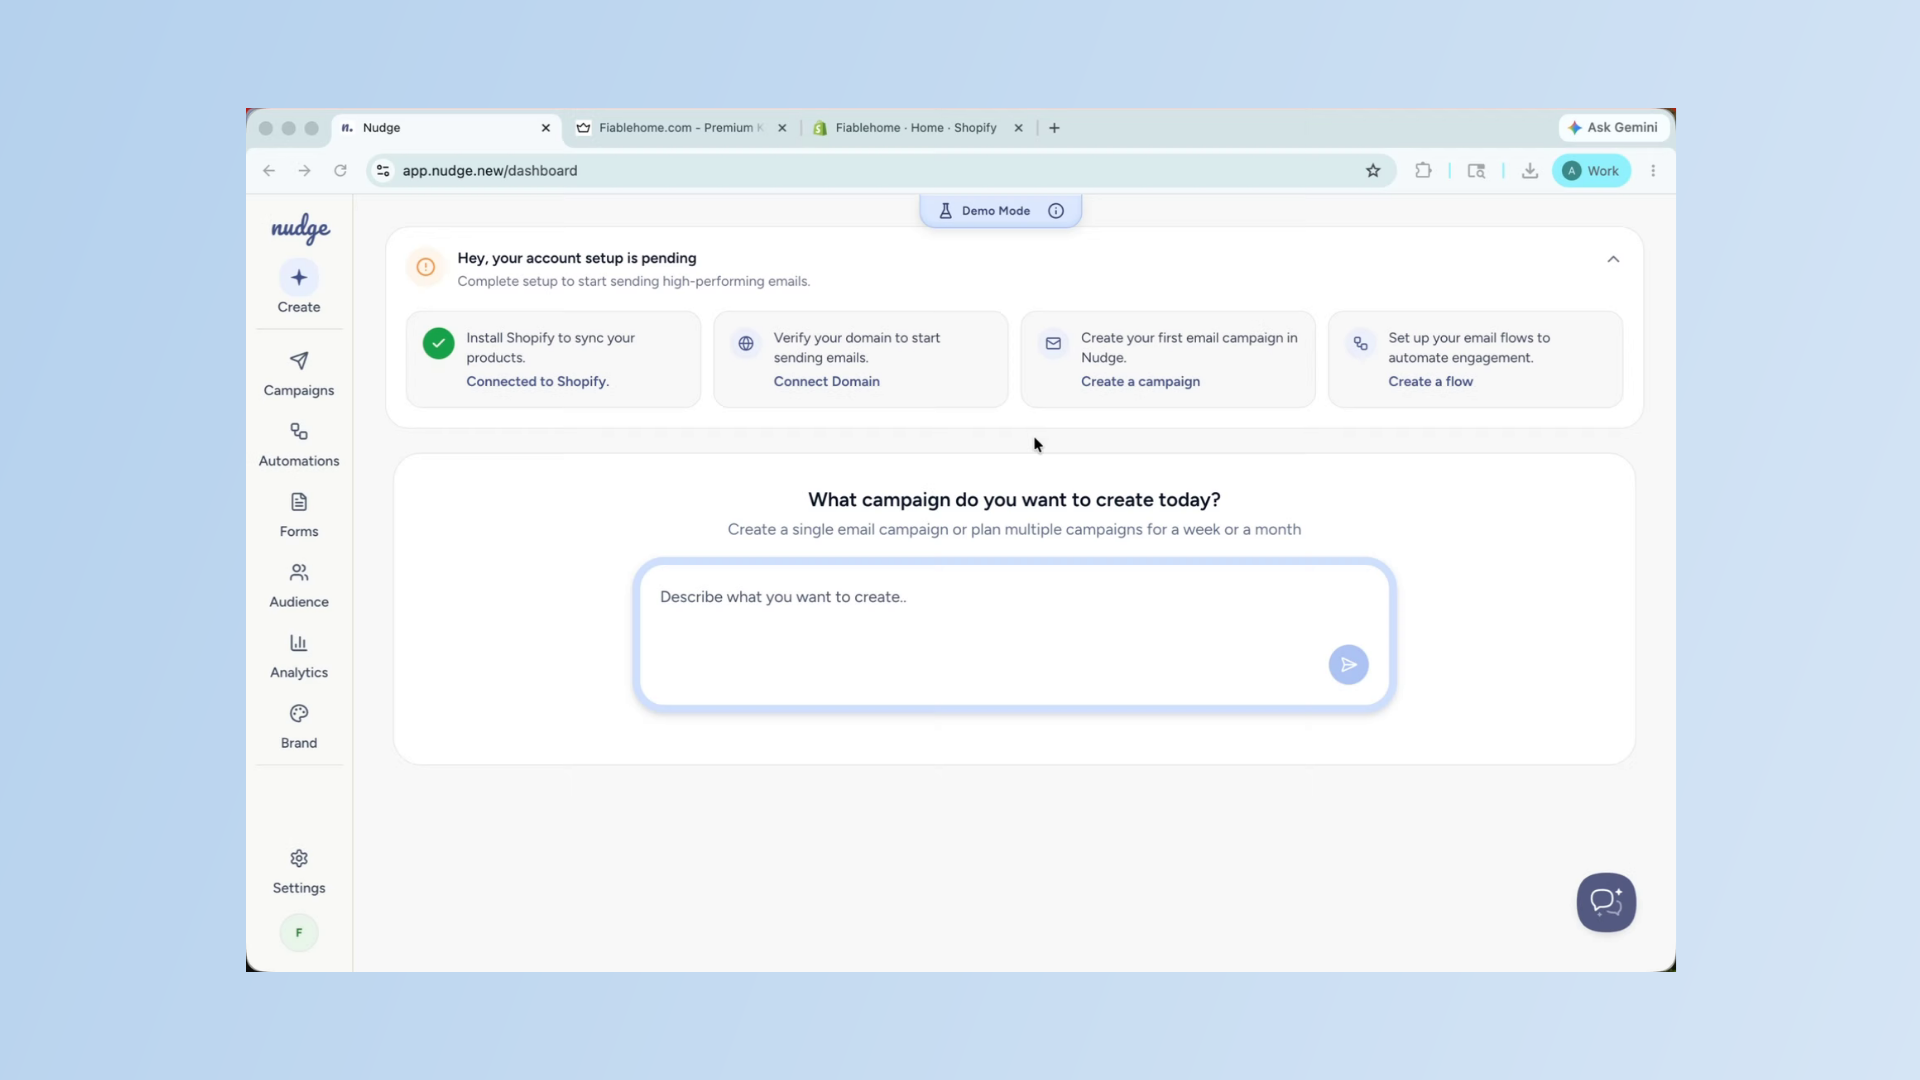
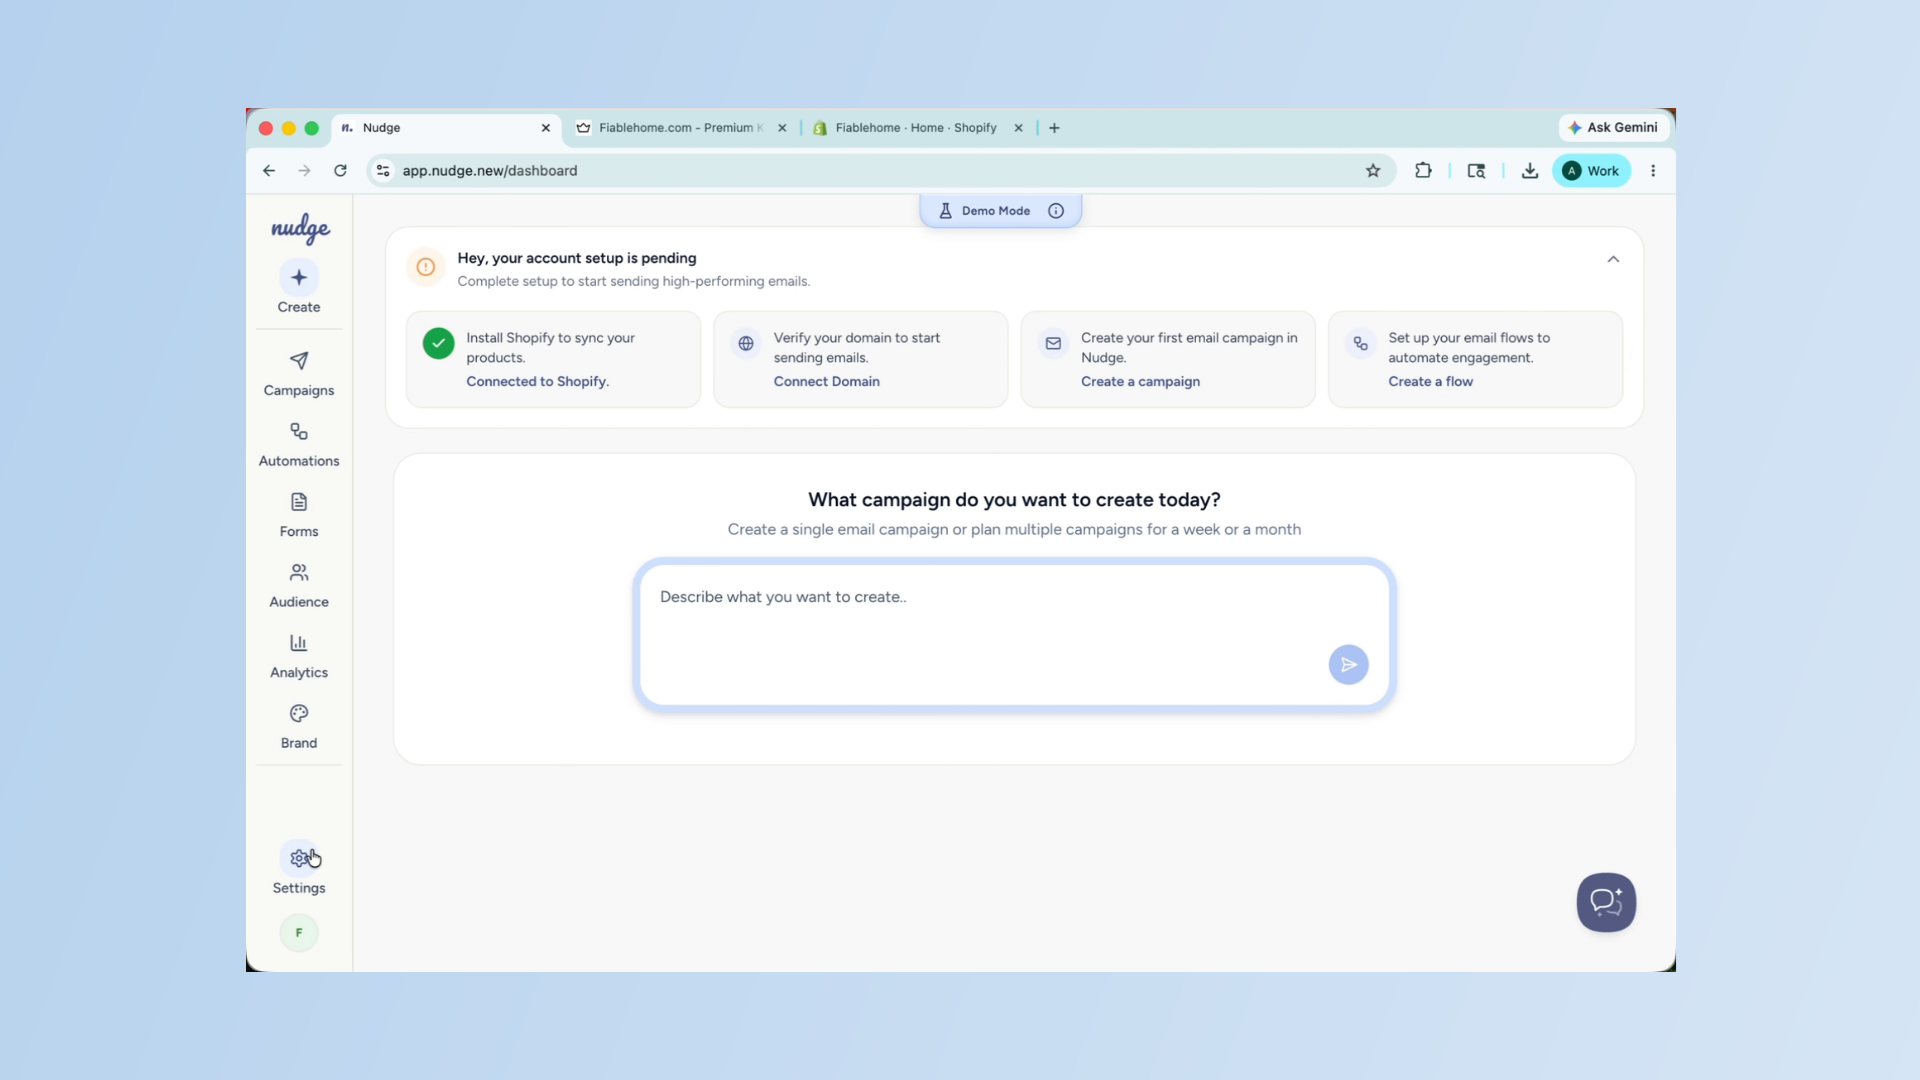
Access Domain Setup Settings
From the dashboard, go to Settings and click on Domain Setup. This is where you will add and verify your sending domain.
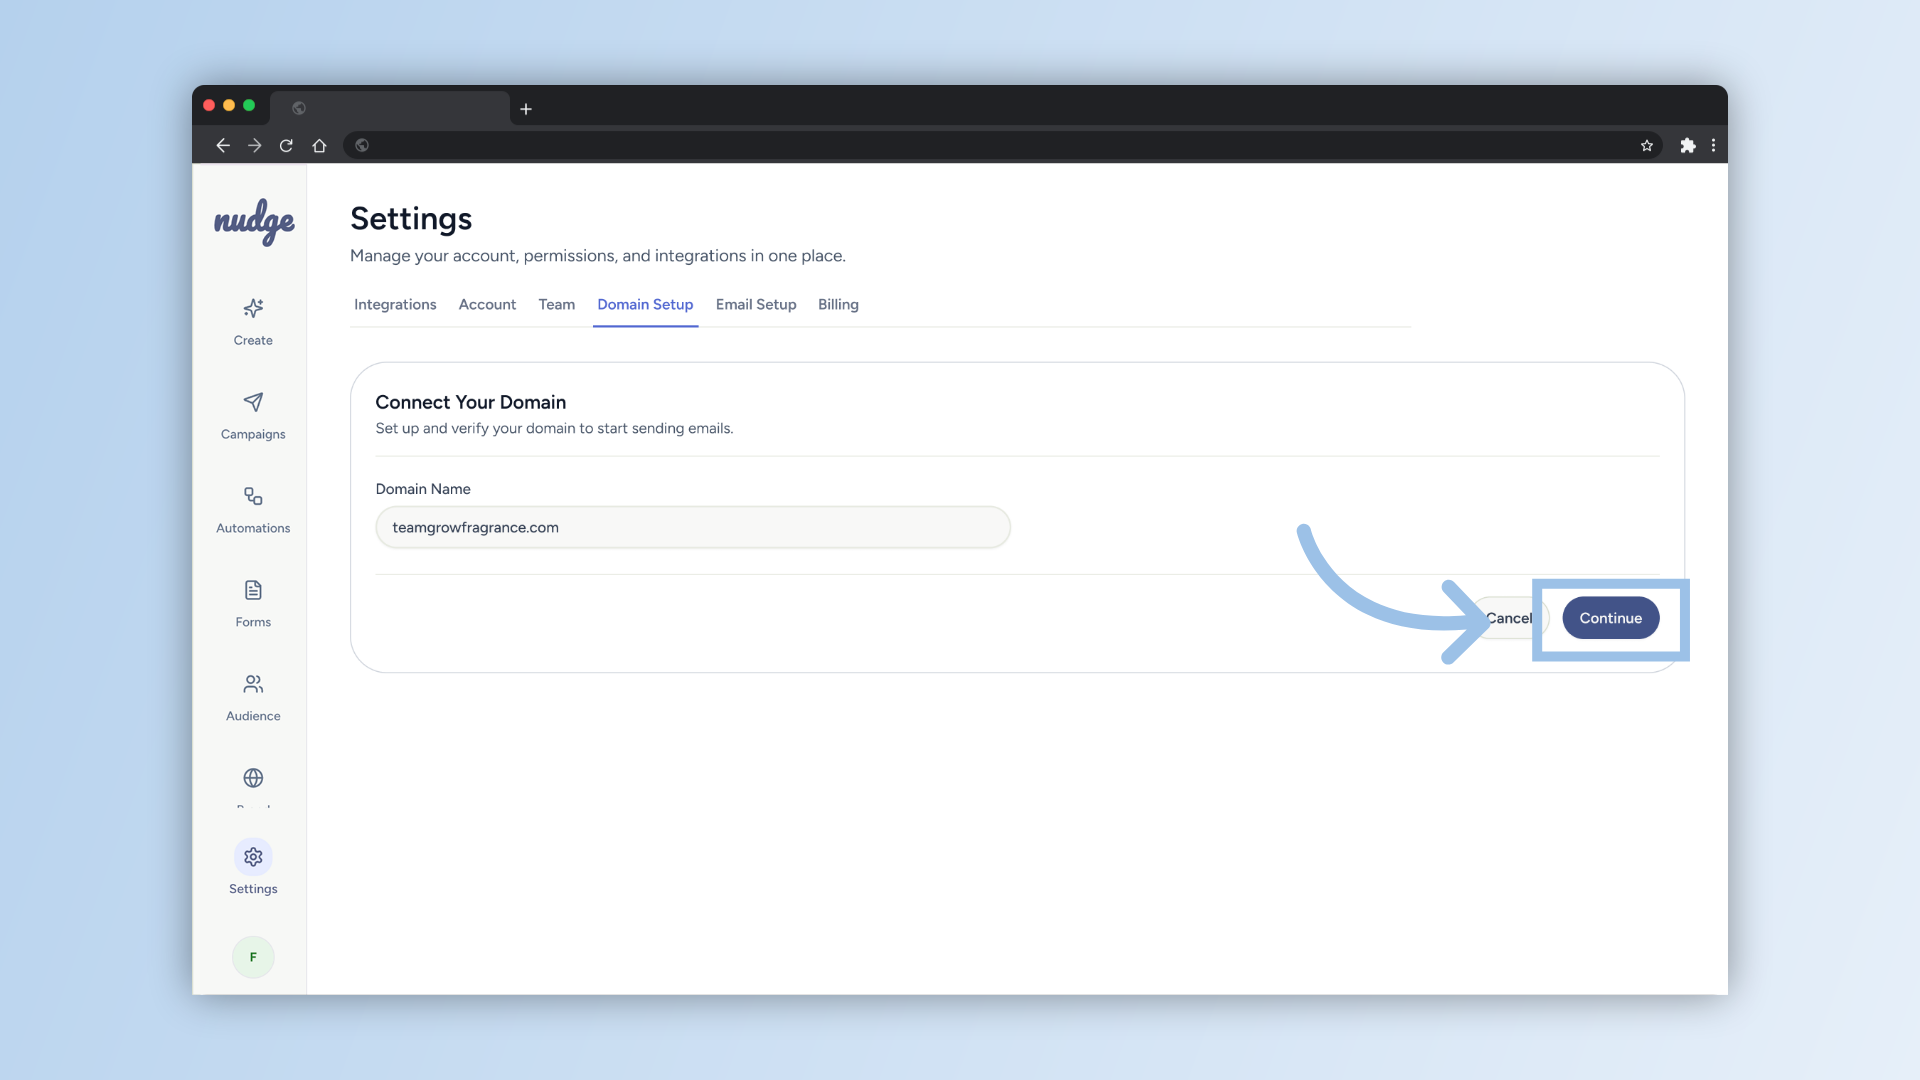
Enter Your Domain
Type in the domain you want to use for sending — for example, yourstore.com. Nudge will generate a set of DNS records that you will need to add to your domain provider. Copy these records — you will need them in the next step.
Add DNS Records
Head to your domain provider — this could be GoDaddy, Namecheap, Cloudflare, or wherever you registered your domain. Find the DNS settings and add the records Nudge has given you. This usually takes just a few minutes to do, though the records themselves can take up to 24 to 48 hours to verify.
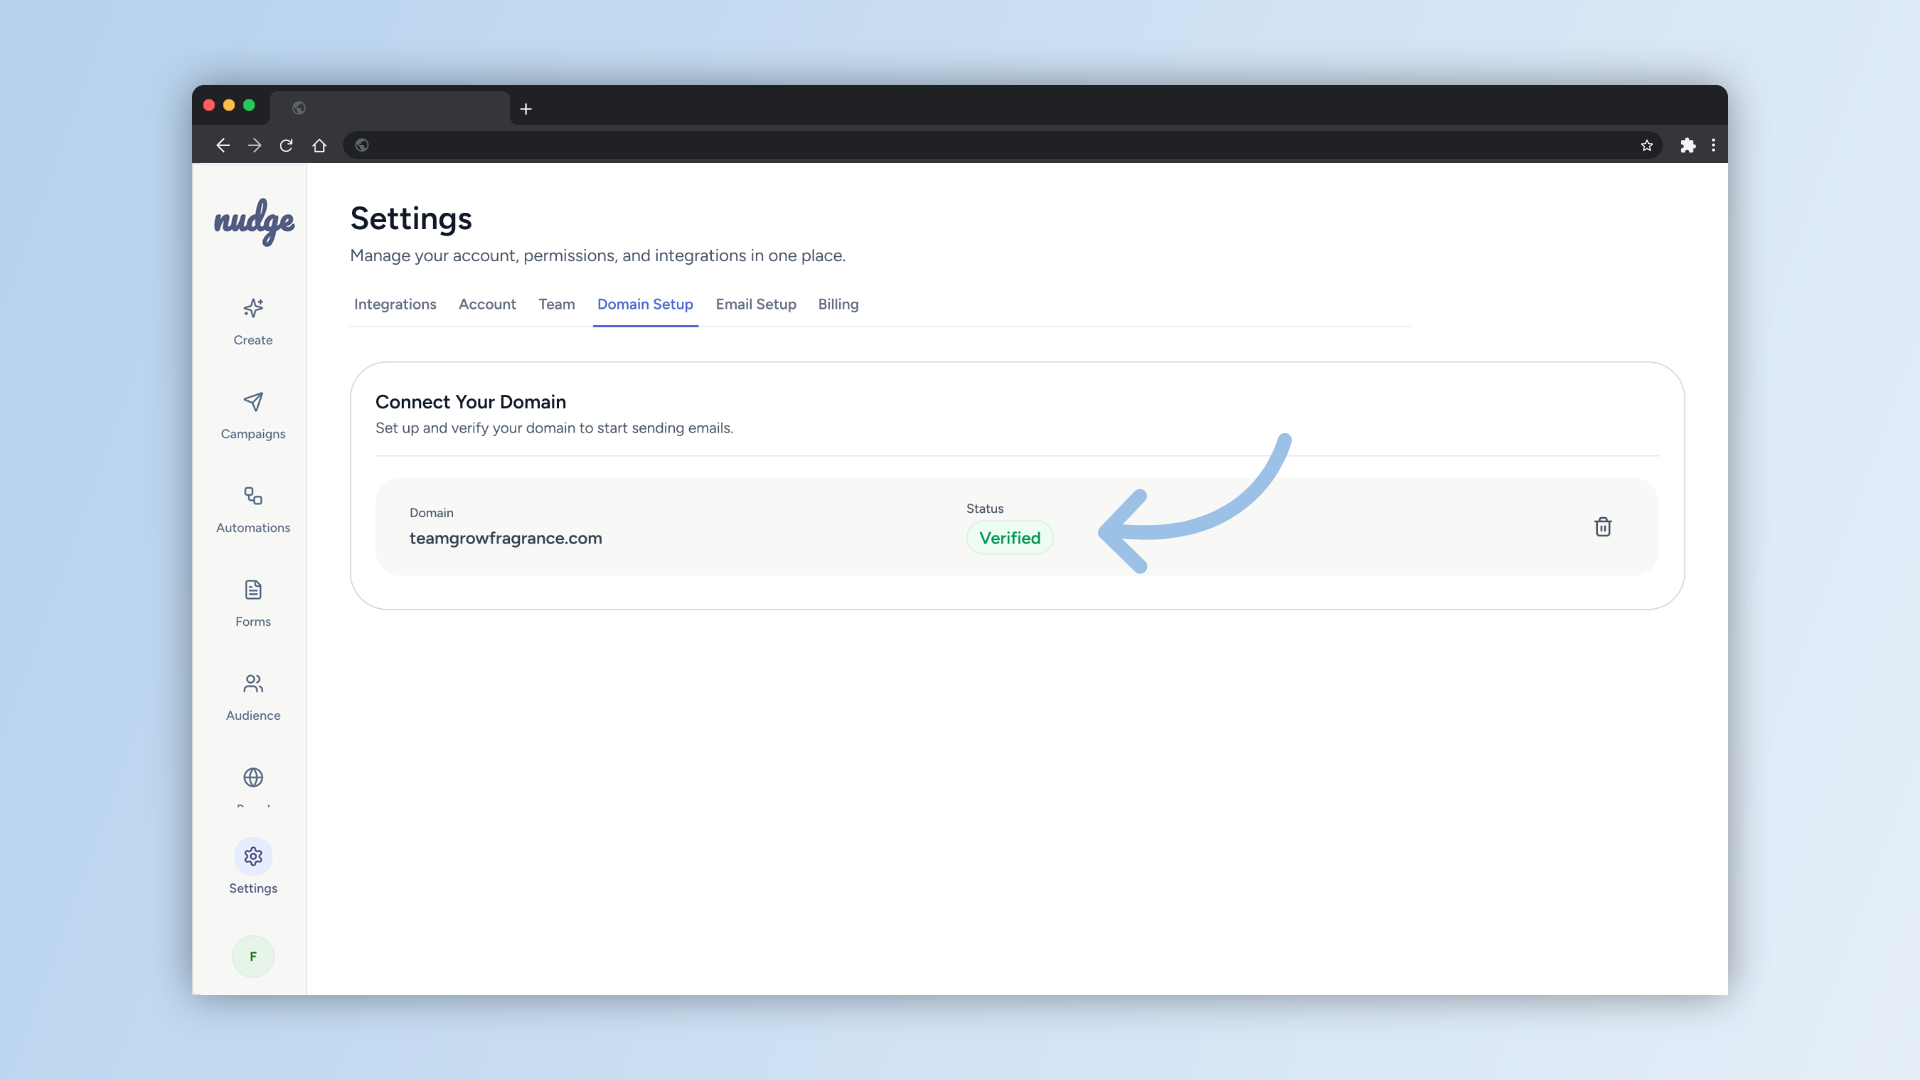
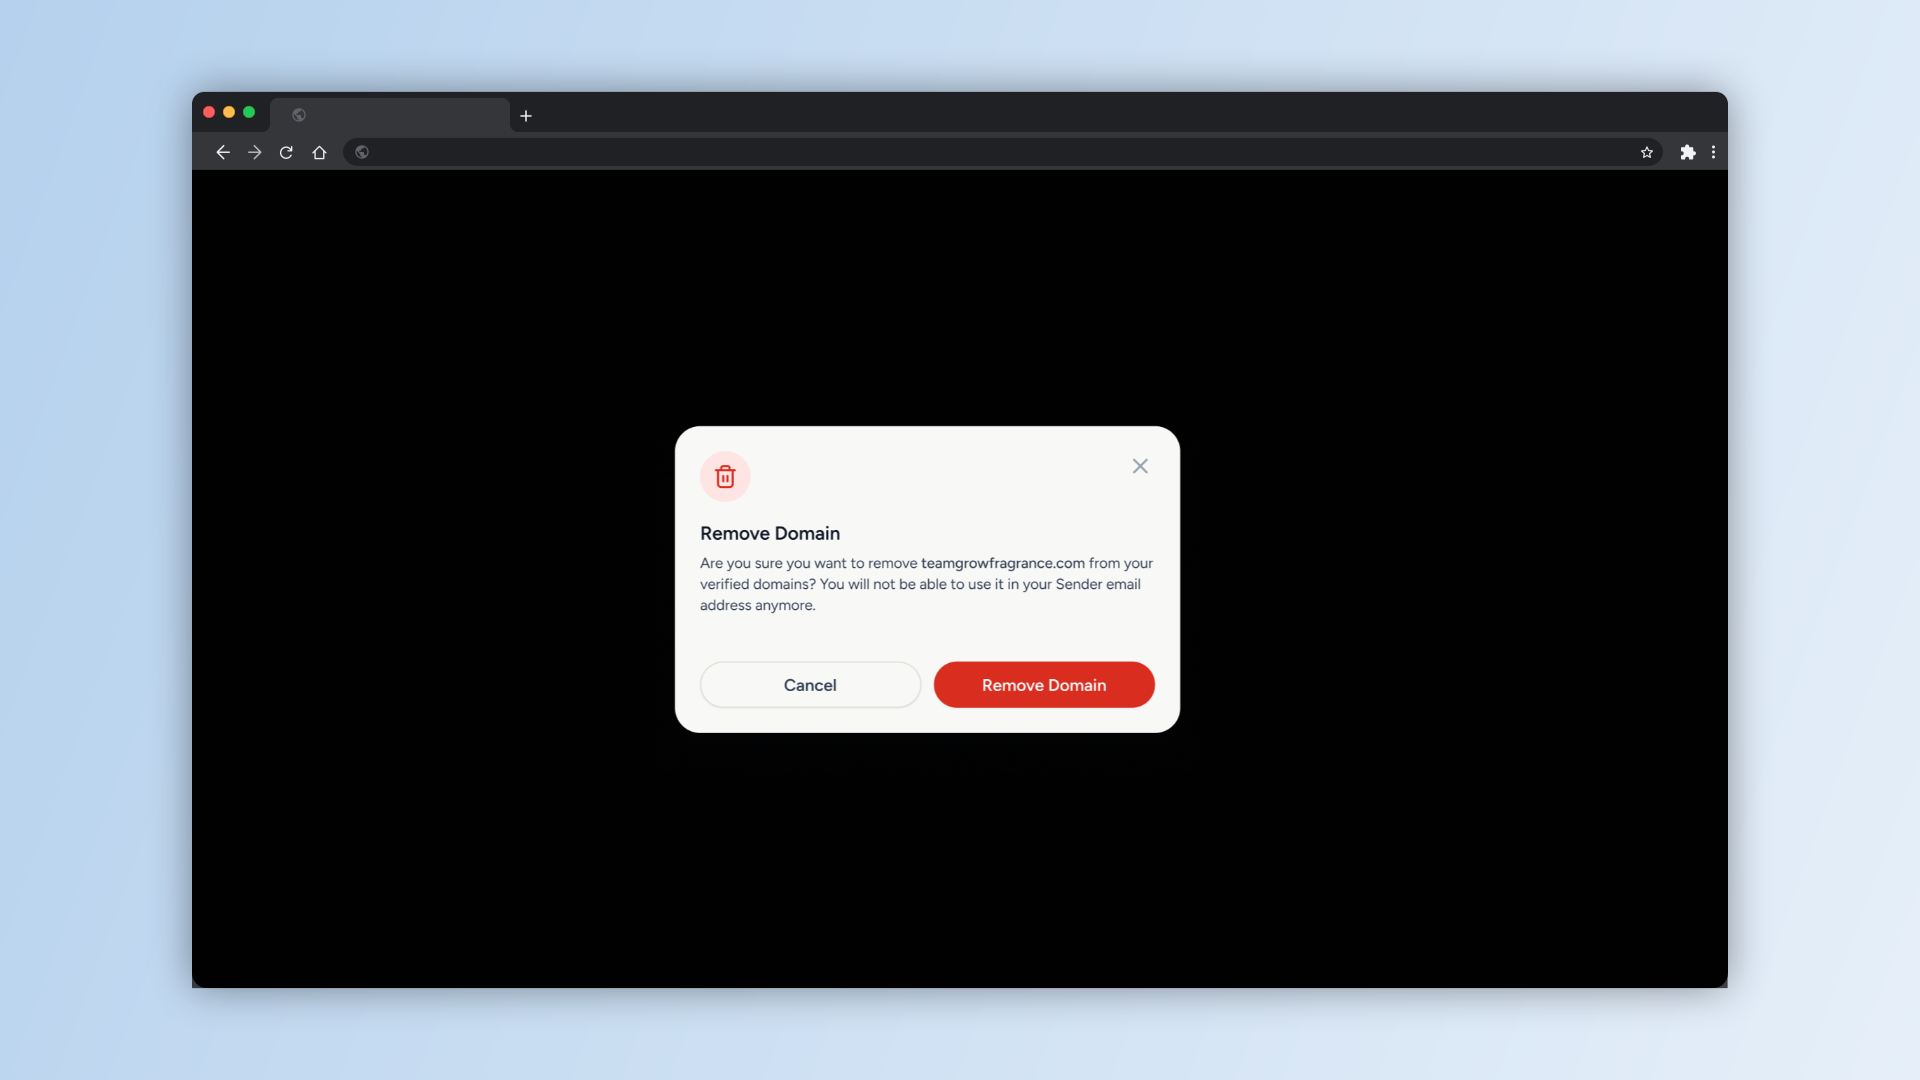
Remove Domain
If you ever need to remove a domain, you can do so right. Just keep in mind that once it is removed, it can no longer be used as a sending address — so make sure you are ready before you confirm.
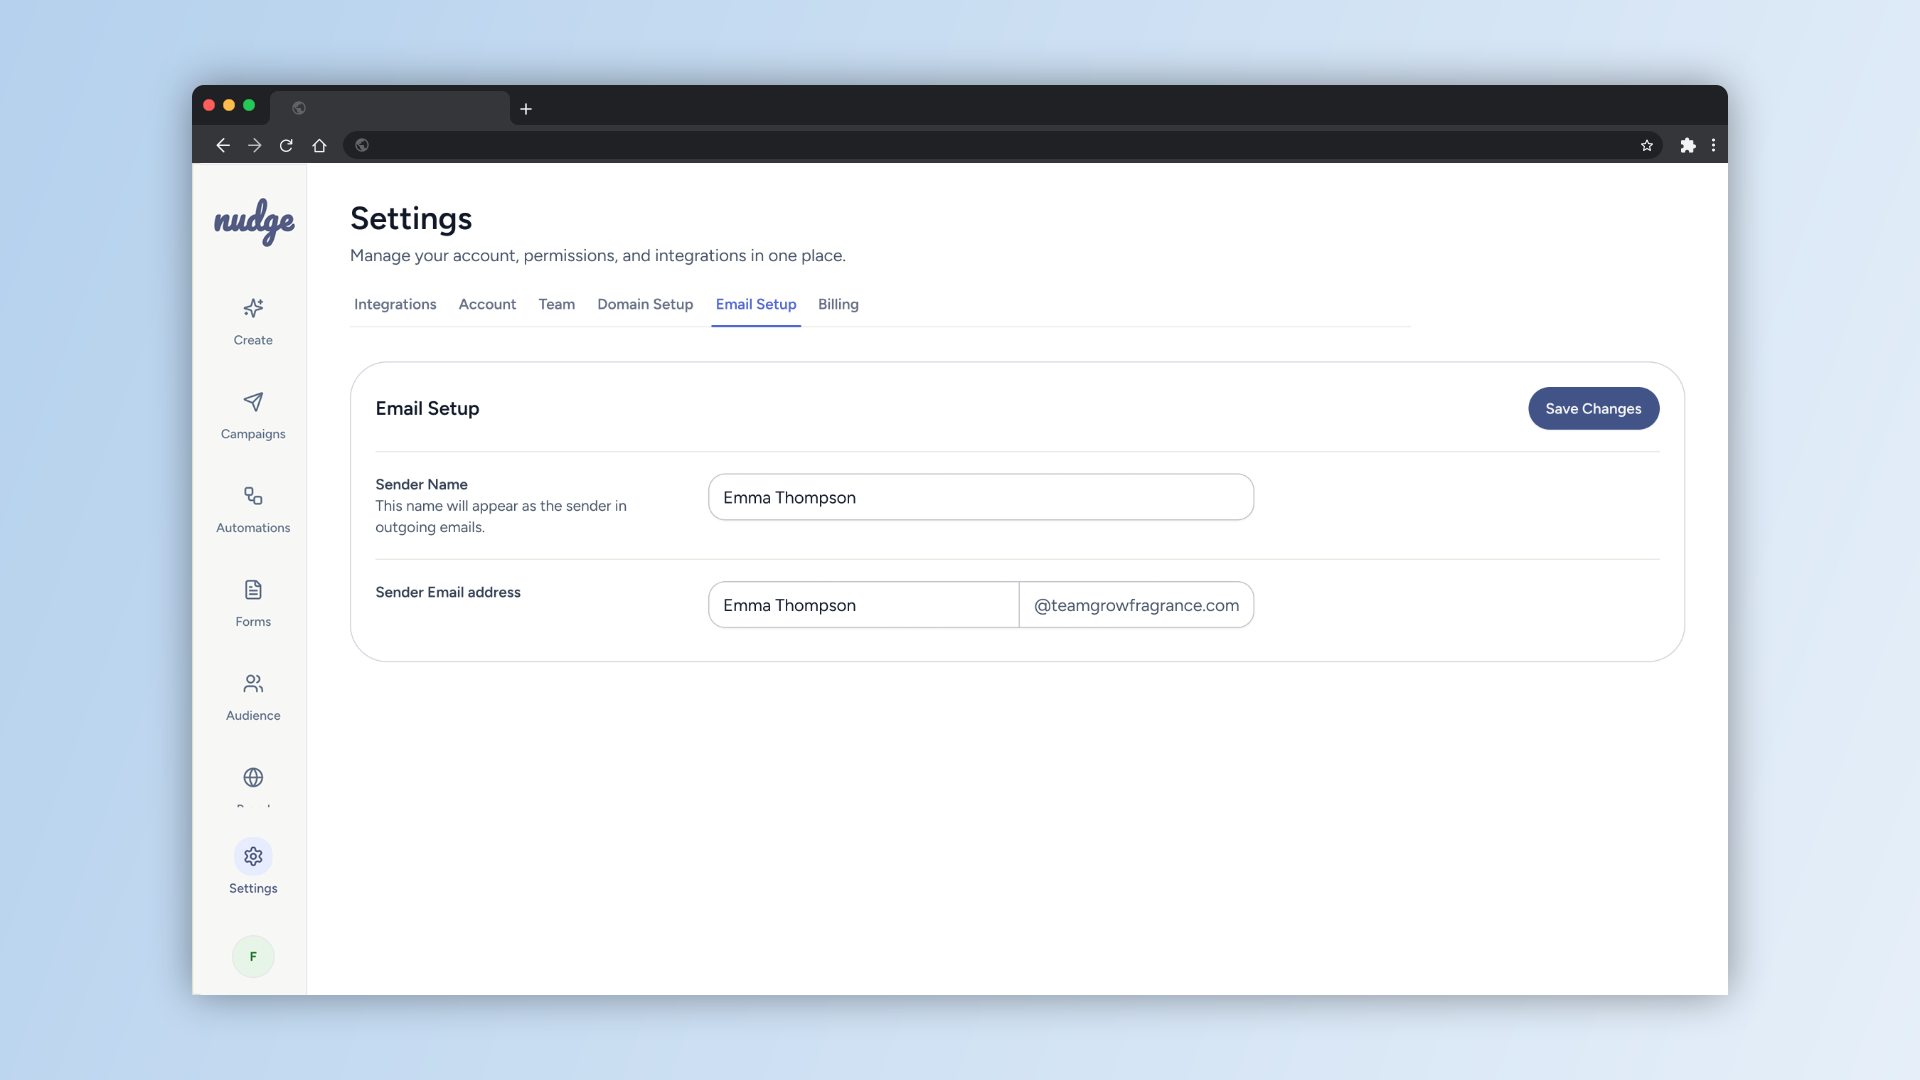
Set Up Your Sender Details
With your domain verified, head to the Email Setup section to save your sender name and sender email address. This is the name and address your customers will see when your emails land in their inbox — make sure it feels familiar and on-brand.
Your sending domain is all set! From now on, every email you send through Nudge will come from your own branded address, which goes a long way in building trust with your customers and keeping your emails out of spam. You are now ready to send your first campaign.