Upload And Import Customer Lists Efficiently In Nudge
This tutorial guides you through uploading your customer list into Nudge to start sending targeted campaigns. Before you begin, ensure you have a CSV file with accurate contact details ready for import.
Access Audience Import Section
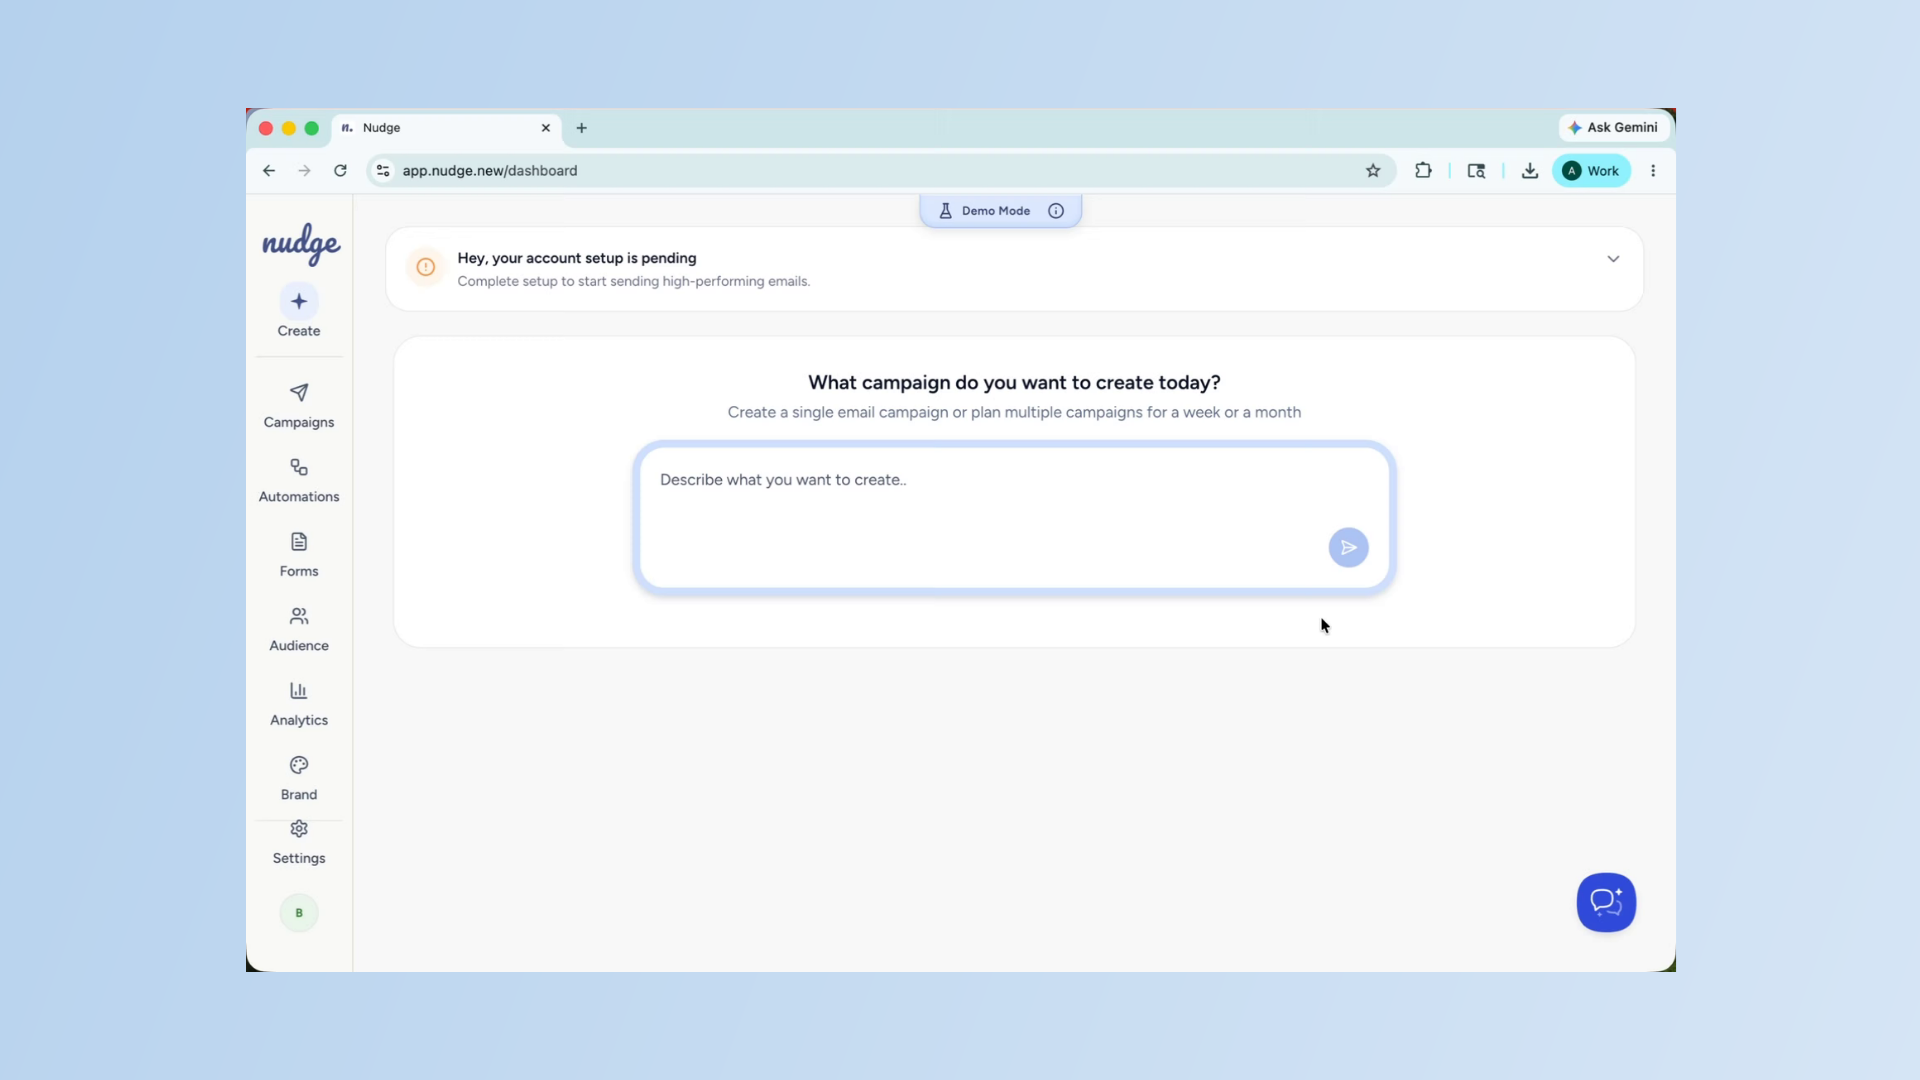
In this video we'll show you how to upload your customer list into Nudge so you can start sending campaigns to the right people right away. If you are moving over from another platform or just getting started, bringing your existing customers into Nudge is one of the first things you will want to do. All you need is a CSV file with your correct contact details, and it takes just a few minutes. Let's walk you through it. From the dashboard, click on Audience in the left panel. This is where all your contact lists live. Go ahead and click on Import Audience to get started.
Upload Customer CSV File
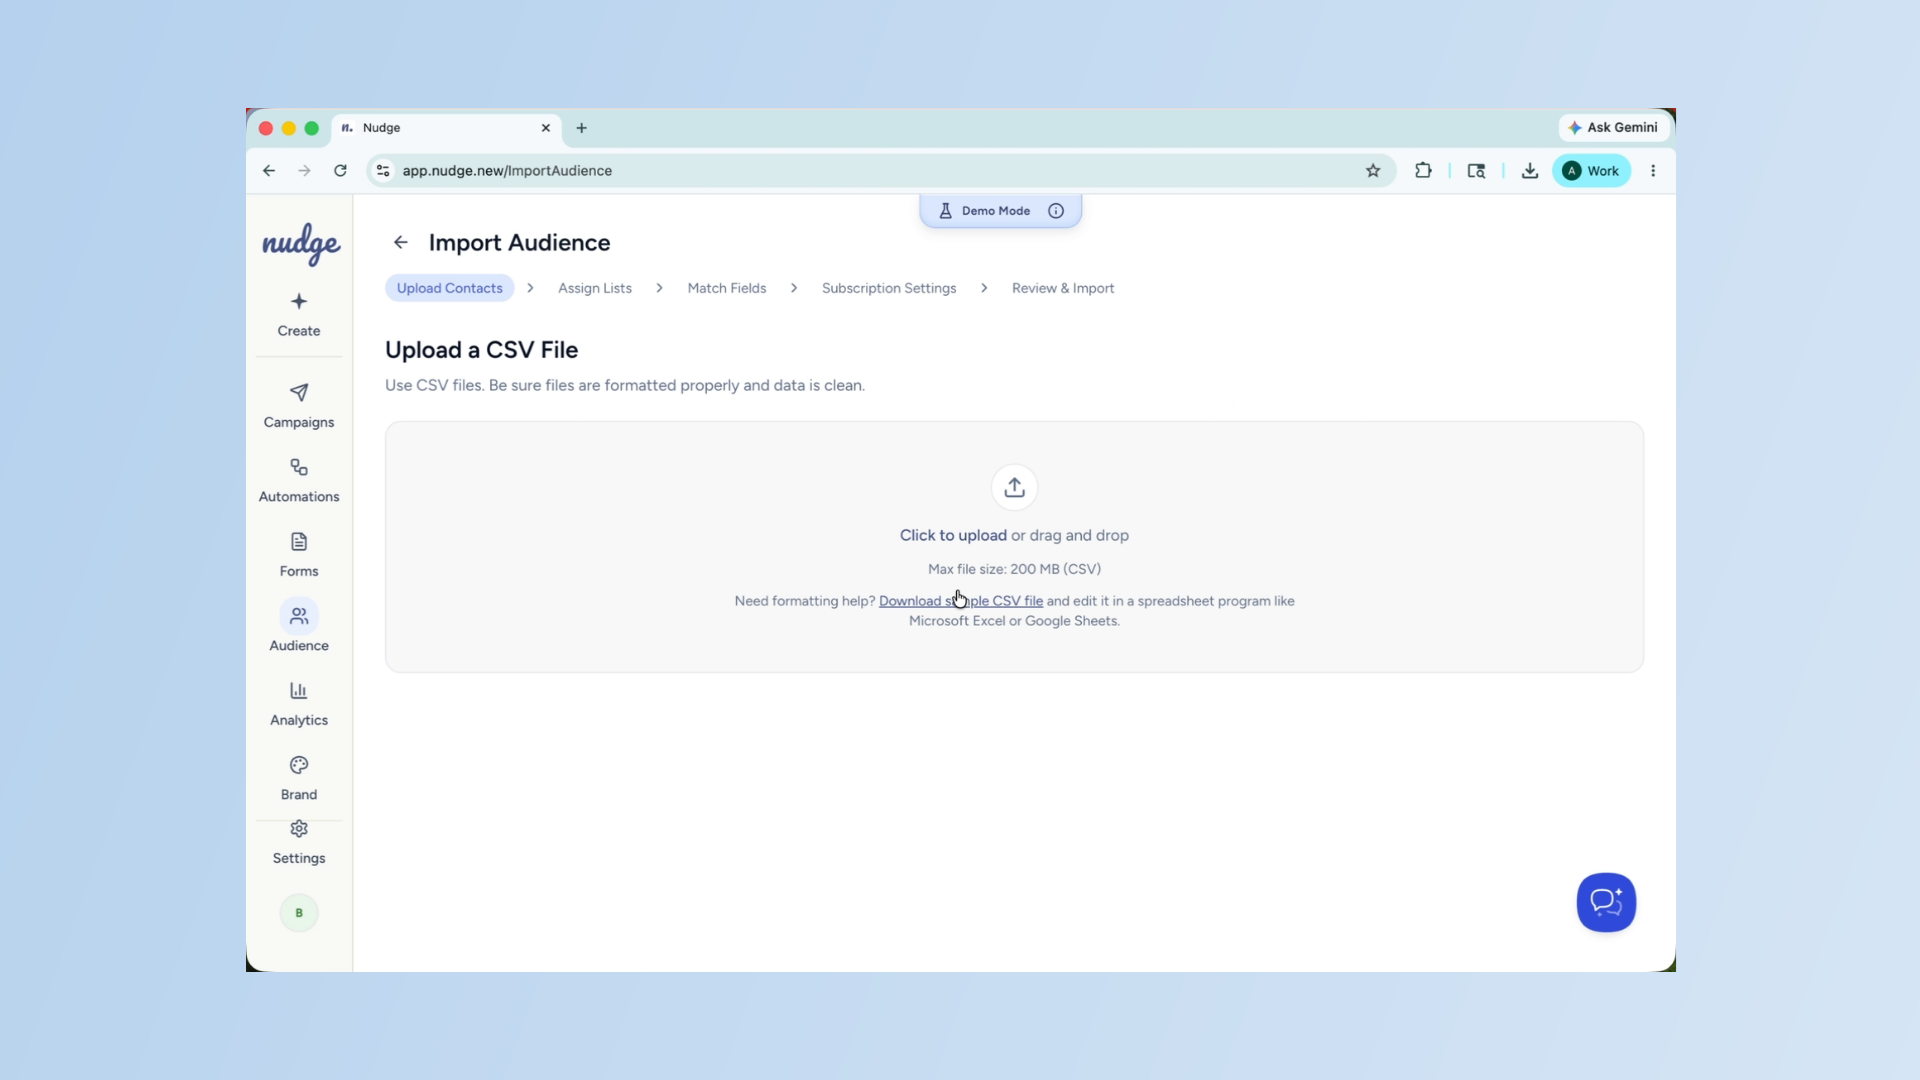
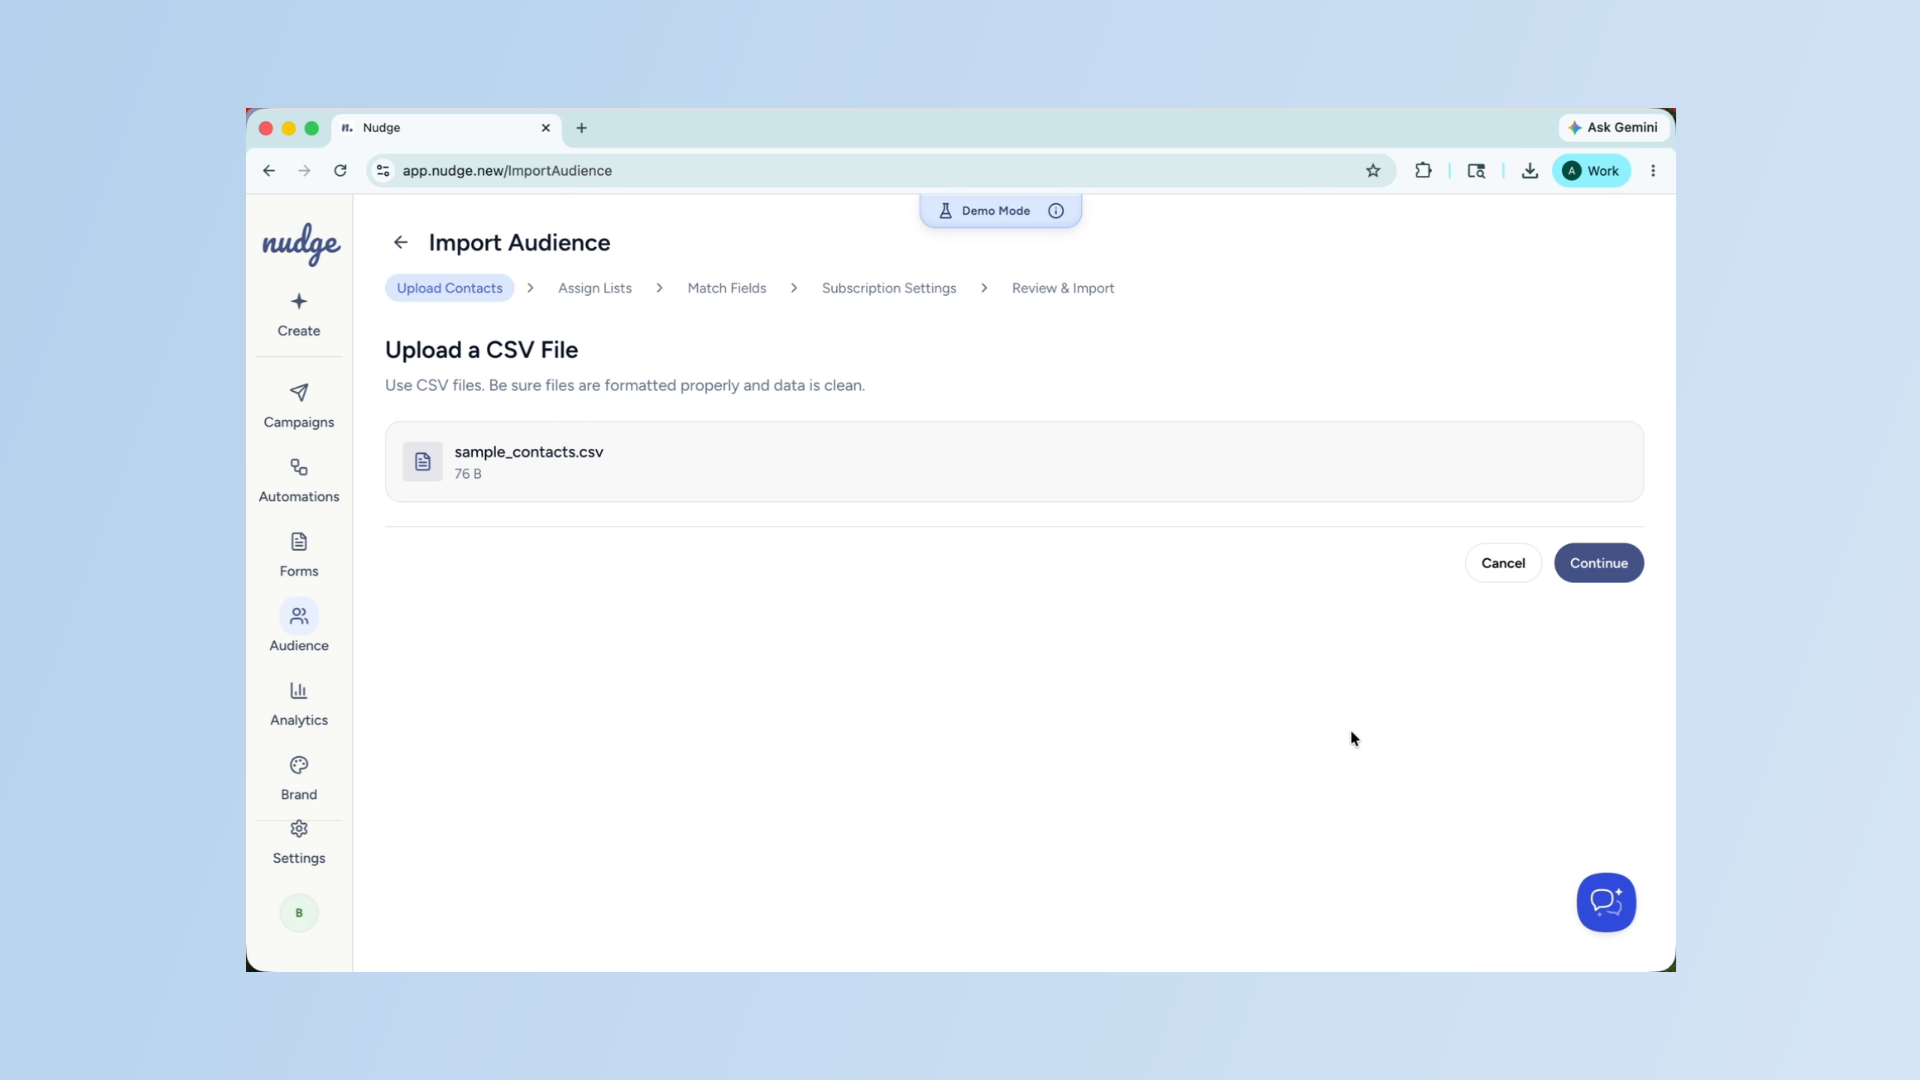
The import screen: click to upload the list of your CSV file. Before you upload, make sure your file has clear column headers, such as first name, last name, email address, and phone number. The clearer your file is, the smoother the mapping step will be later. Once the file is selected, go ahead and upload it.
Choose Or Create Contact List
Next, the nudge will ask you where this contact should go. You can either add them to a list you have already created or start with a new one. For this example, we are going to create a new list. Go ahead and click on create a new list.
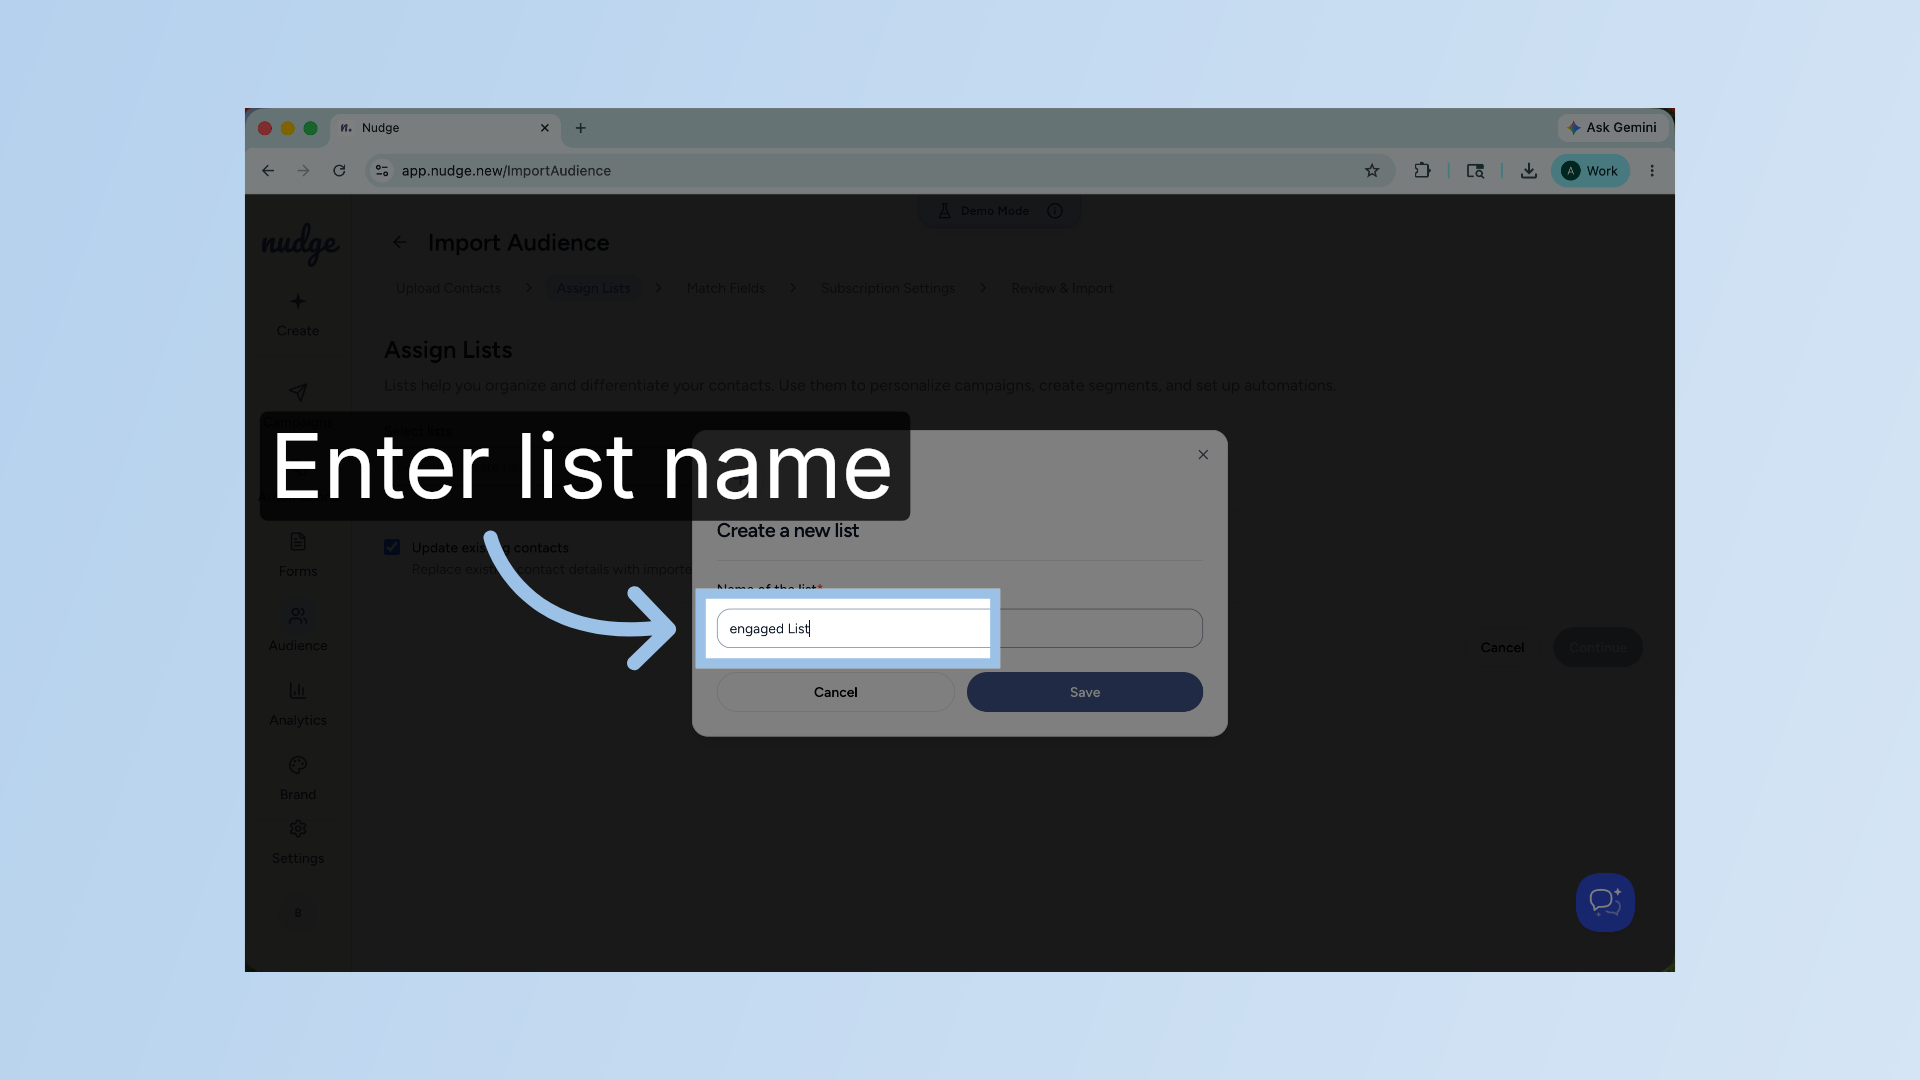
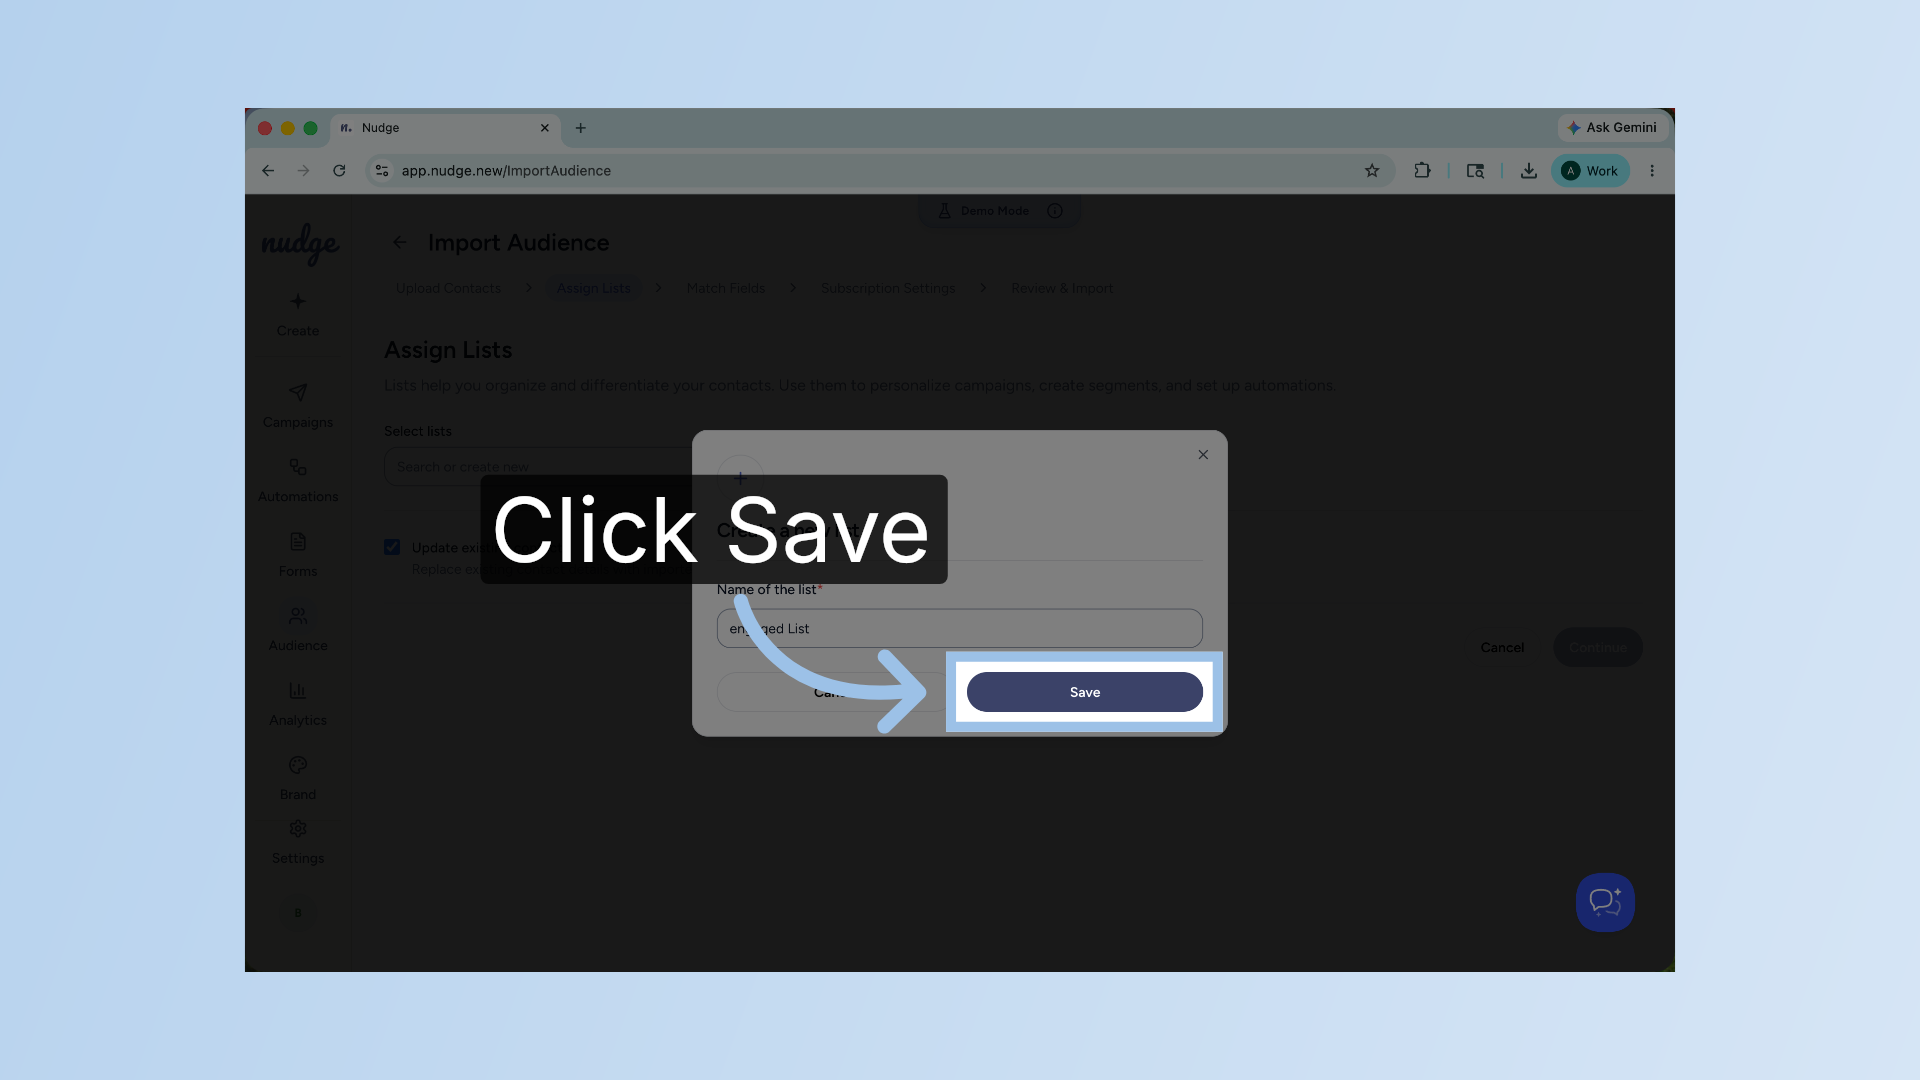
Enter List Name Field
Click the field to enter a name for your new contact list.

Enter Contact List Name
Enter your contact list name to identify it within Nudge.
Save New Contact List
Click the Save button to create your new contact list.
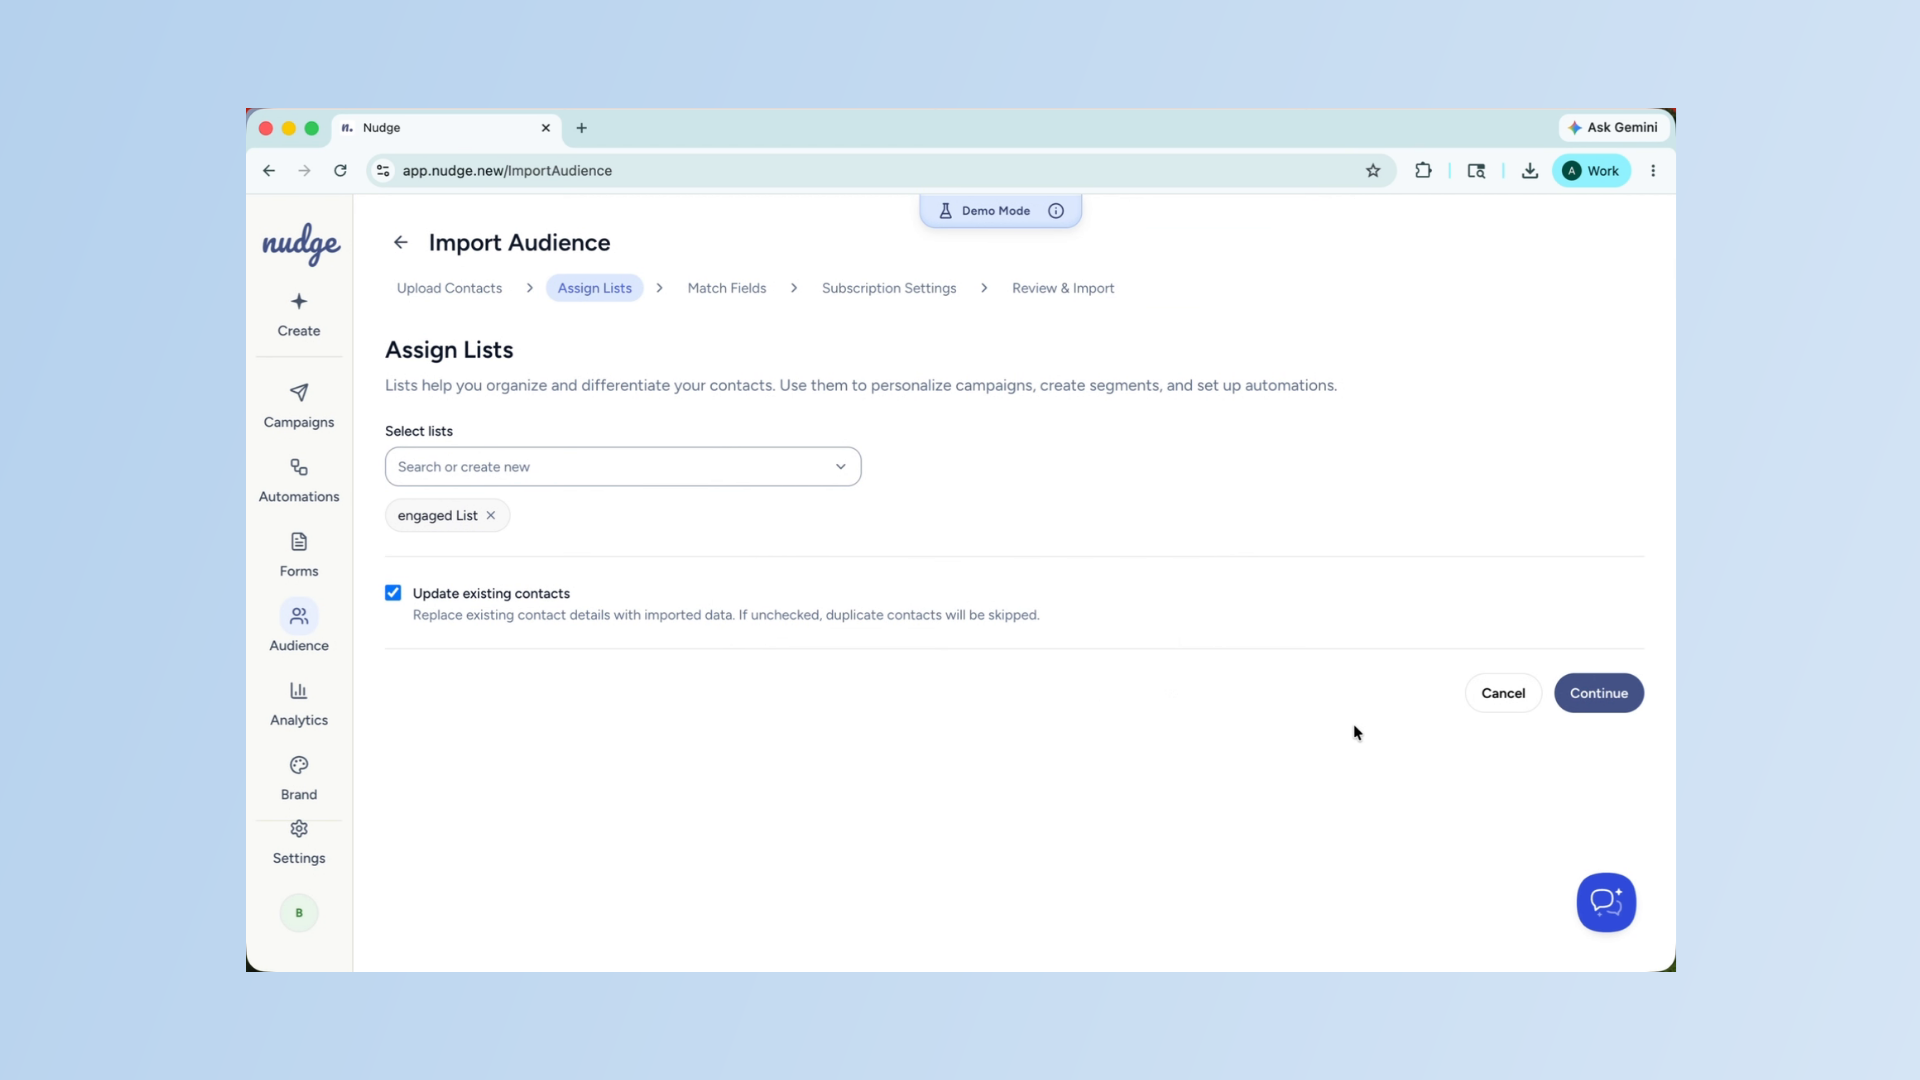
Confirm New List Creation
Then click on continue. Your new list is created and all the contacts from your CSV file will be assigned to it once the import is complete. You will be able to see the list in your audience section and use it to target campaigns and flows going forward. Now comes the mapping step.
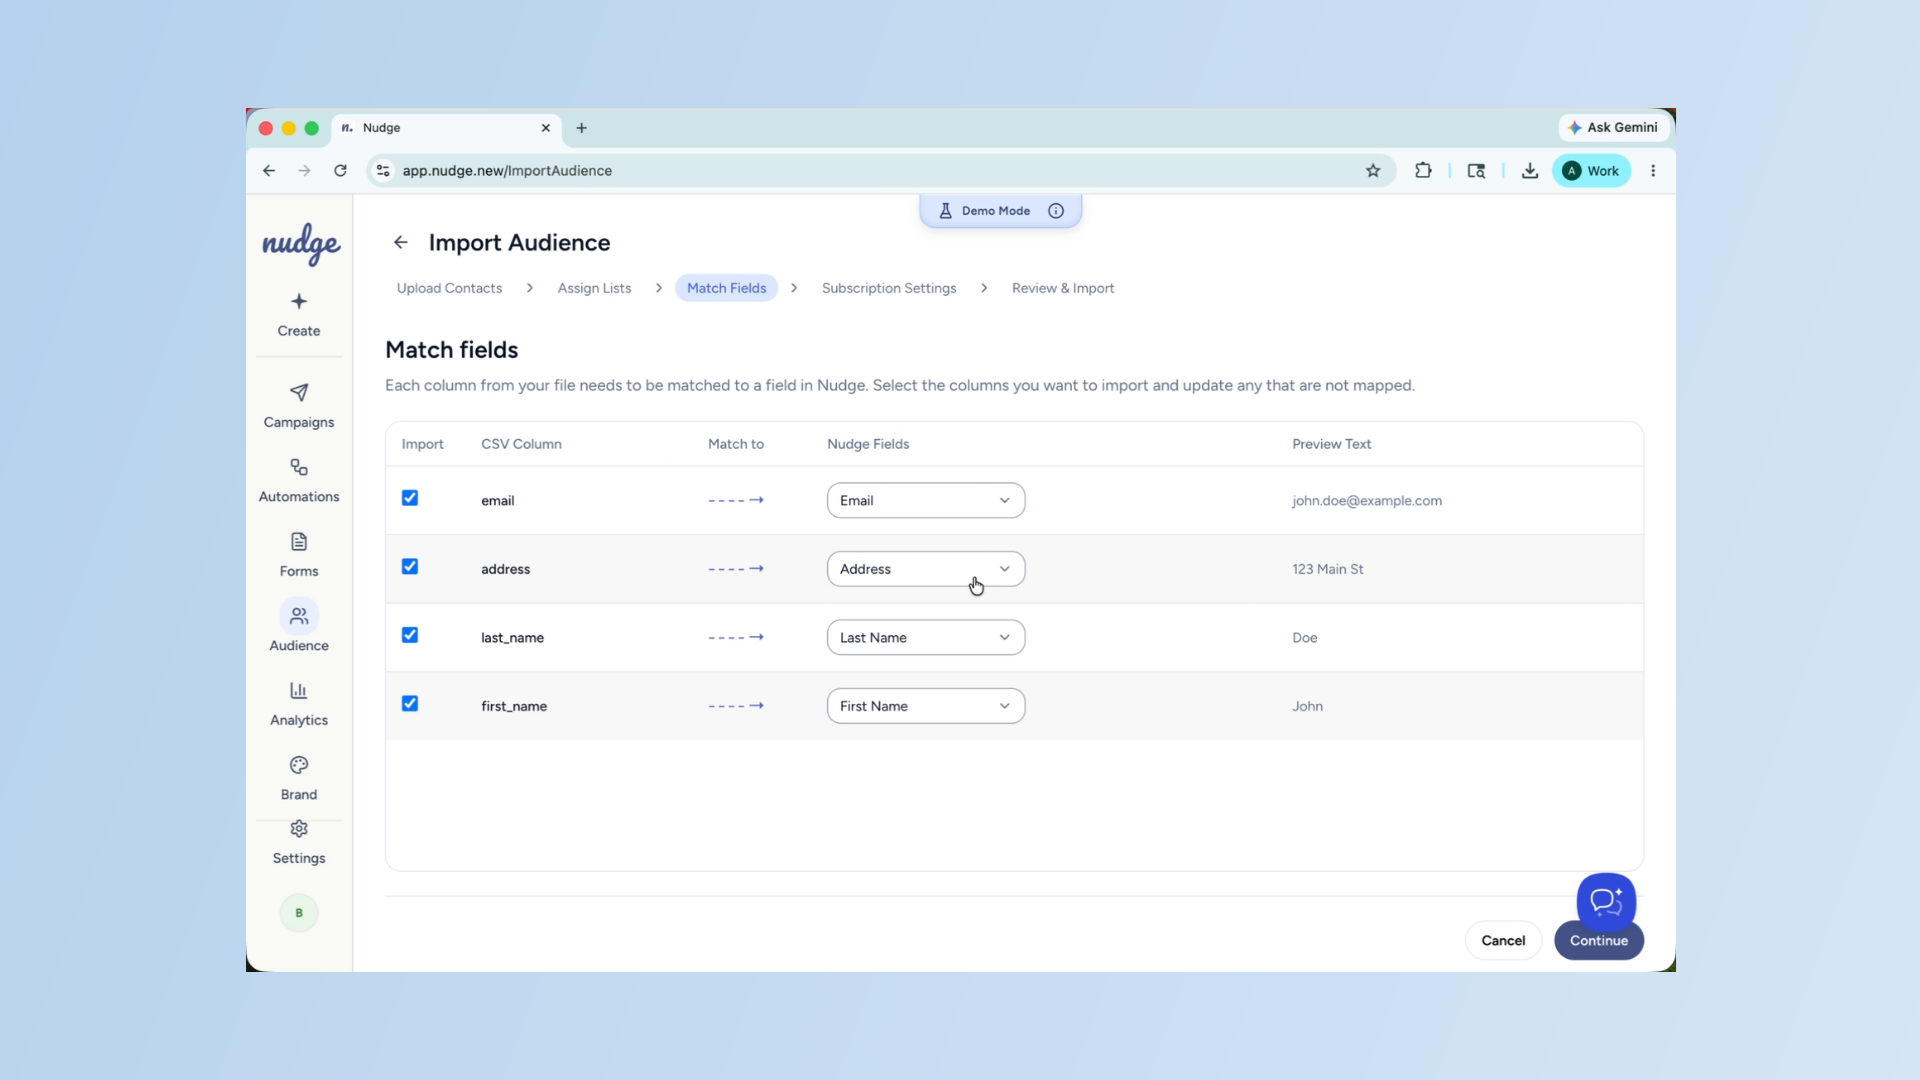
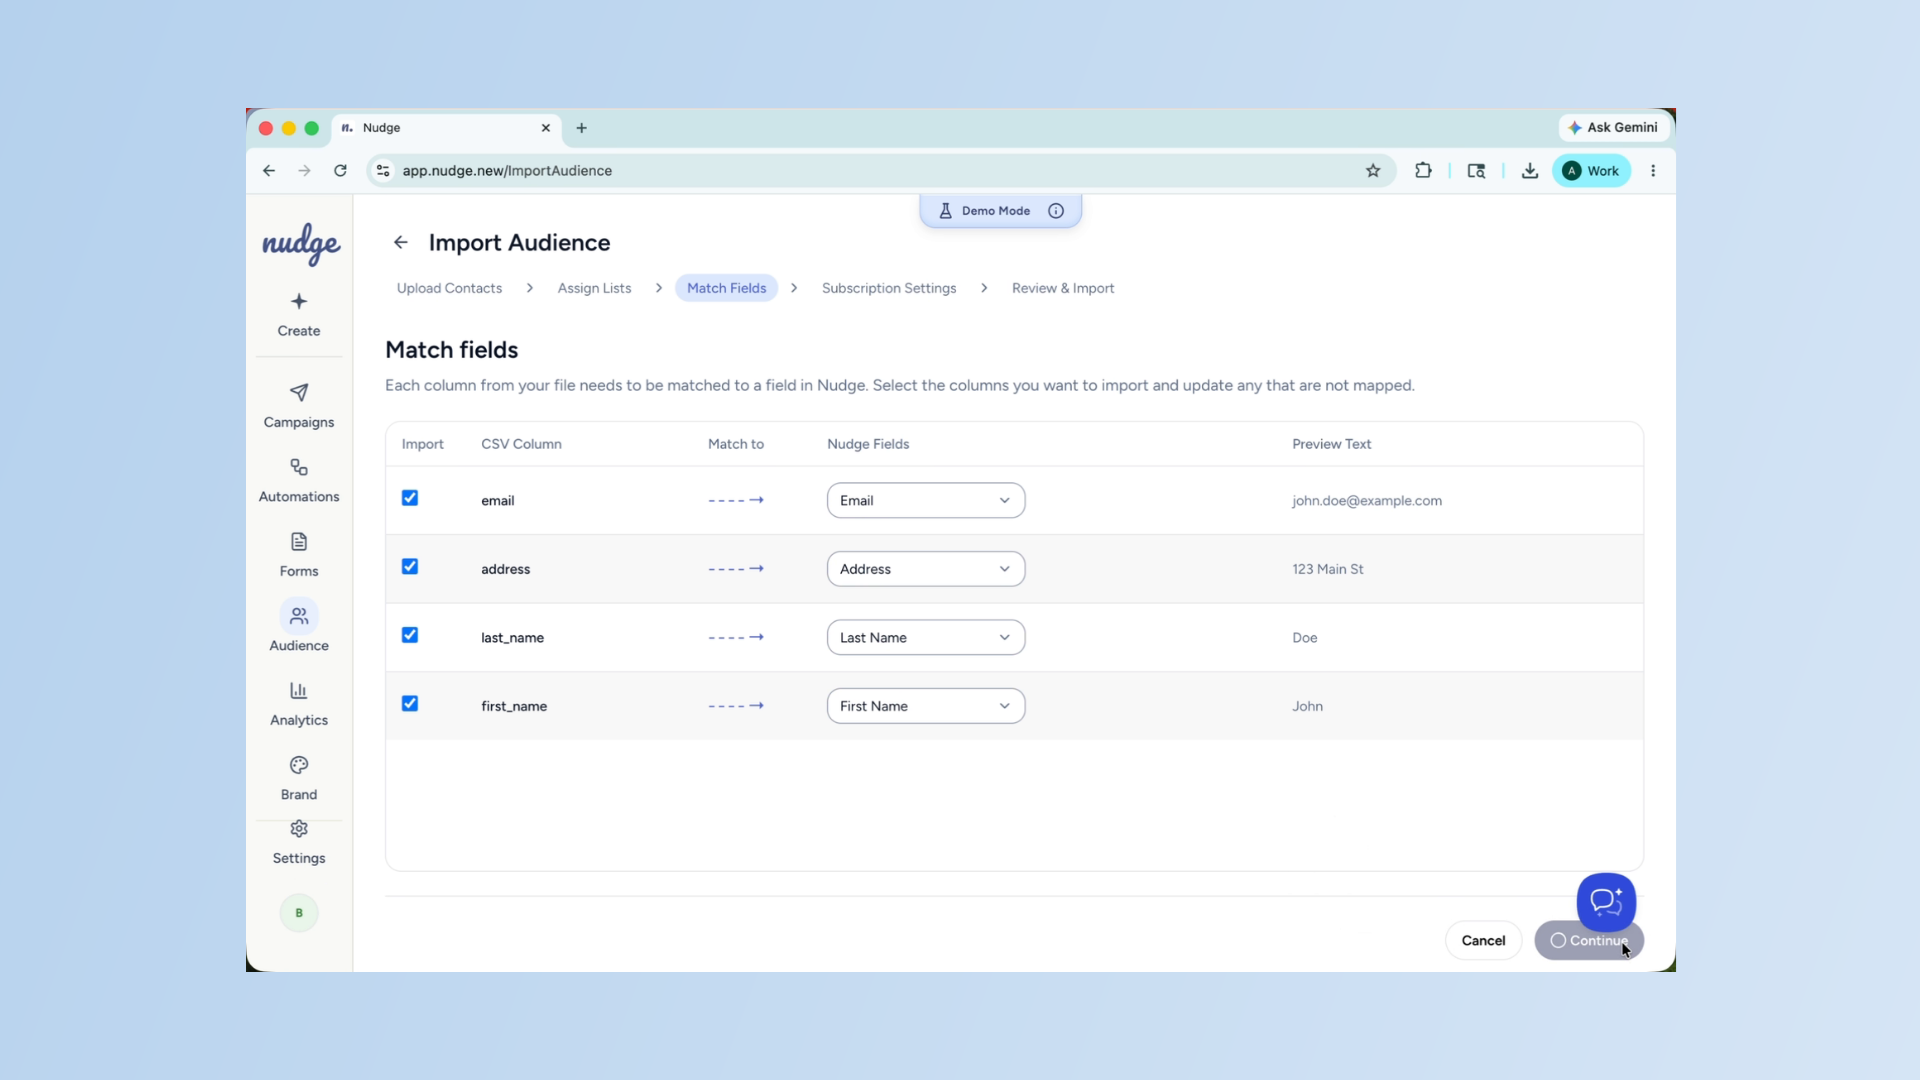
Map CSV Columns To Fields
This is an important one. Nudge will show you each column from your CSV file on the left and ask you to match it to the corresponding field in Nudge on the right. For example, the email column maps to the email field. The first name maps to the first name, and so on. Take your time here. Accurate mapping means your personalization will work correctly in every email you send. For each column, you can search the existing Nudge field to find the right match.

Create Custom Fields If Needed
If you have a custom column in your CSV, like a loyalty tier or a VIP flag, and it does not exist in Nudge yet, you can create a new field on the spot. Just type in the field name, select the appropriate data type, and create a new field. For this example, we take birthdays and select the data type as date, then save. Once you hit create, the new field is saved to your Nudge account and ready to use.
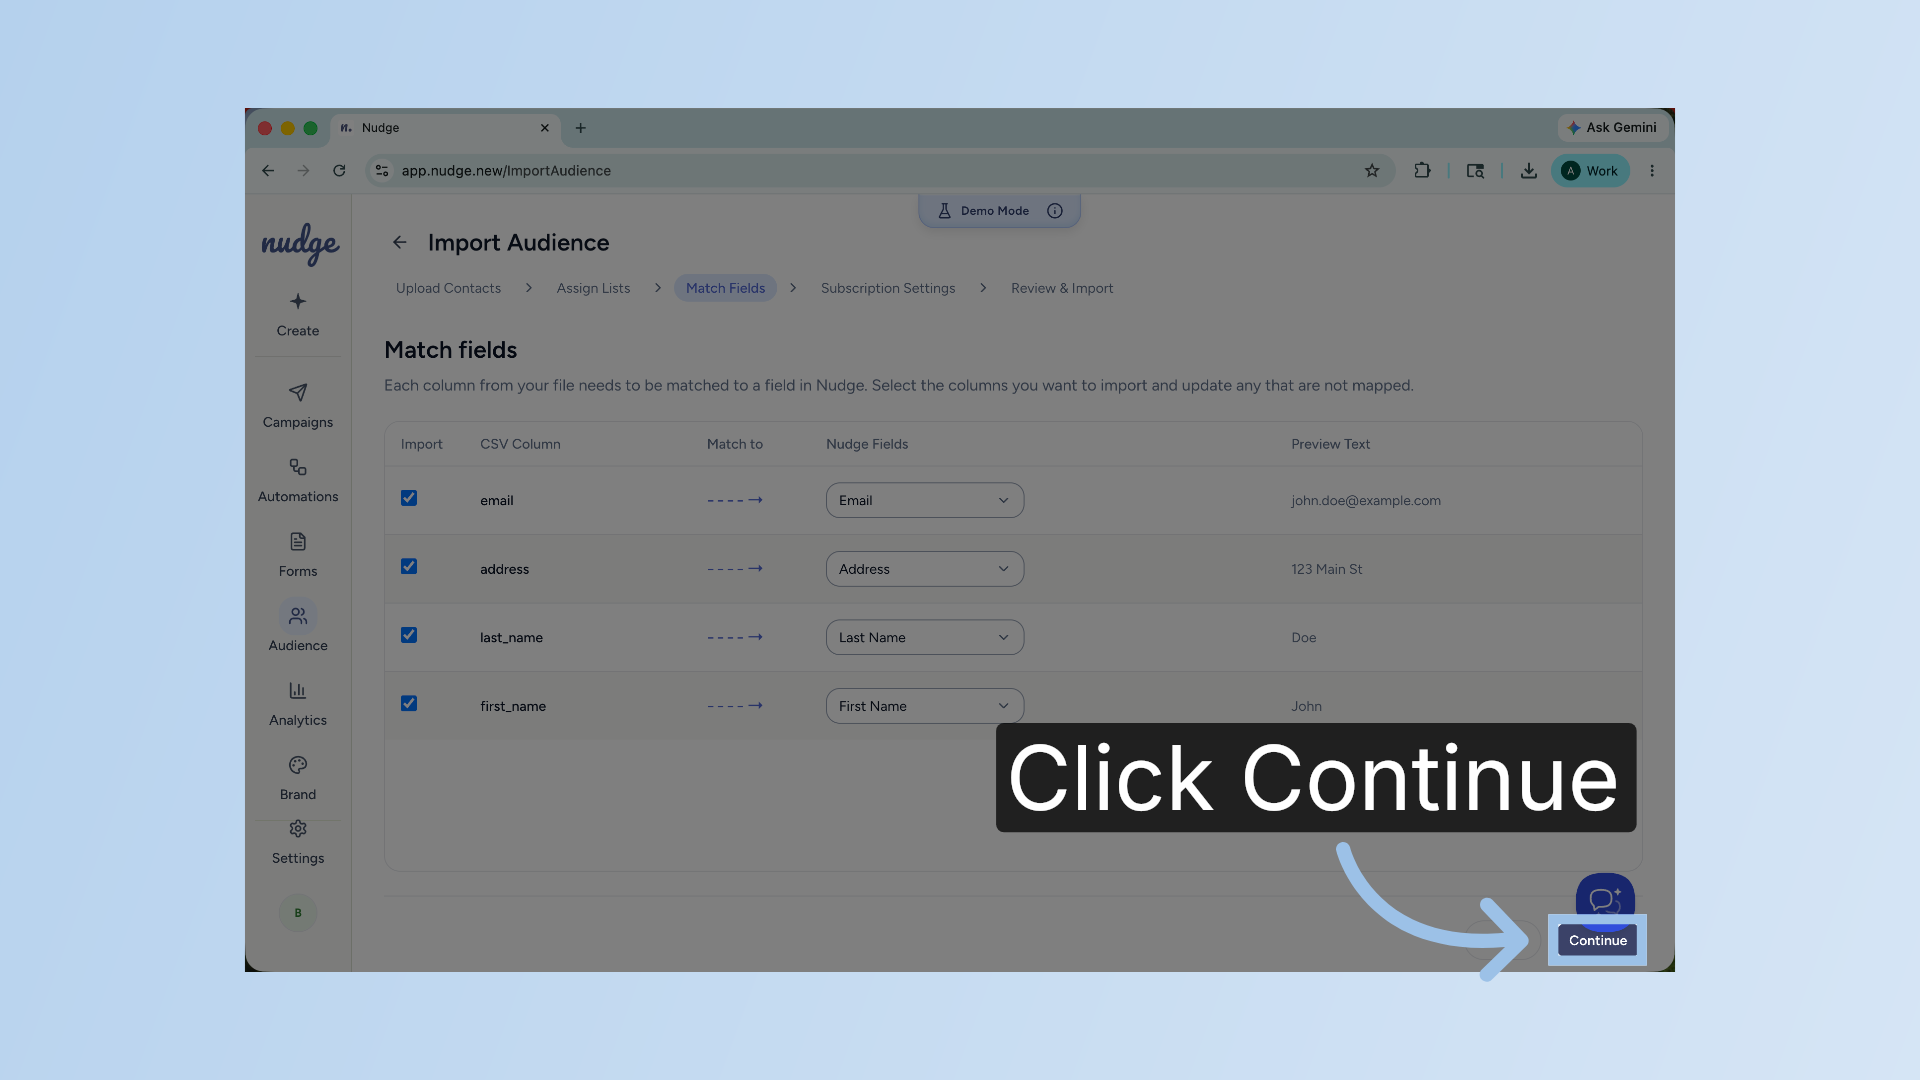
Proceed To Next Step
Click Continue to move forward with the import process.
Advance To Import Settings
Click on continue. Before you finalize the import, you will need to select the email.
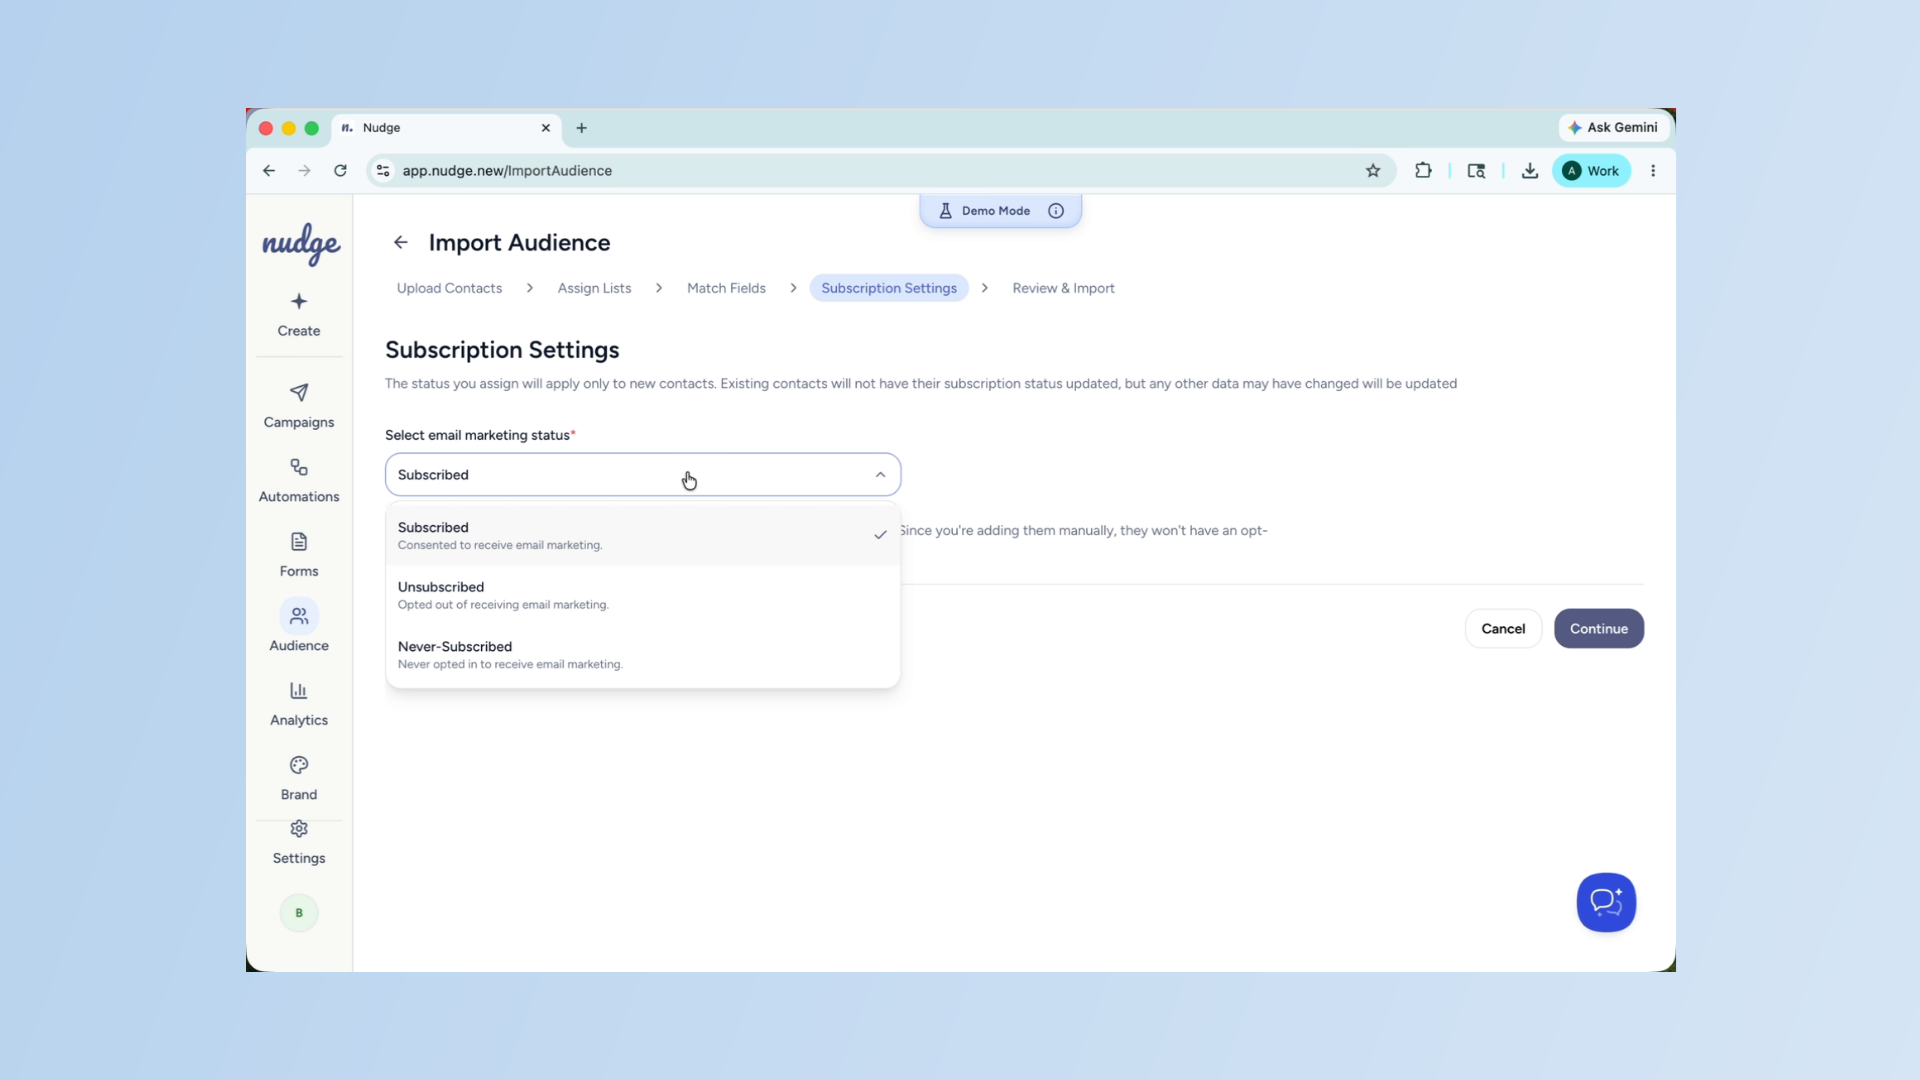
Select Email Marketing Status
Click the Subscribed option to indicate the marketing consent status for these contacts.

Set Email Marketing Consent
Marketing status for these contacts tells Nudge whether these customers have agreed to receive e-marketing emails from you. Only mark contacts as subscribed if you have their explicit consent. This is important for keeping your sender's reputation healthy and staying on the right side of email marketing reputation and regulation.

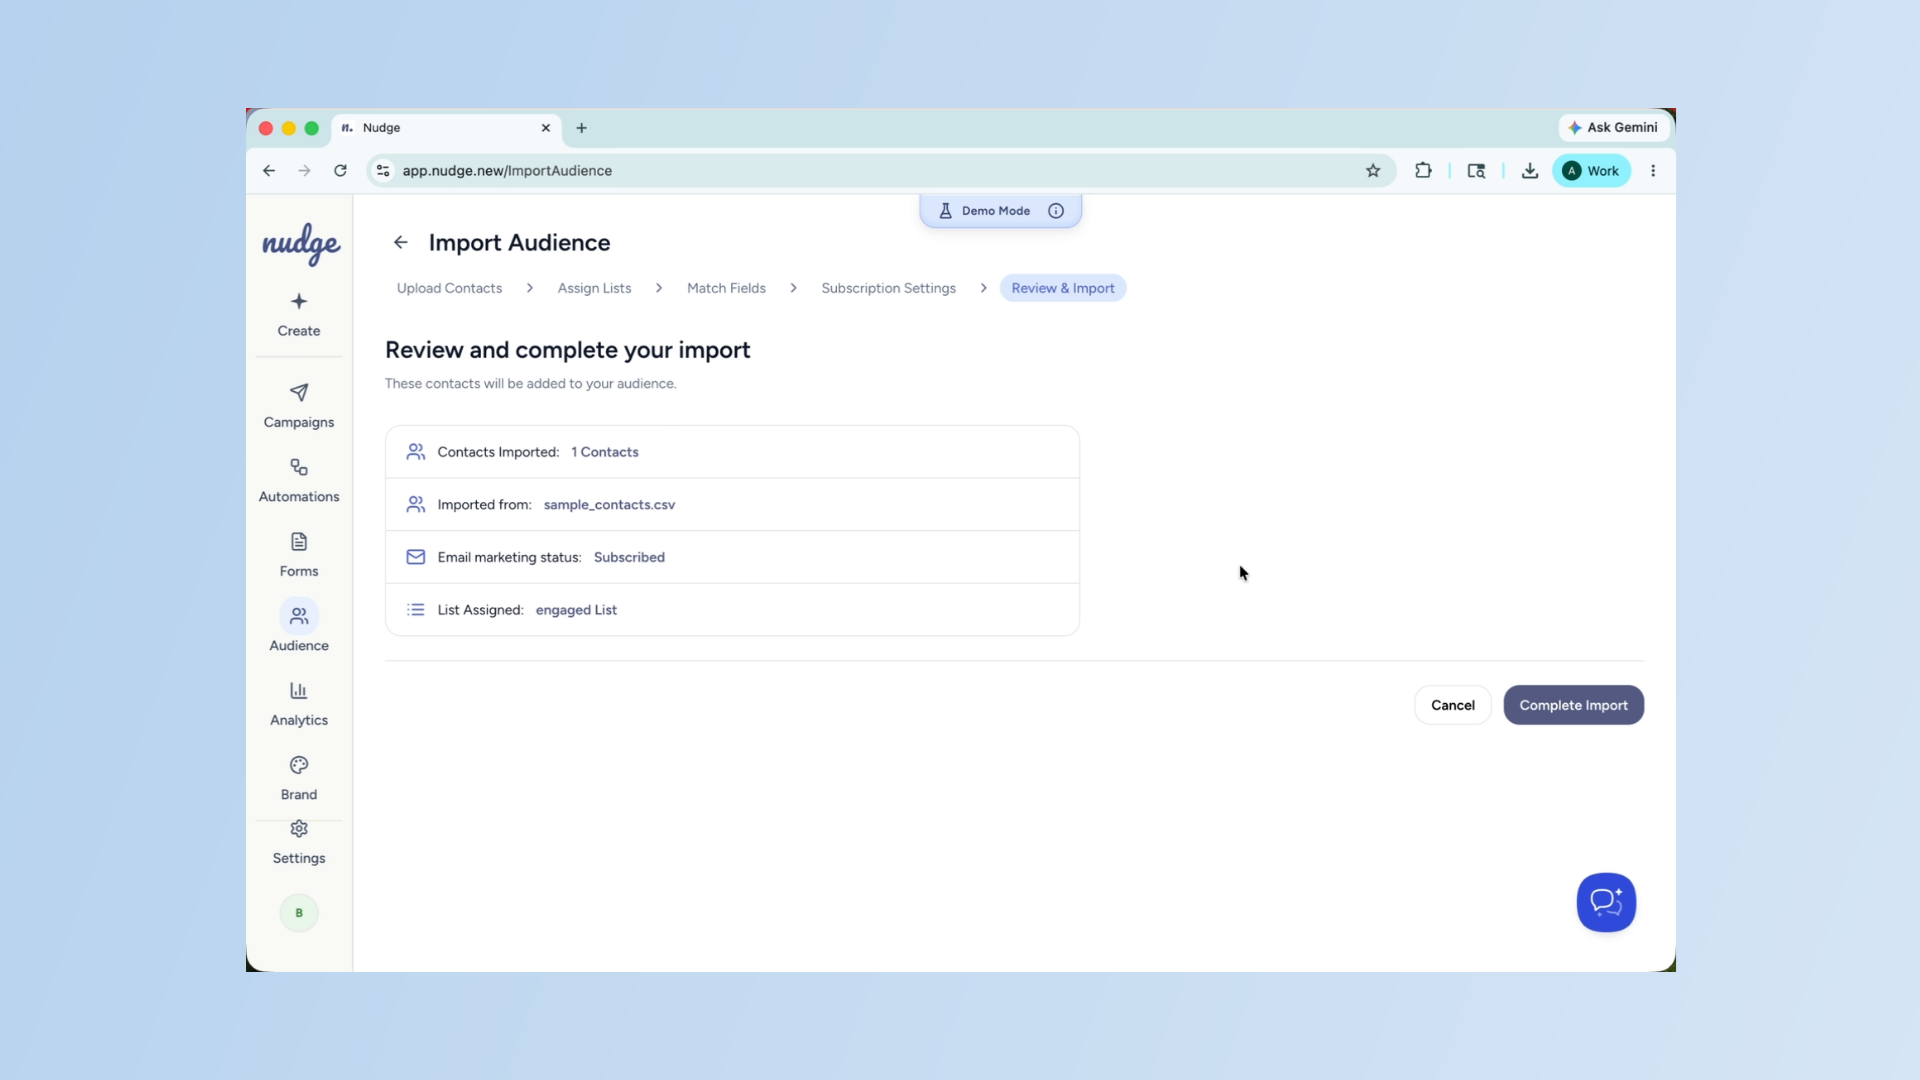
Review Import Summary
Almost there. Nudge will show you a summary before completing import.
Confirm And Complete Import
The total number of contacts, the list they are being added to, and all the fields that have been mapped. Give this a quick look to make sure everything is correct. When you are happy, confirm the import, and Nudge will take care of the rest.
Your contacts are now in Nudge and ready to receive campaigns. Head to the campaign section to create your first email or check out our guide on creating segments to make sure you are always sending to the right group of customers. See you in the next one.