Set Up Your First Automated Flow on Nudge
Lets learn how to set up your first automated email flow on Nudge — so your customers hear from you at exactly the right moment, without you having to lift a finger every time.
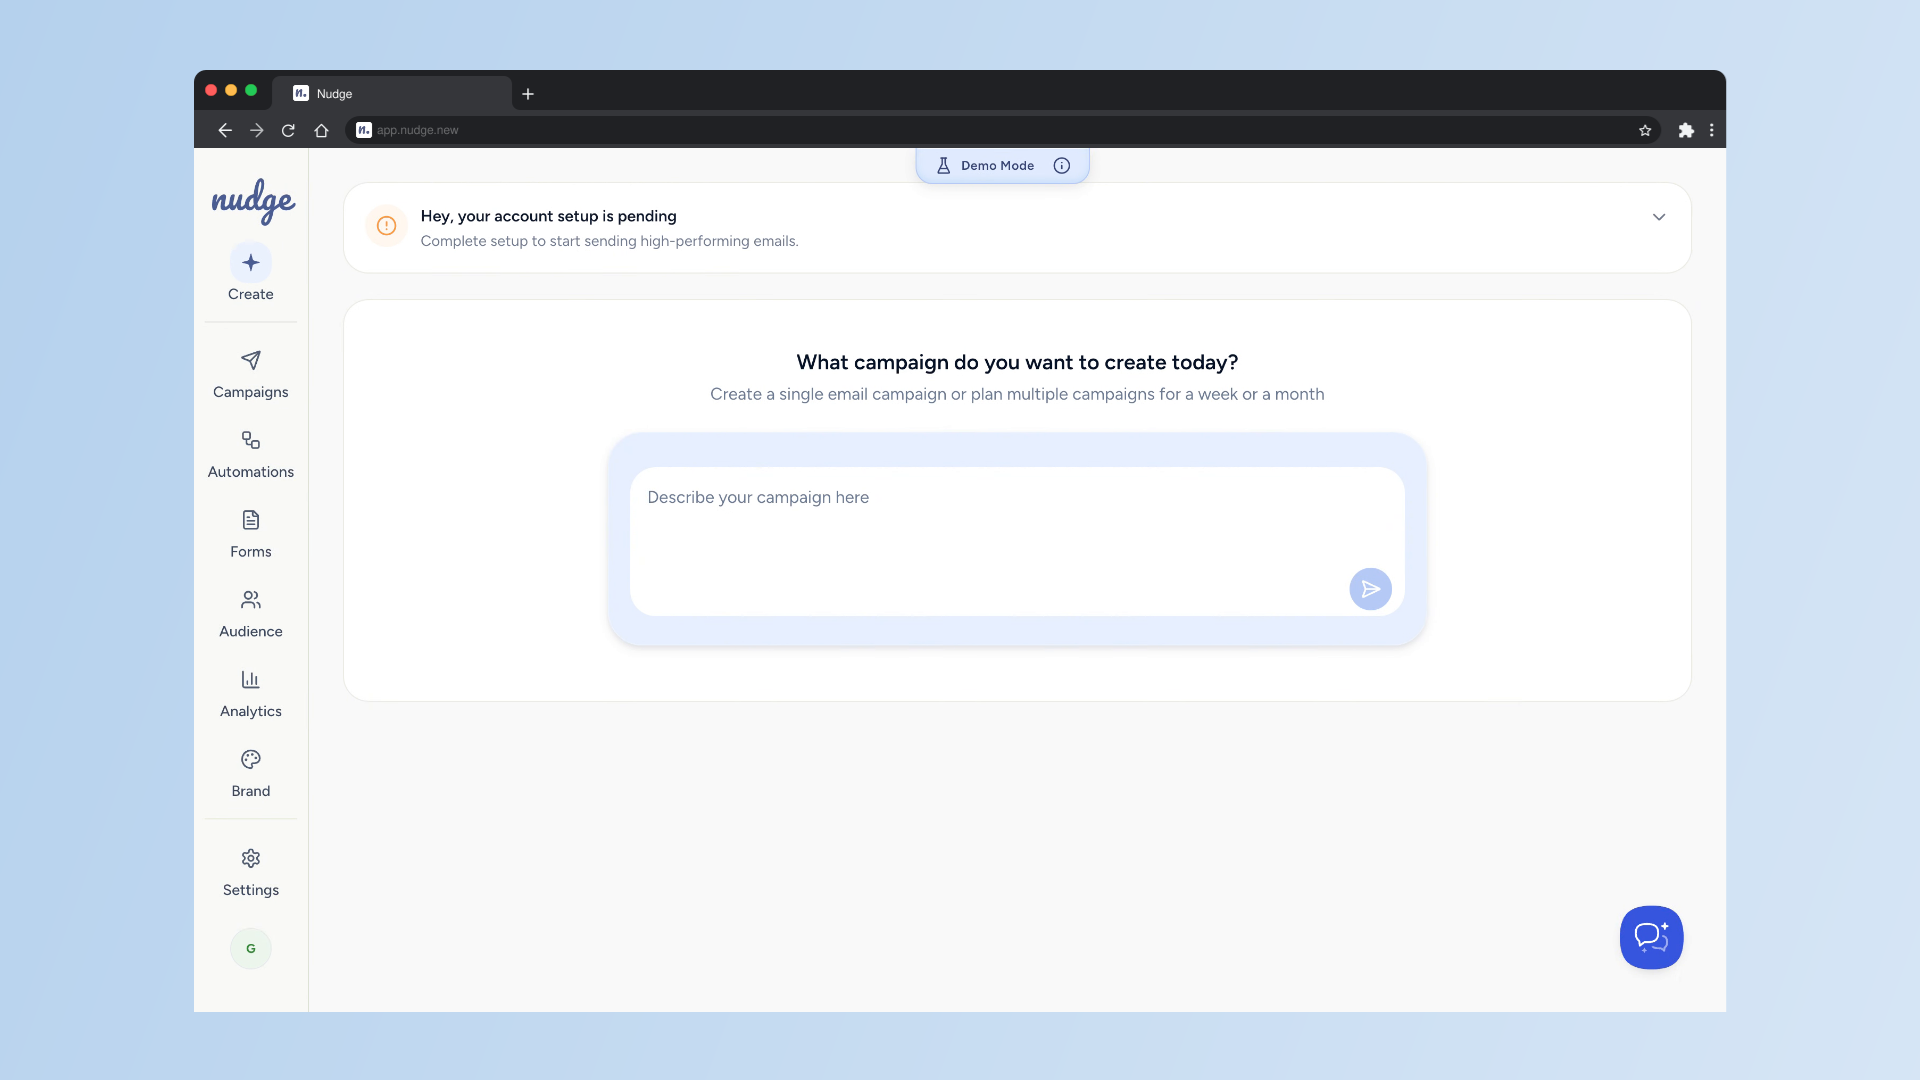
Introduction
Automated flows are one of the most powerful things you can set up for your store. Whether it is welcoming a new subscriber or following up after a purchase, Nudge makes the whole process surprisingly straightforward. Let's get into it.
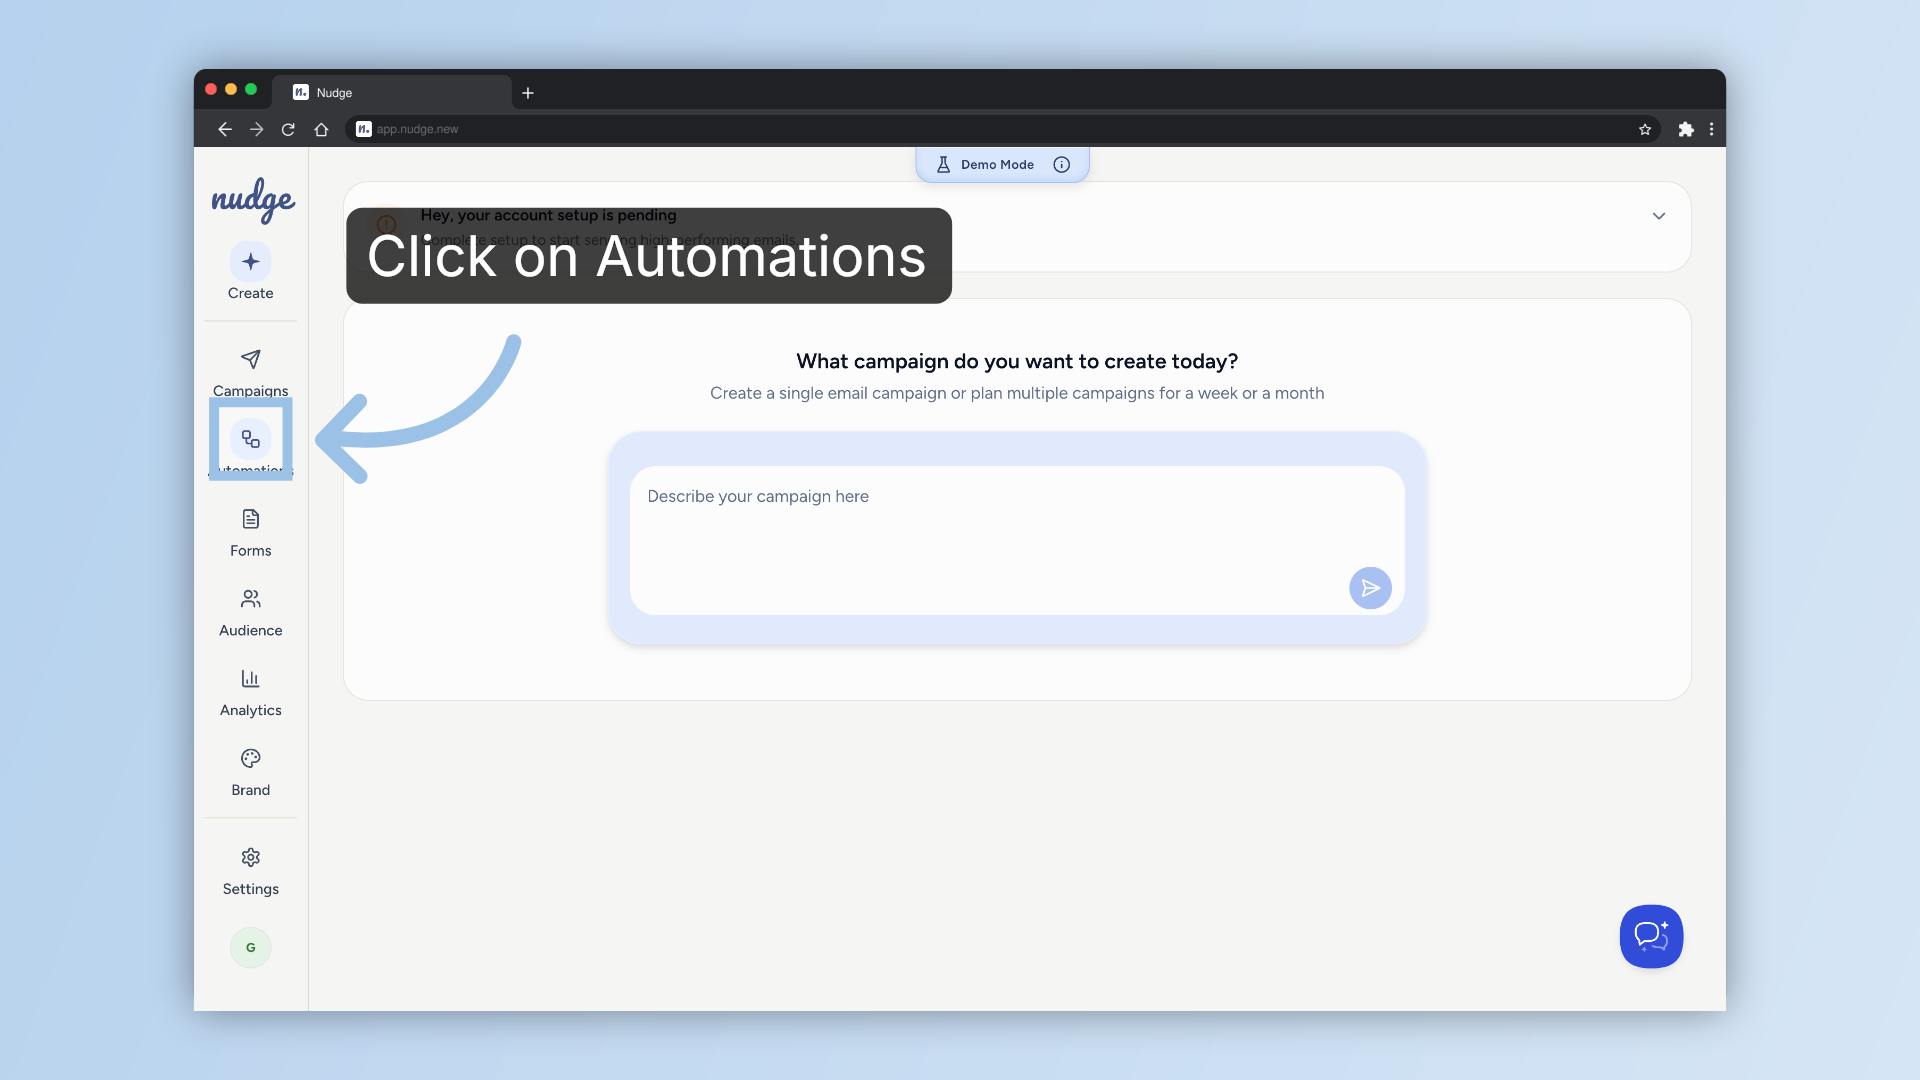
Access Automations Panel
From the dashboard, click on Automations in the left panel. This is where all your flows live — both the ones you have already set up and any new ones you want to create.
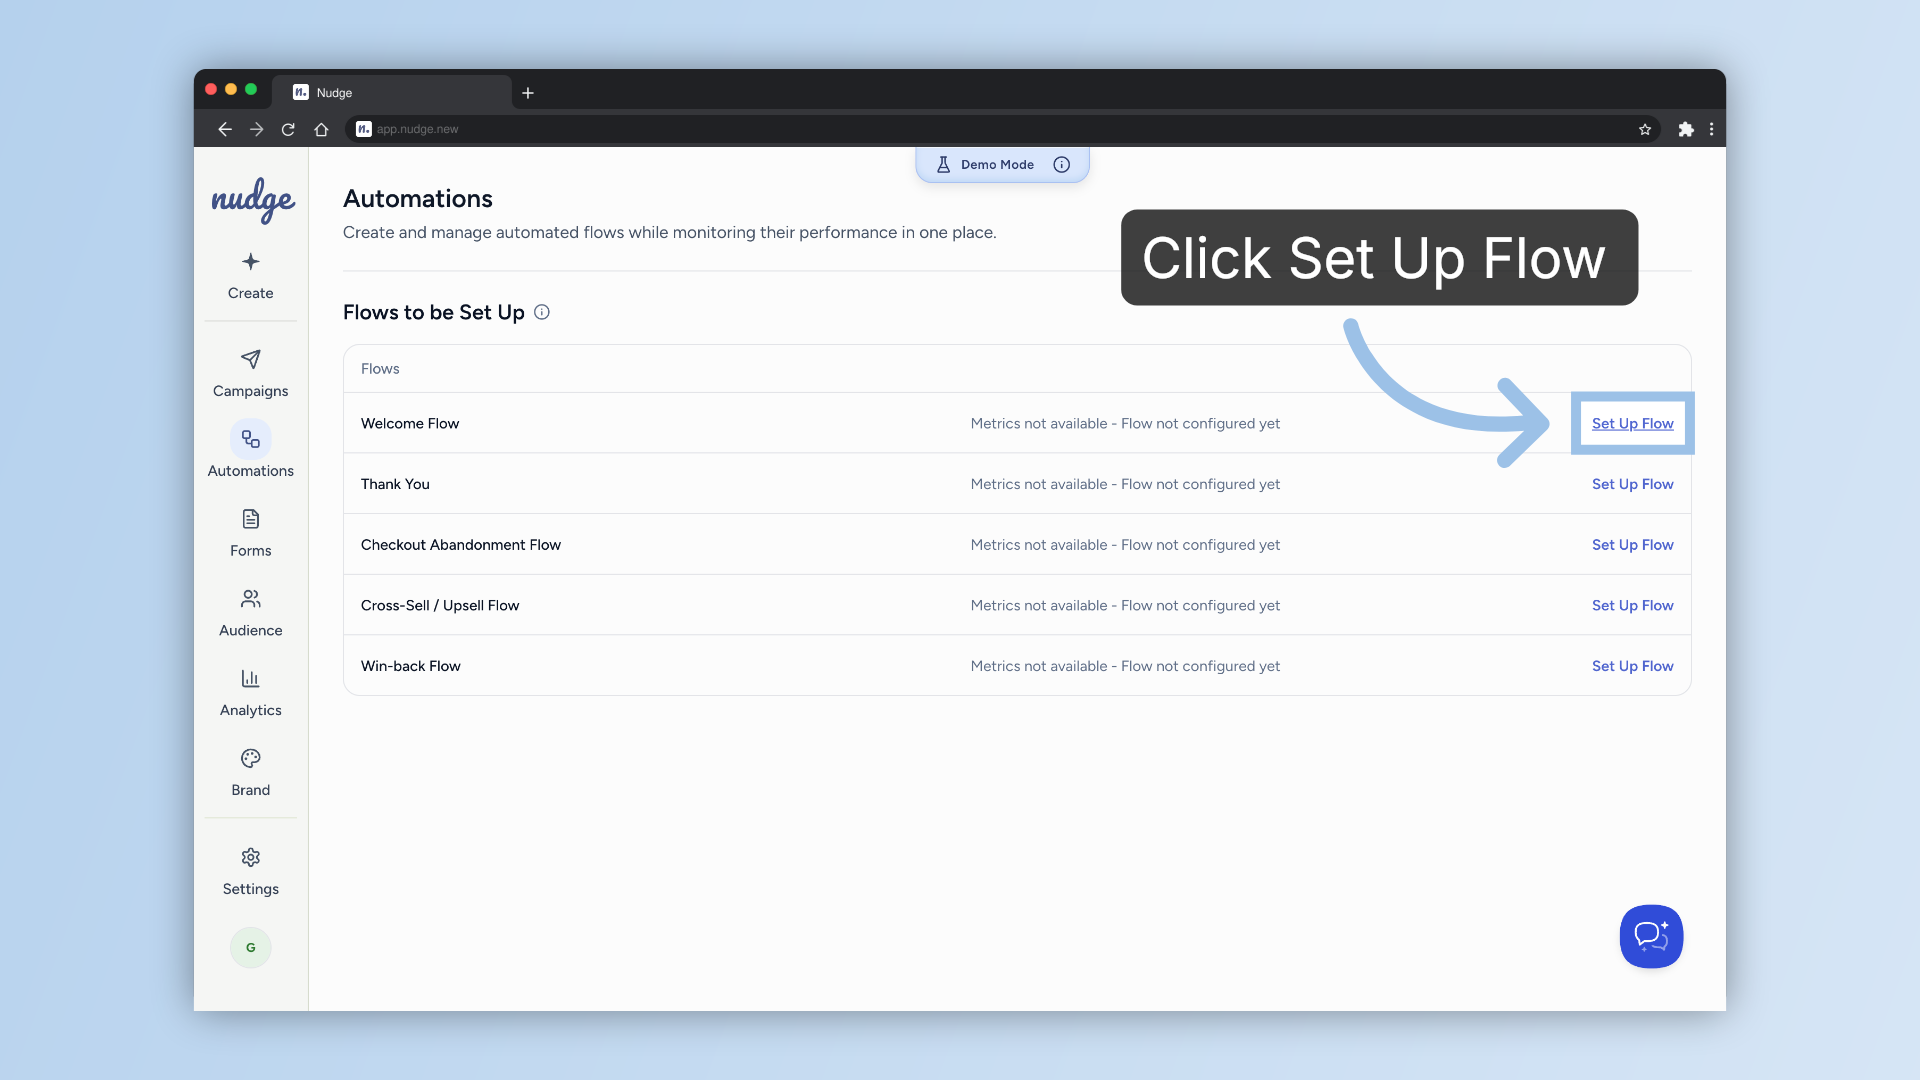
Open Flow Setup
Click Set Up Flow to get started . For this example, we are creating a Welcome Flow targeting first-time buyers, with free shipping as the incentive.
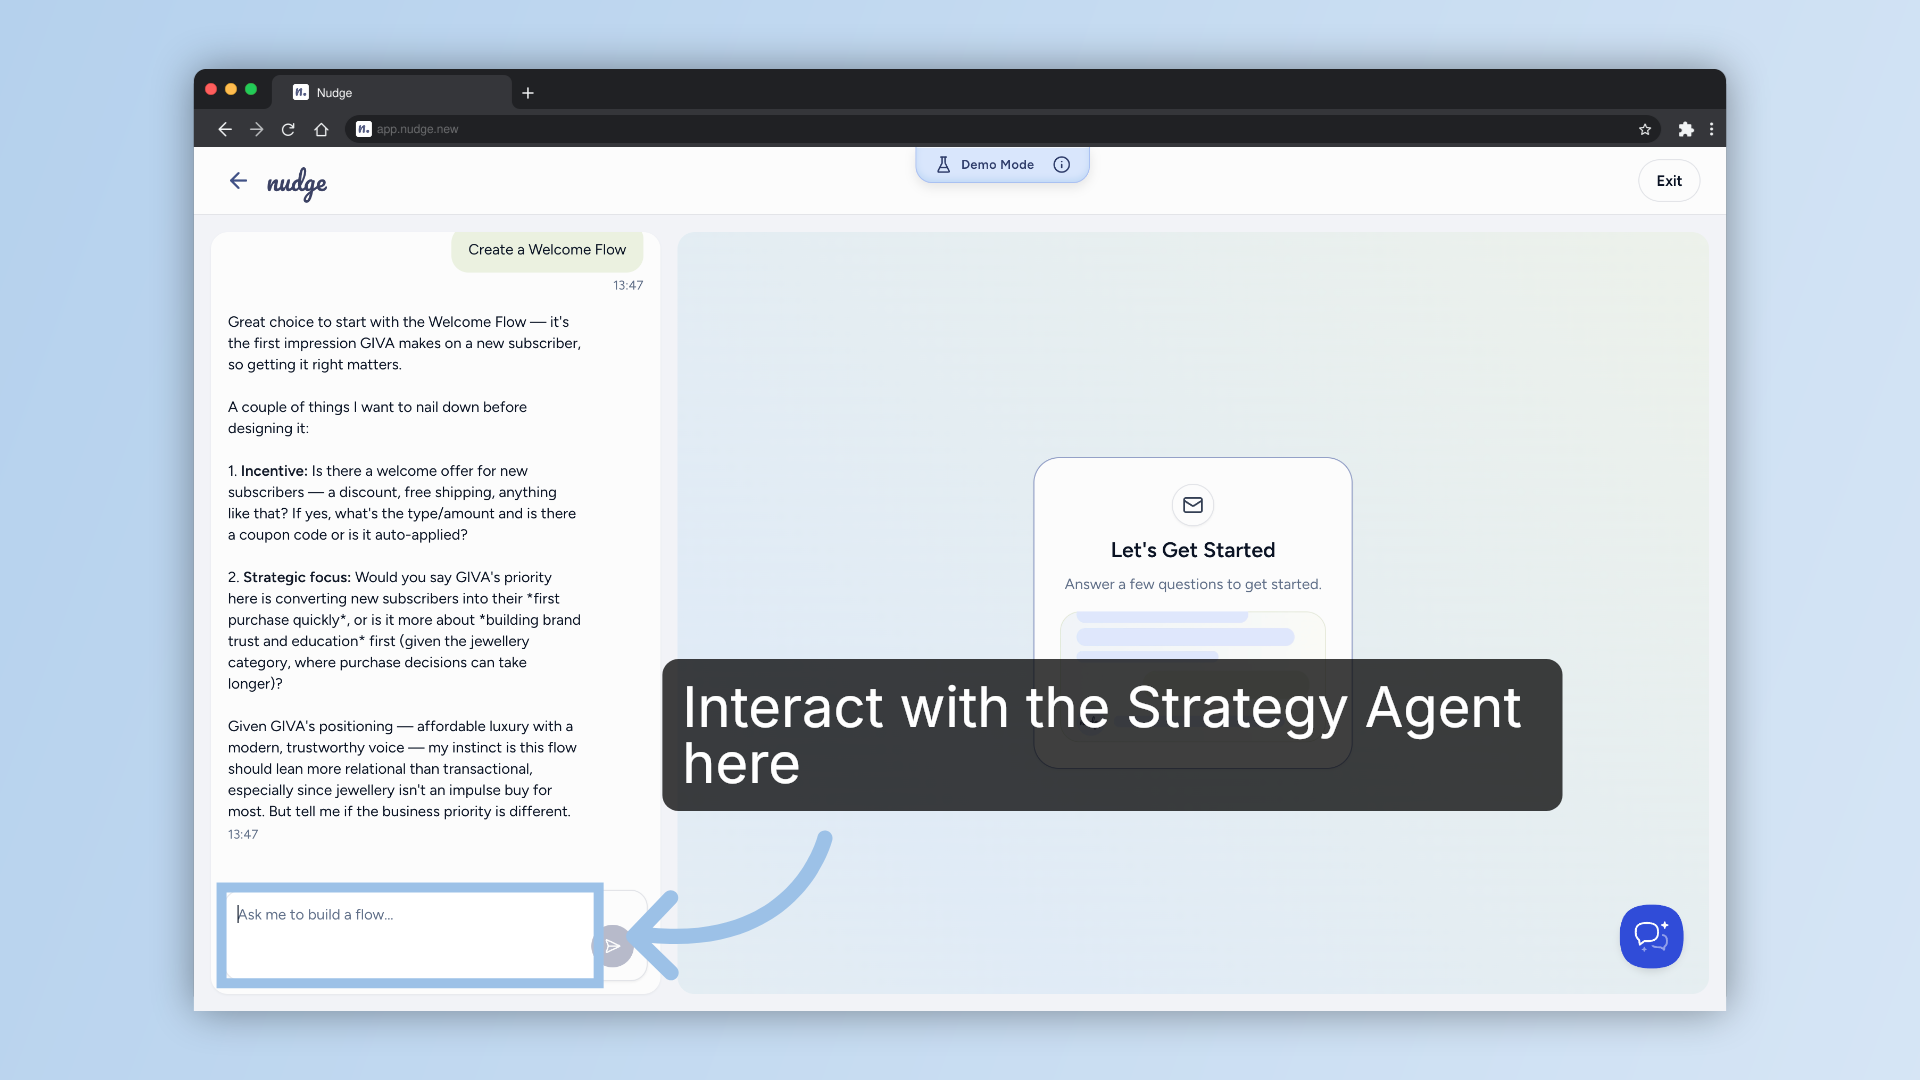
Initiate Flow Builder
Nudge will ask you a few questions to understand what kind of flow you are building and who it is for. Think of this step like briefing a copywriter. Tell Nudge the key details — your offer, your audience, and any specifics like auto-apply discounts or product focus. The more context you give, the more tailored your flow will be.
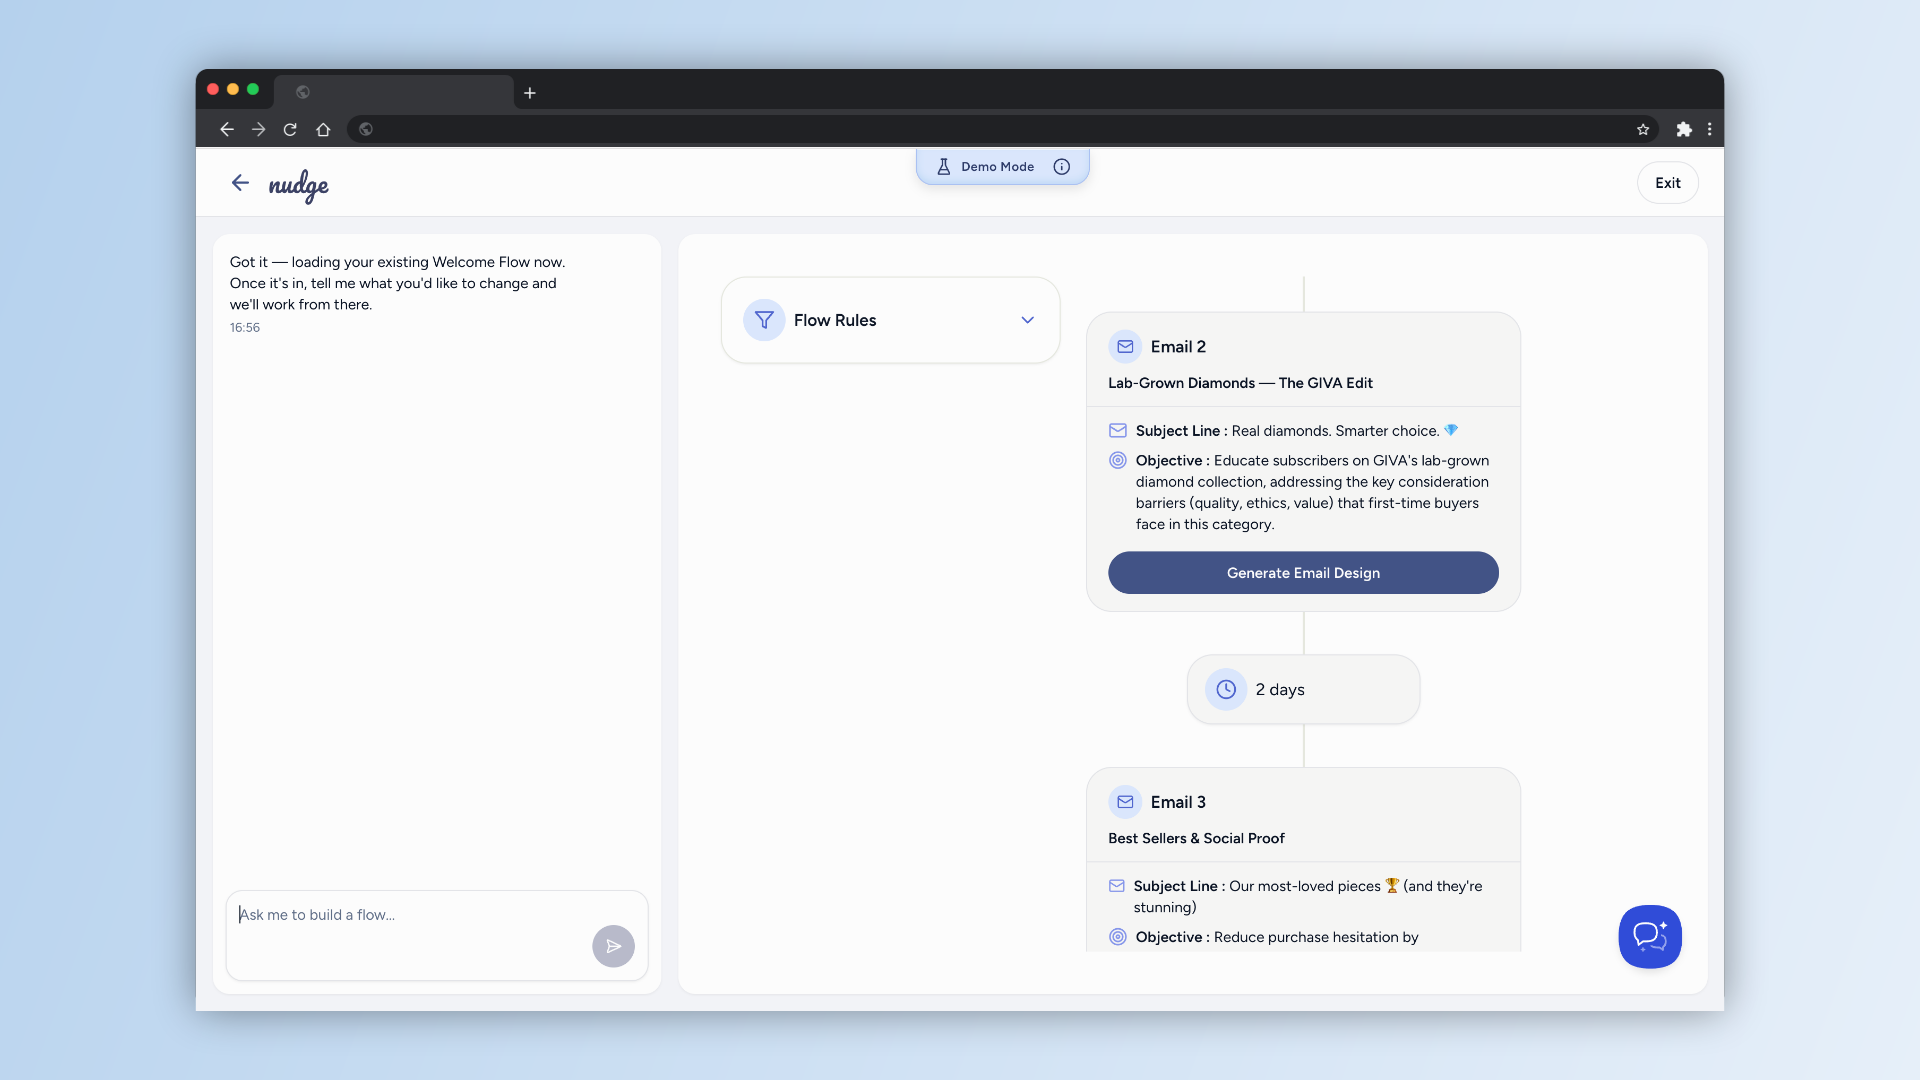
Review Your Flow Structure
Nudge will now lay out your flow — the number of emails, the timing between them, and what each one is designed to do. Take a moment to review this and make any adjustments before moving on to the design stage.
Generate Email Design
Happy with the structure? Click Generate Email Design and Nudge will build out a fully designed email using your brand details and flow brief. This is where your automation starts to look and feel like your brand.

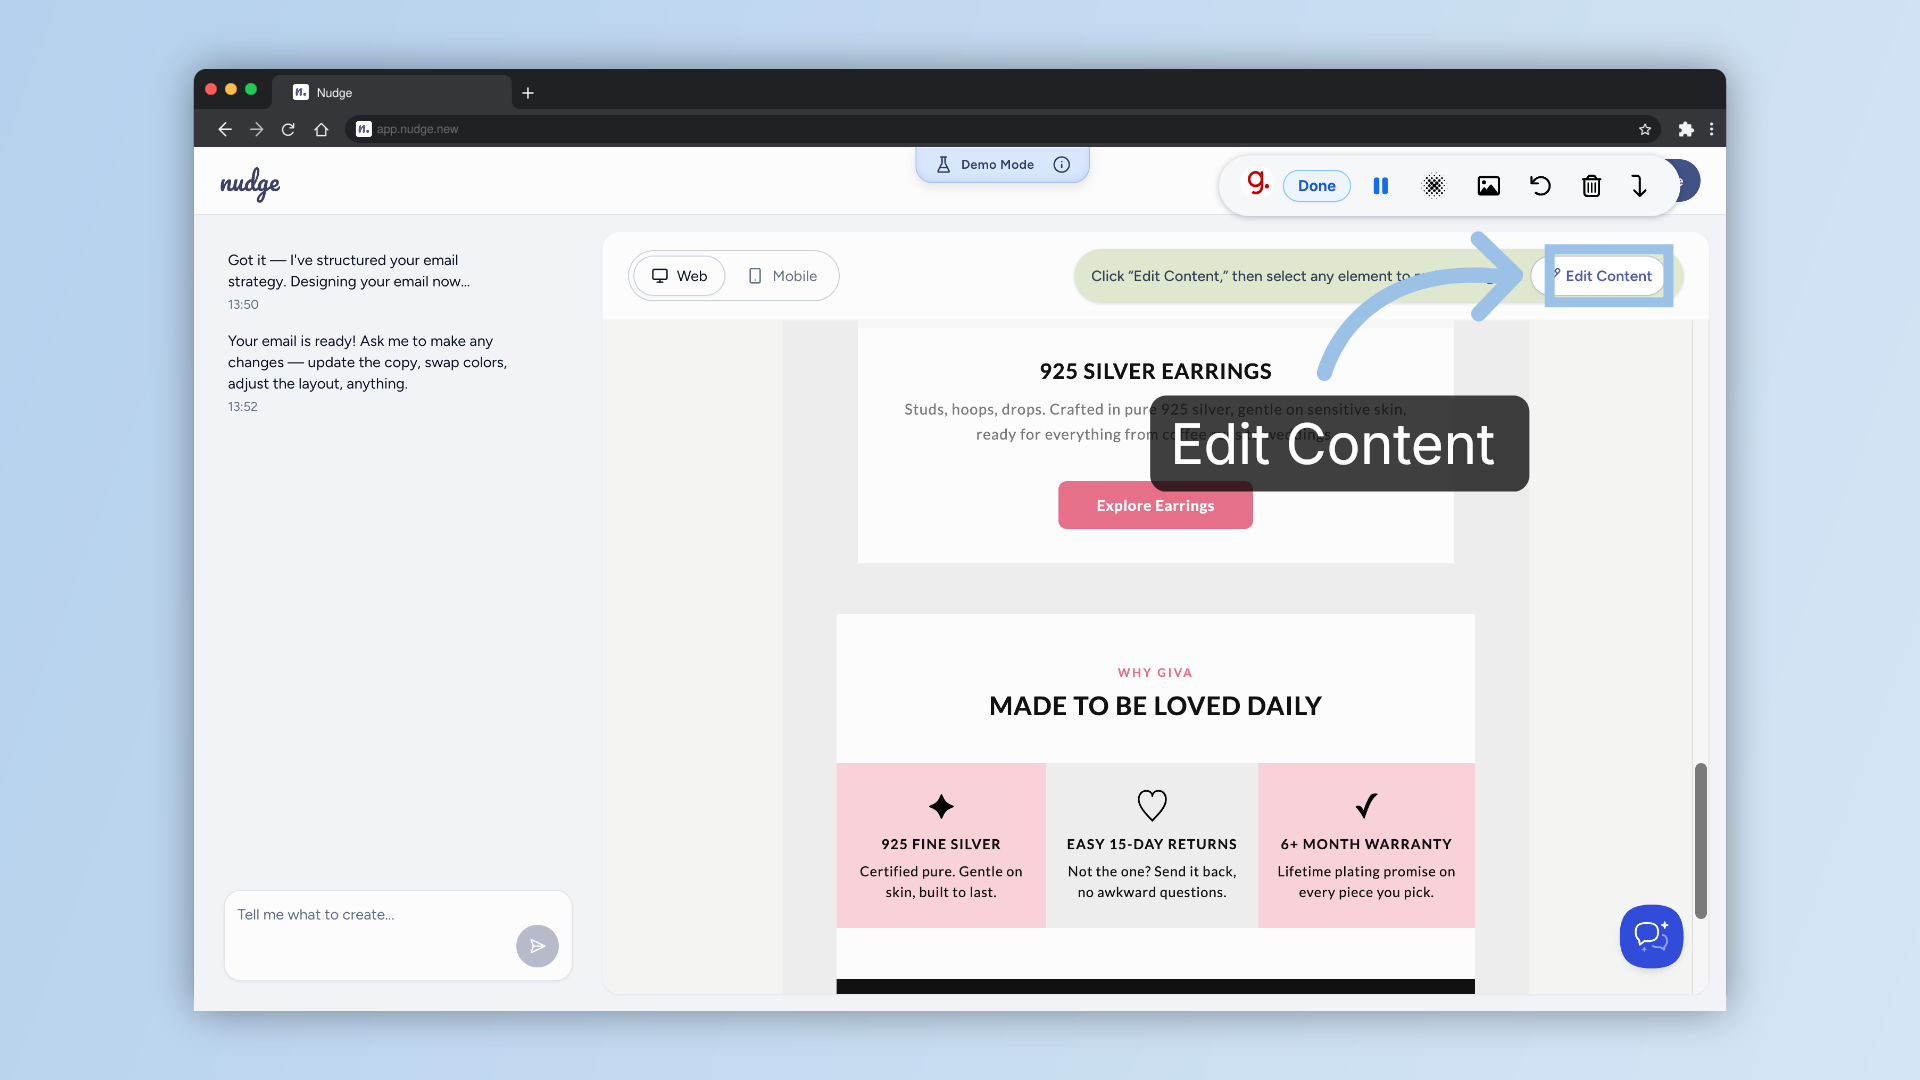
Edit and Refine
Once the design is ready, click Edit Content to fine-tune your copy, swap out images, or adjust any elements.
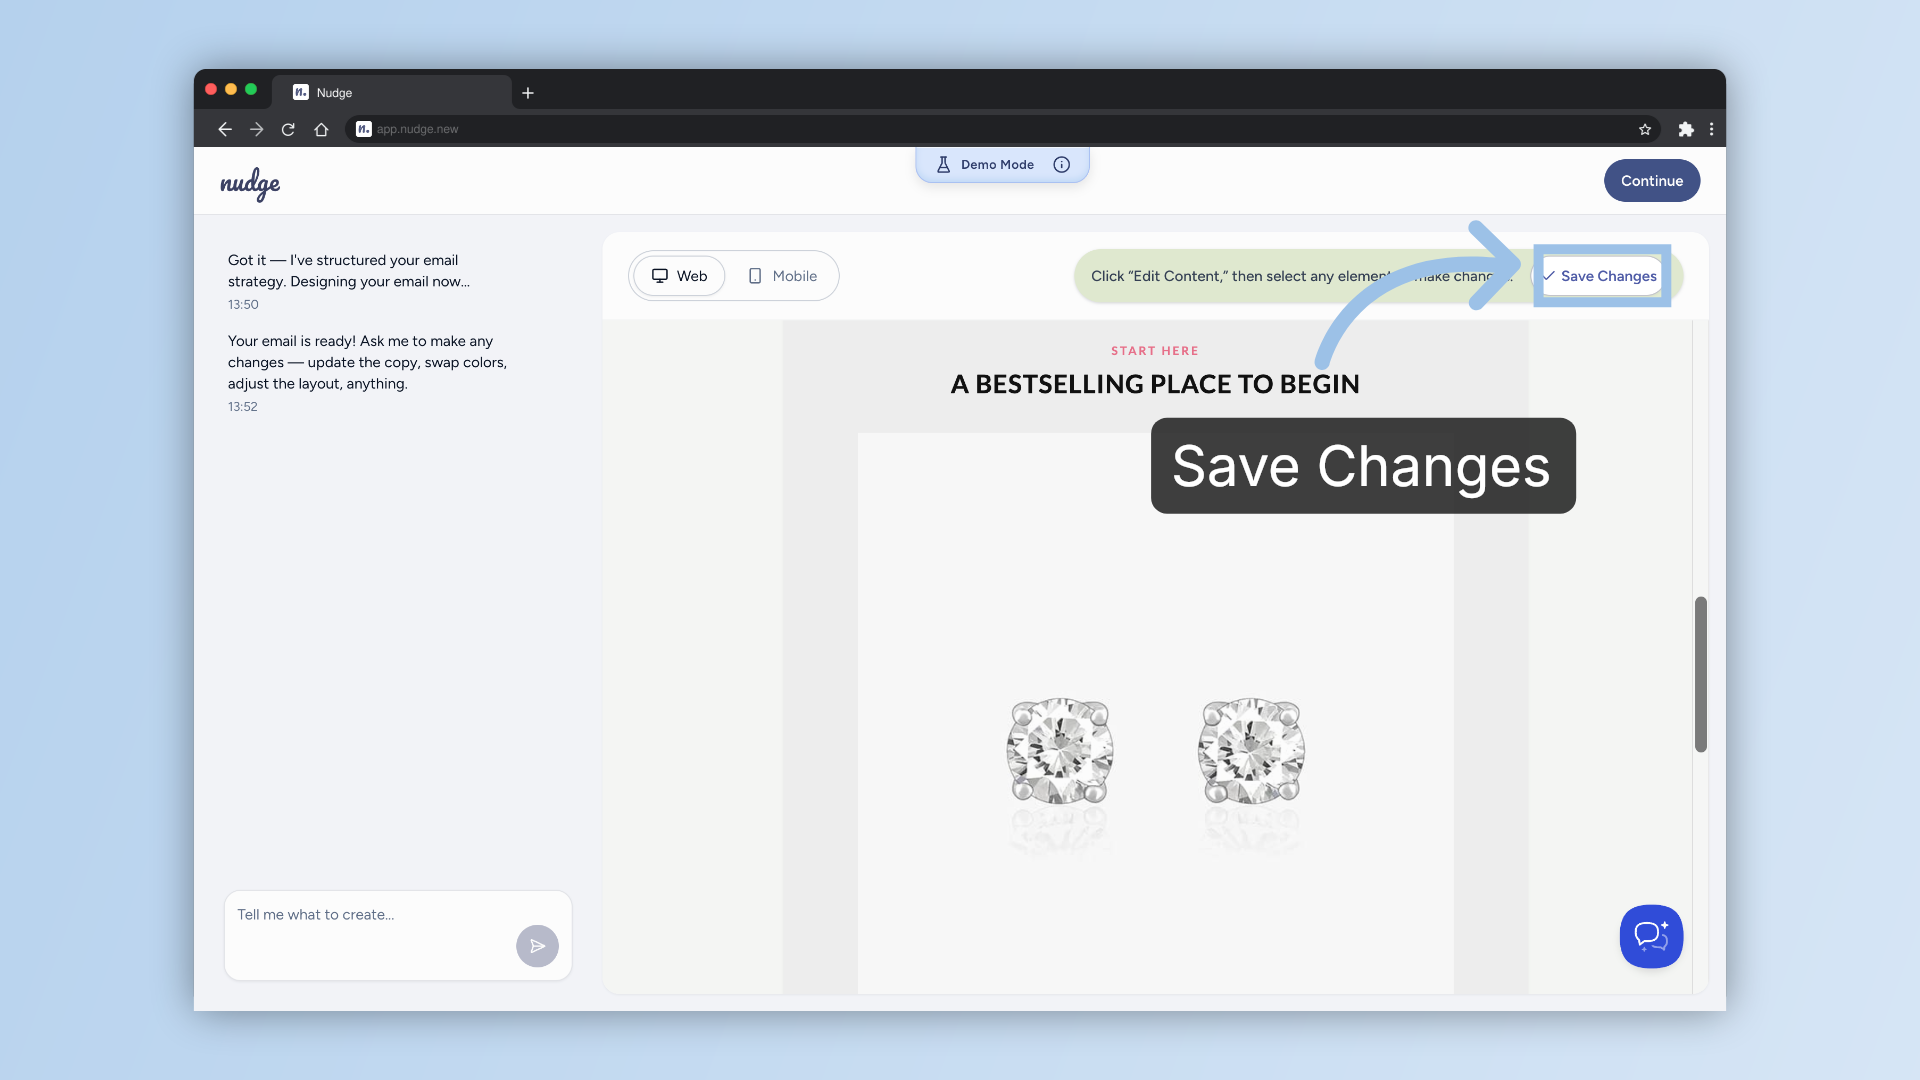
Save Content Changes
When everything looks right, hit Save Changes to lock it all in.
Check Mobile and Desktop Views
Always preview your email in both mobile and web views before finishing.
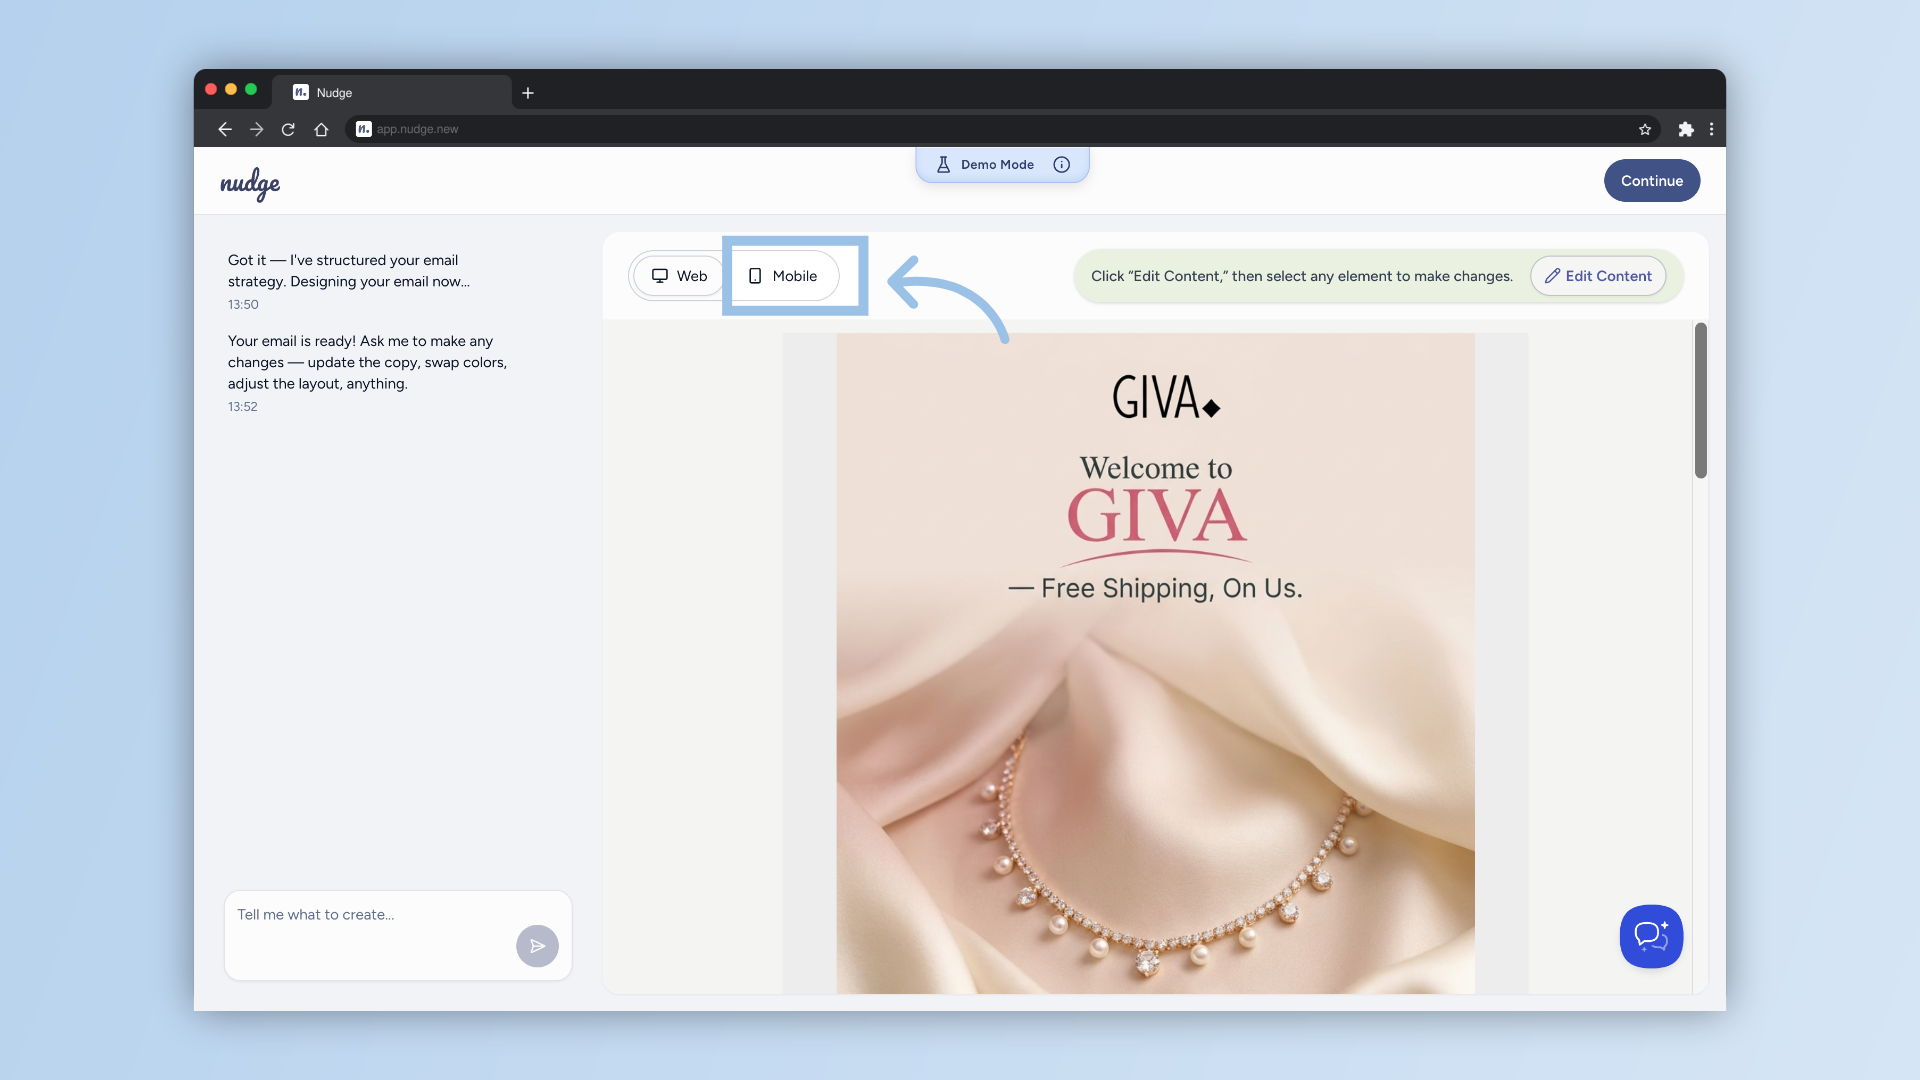
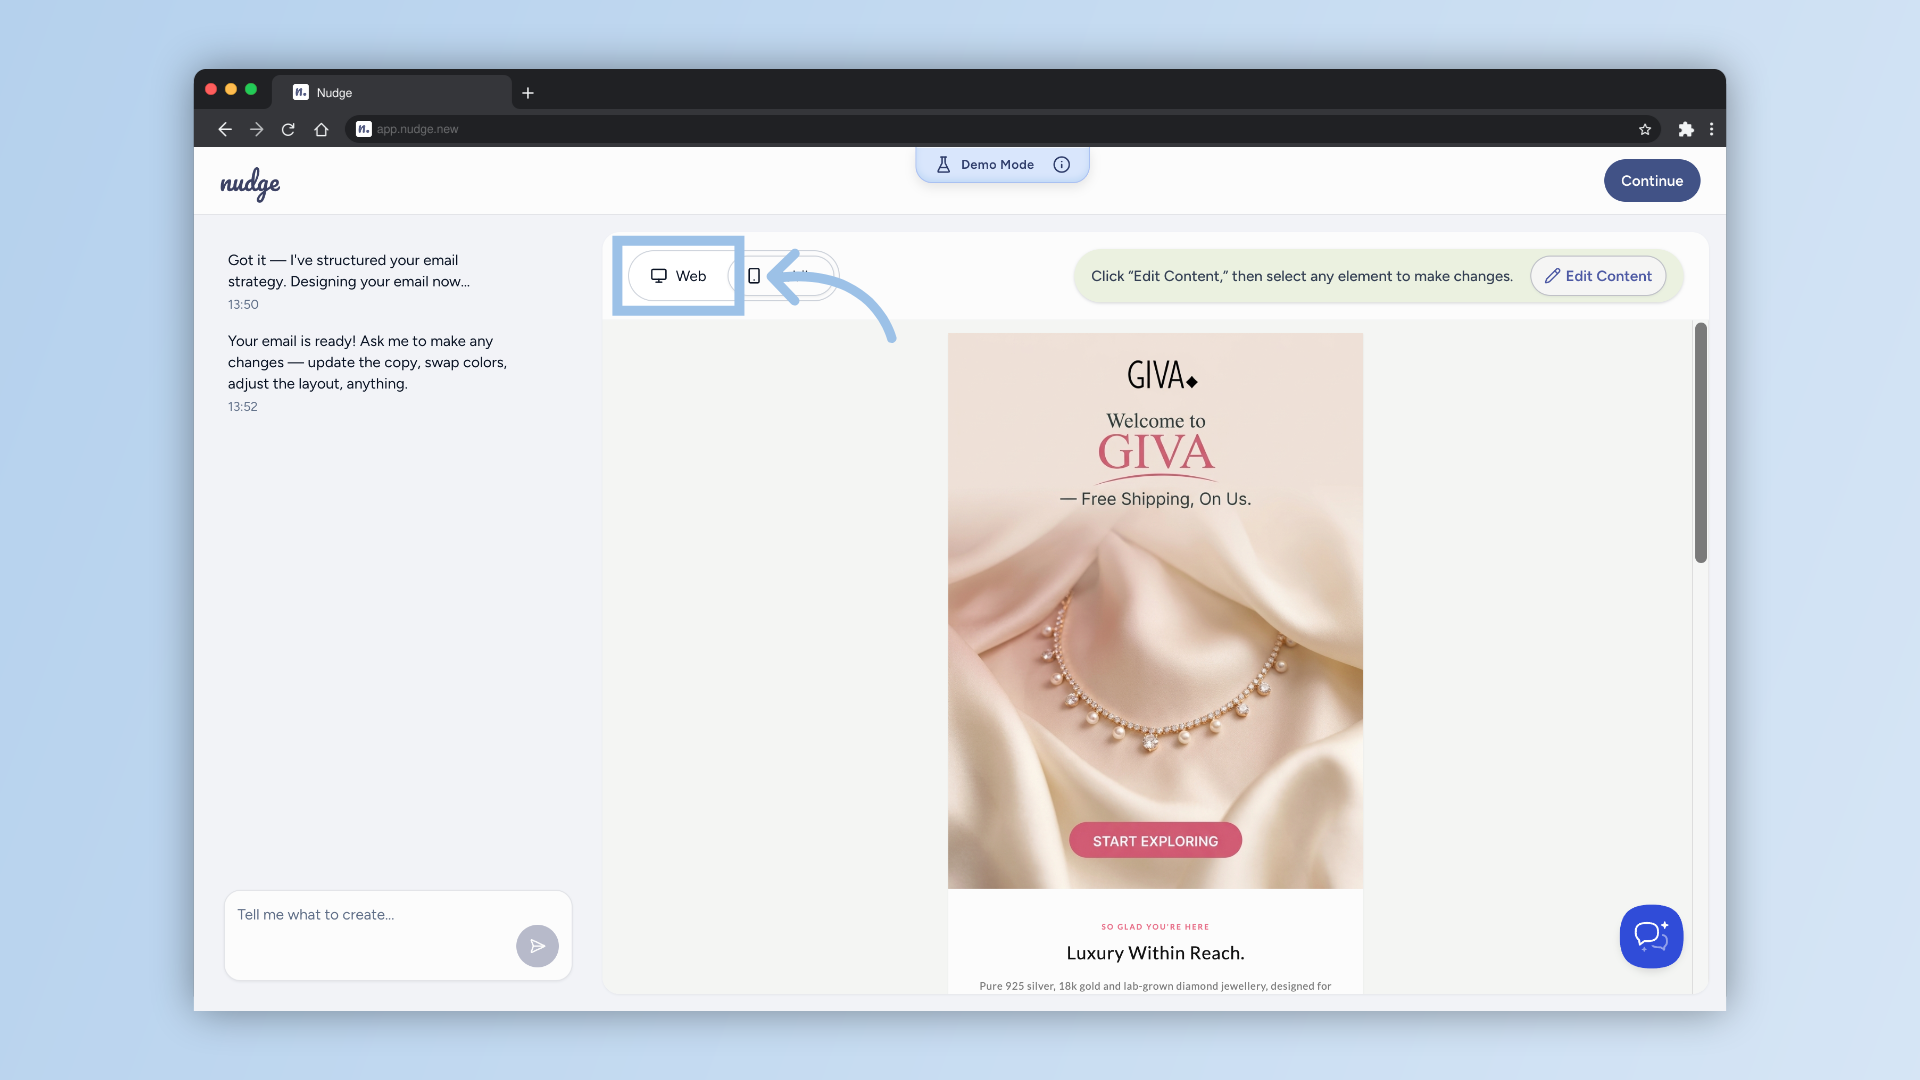
Preview Web Layout
Click Web to review the email's appearance on desktop browsers.
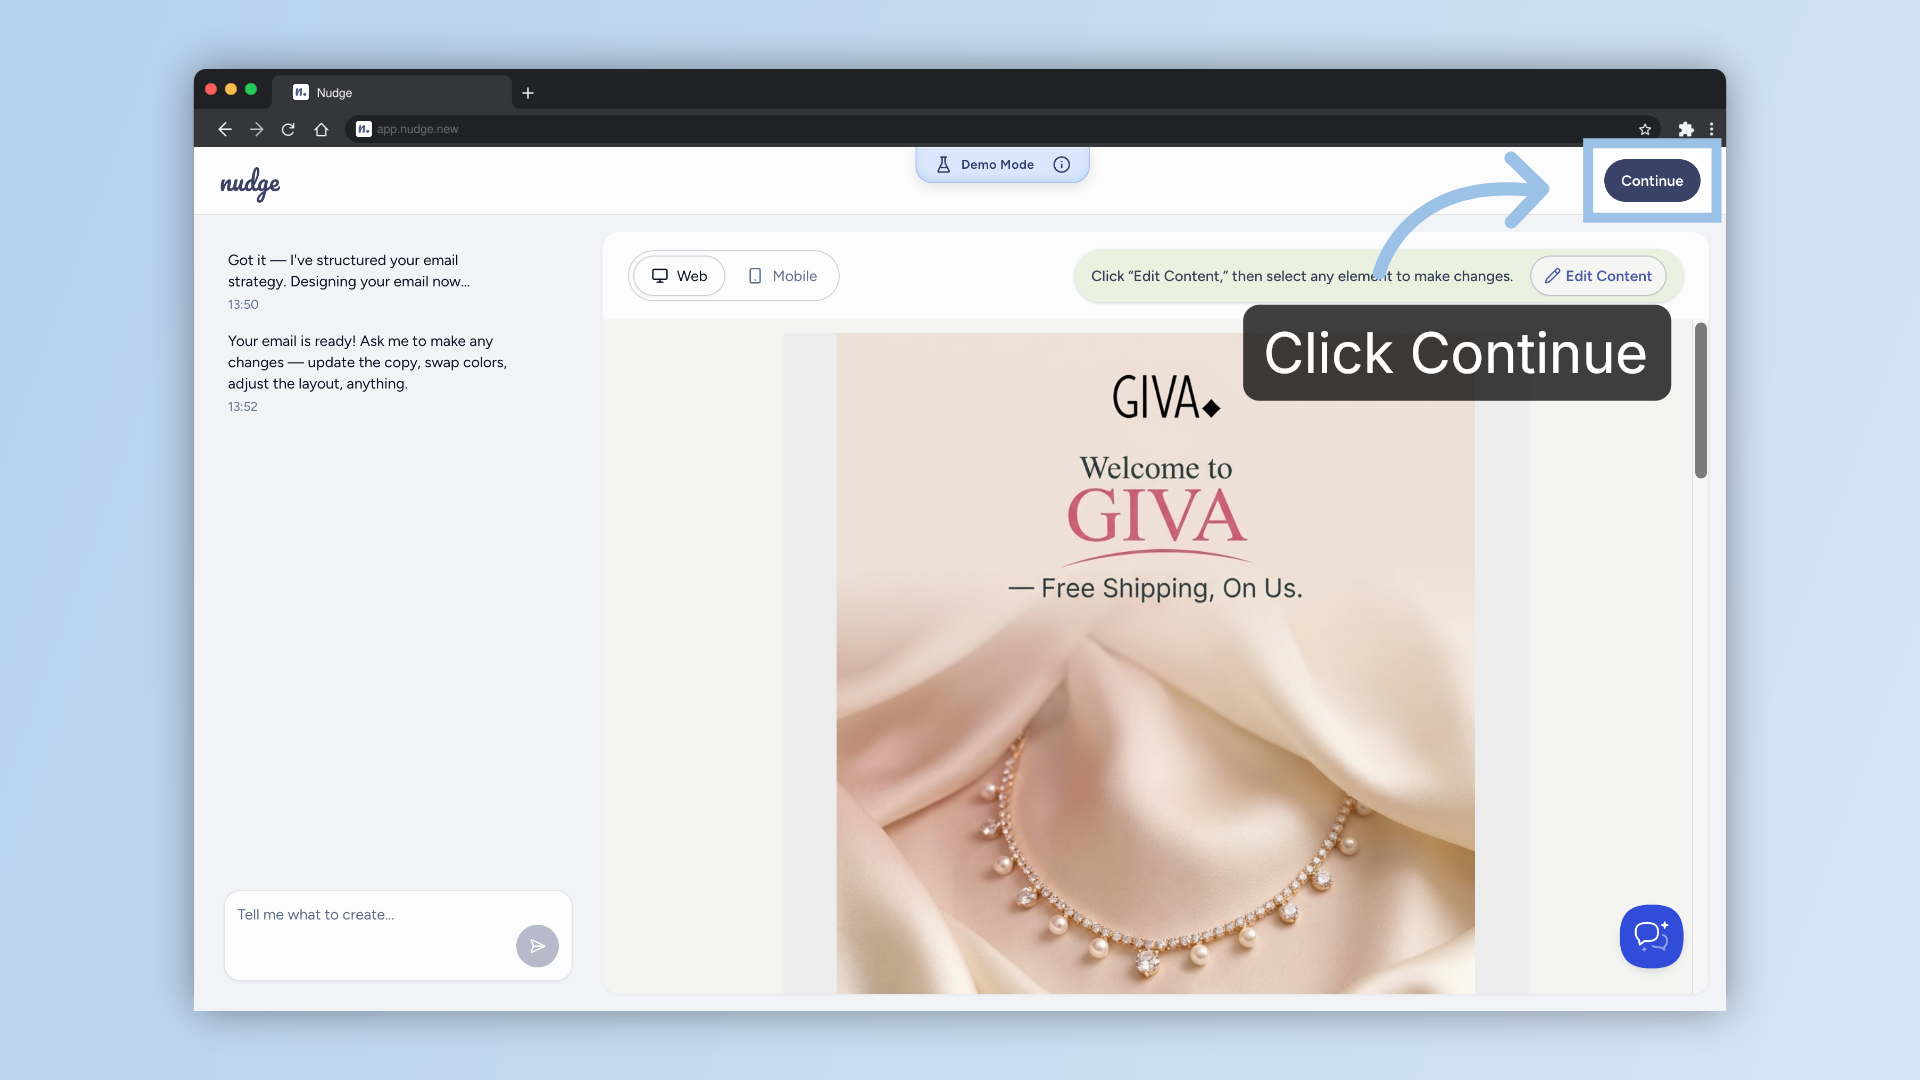
Proceed to Next Step
Click Continue to move forward in the flow setup process.
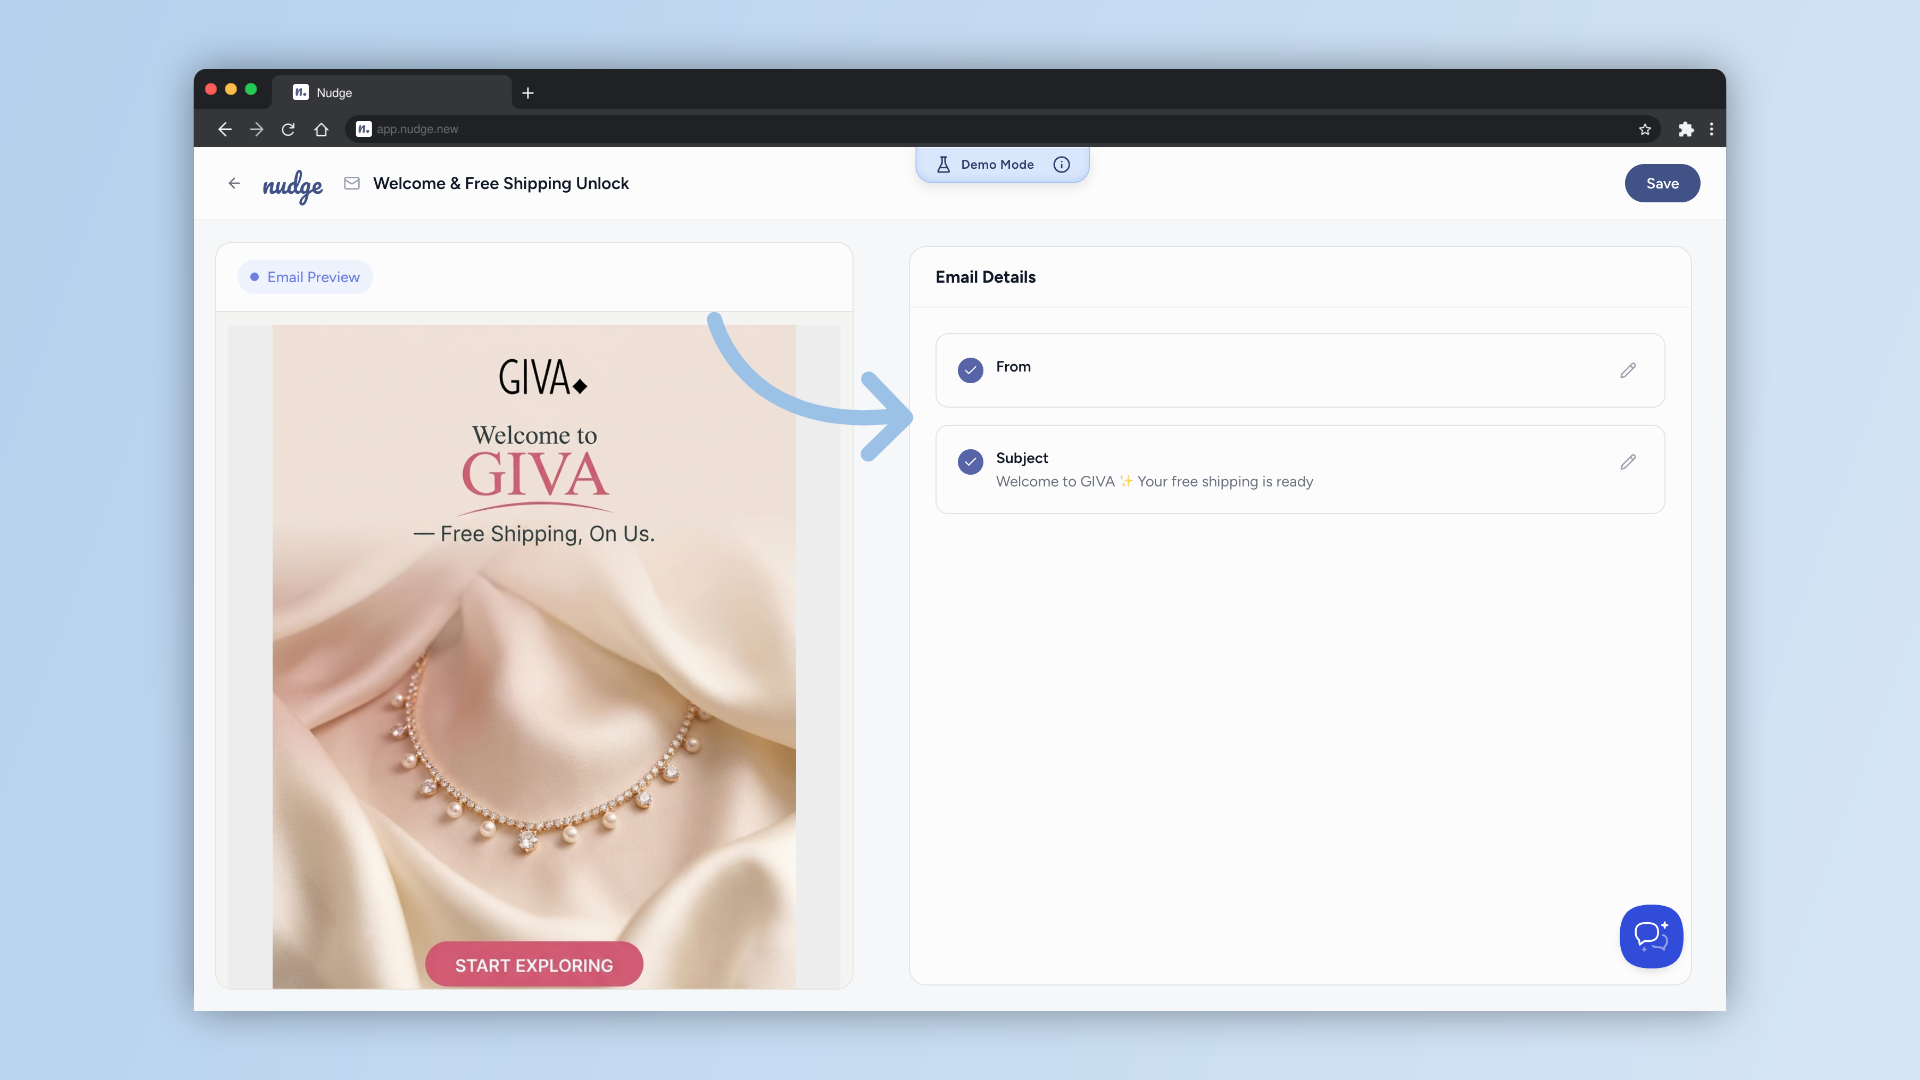
Edit Email Sender Details
Next, is cross-checking your sender name, subject line, and preview text. These are the first things your subscriber sees in their inbox, so it is worth spending a moment to get them right.
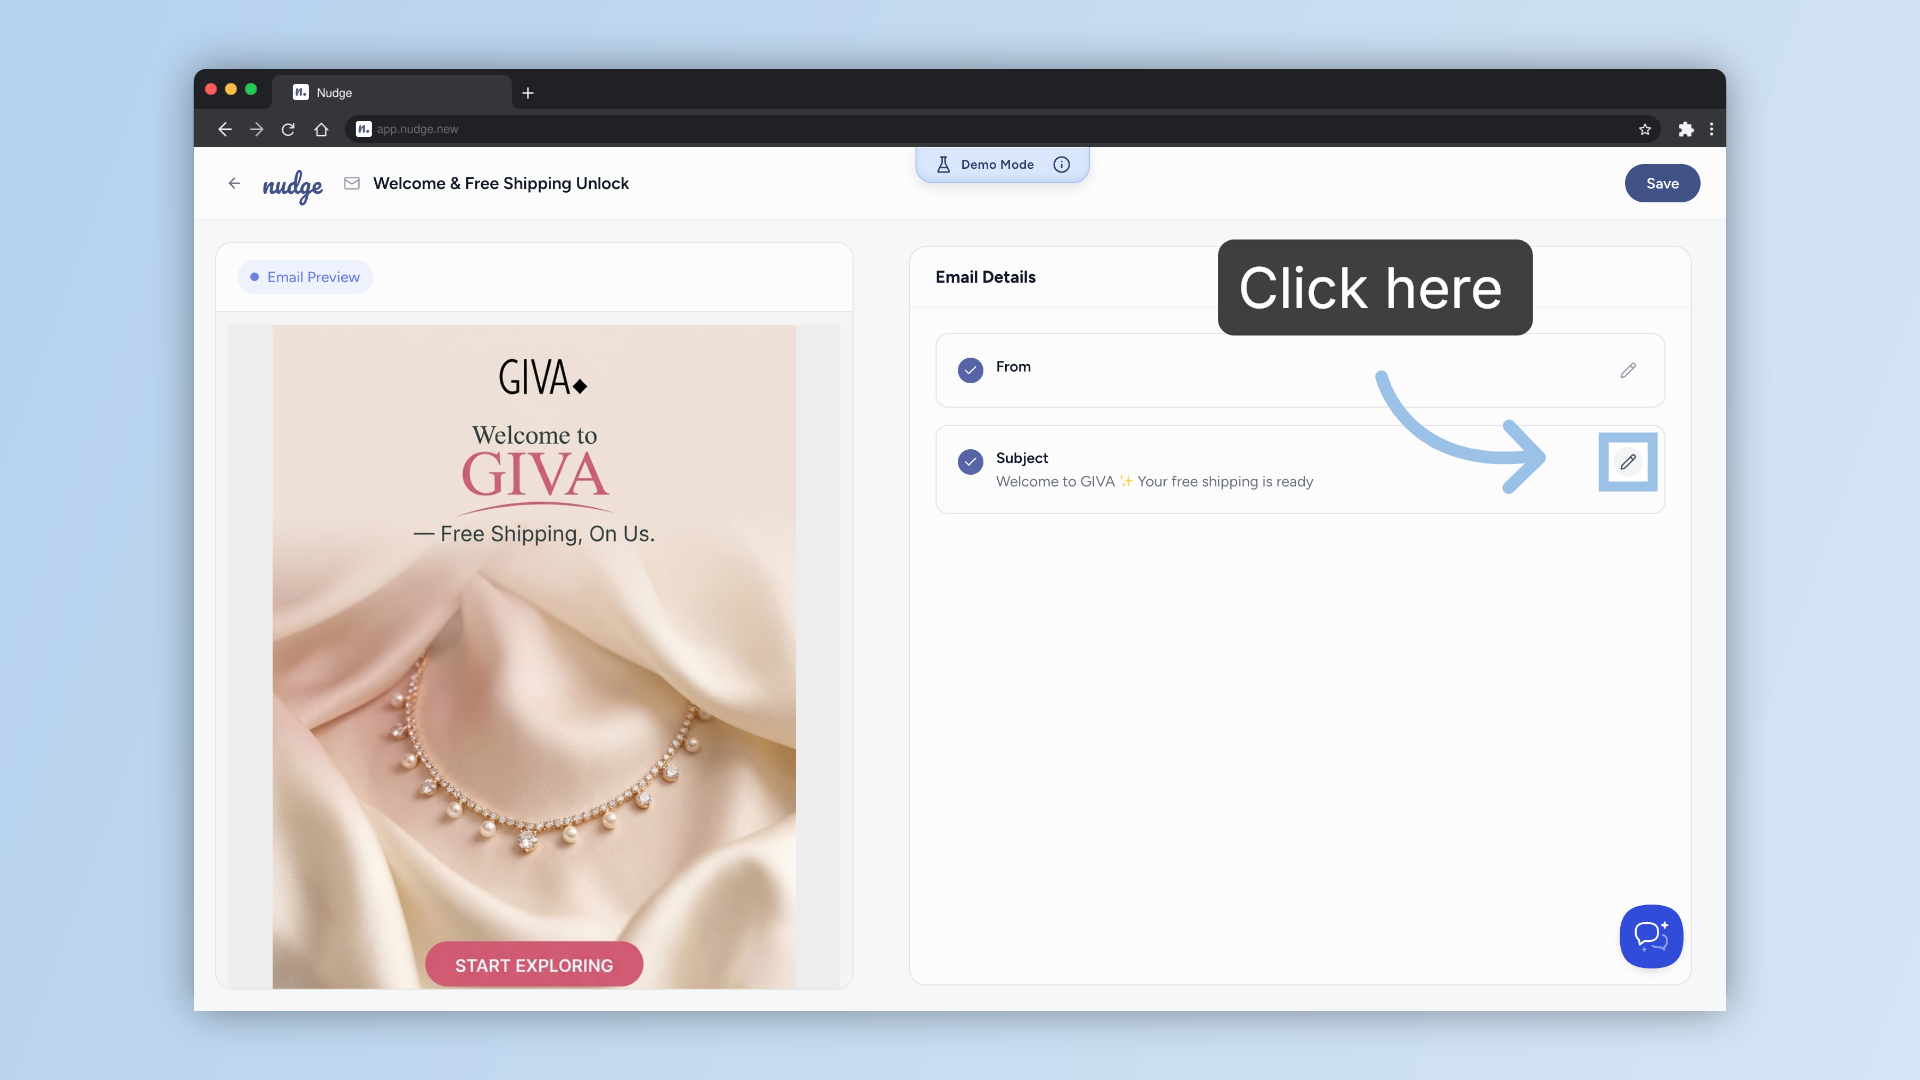
Modify Email Subject
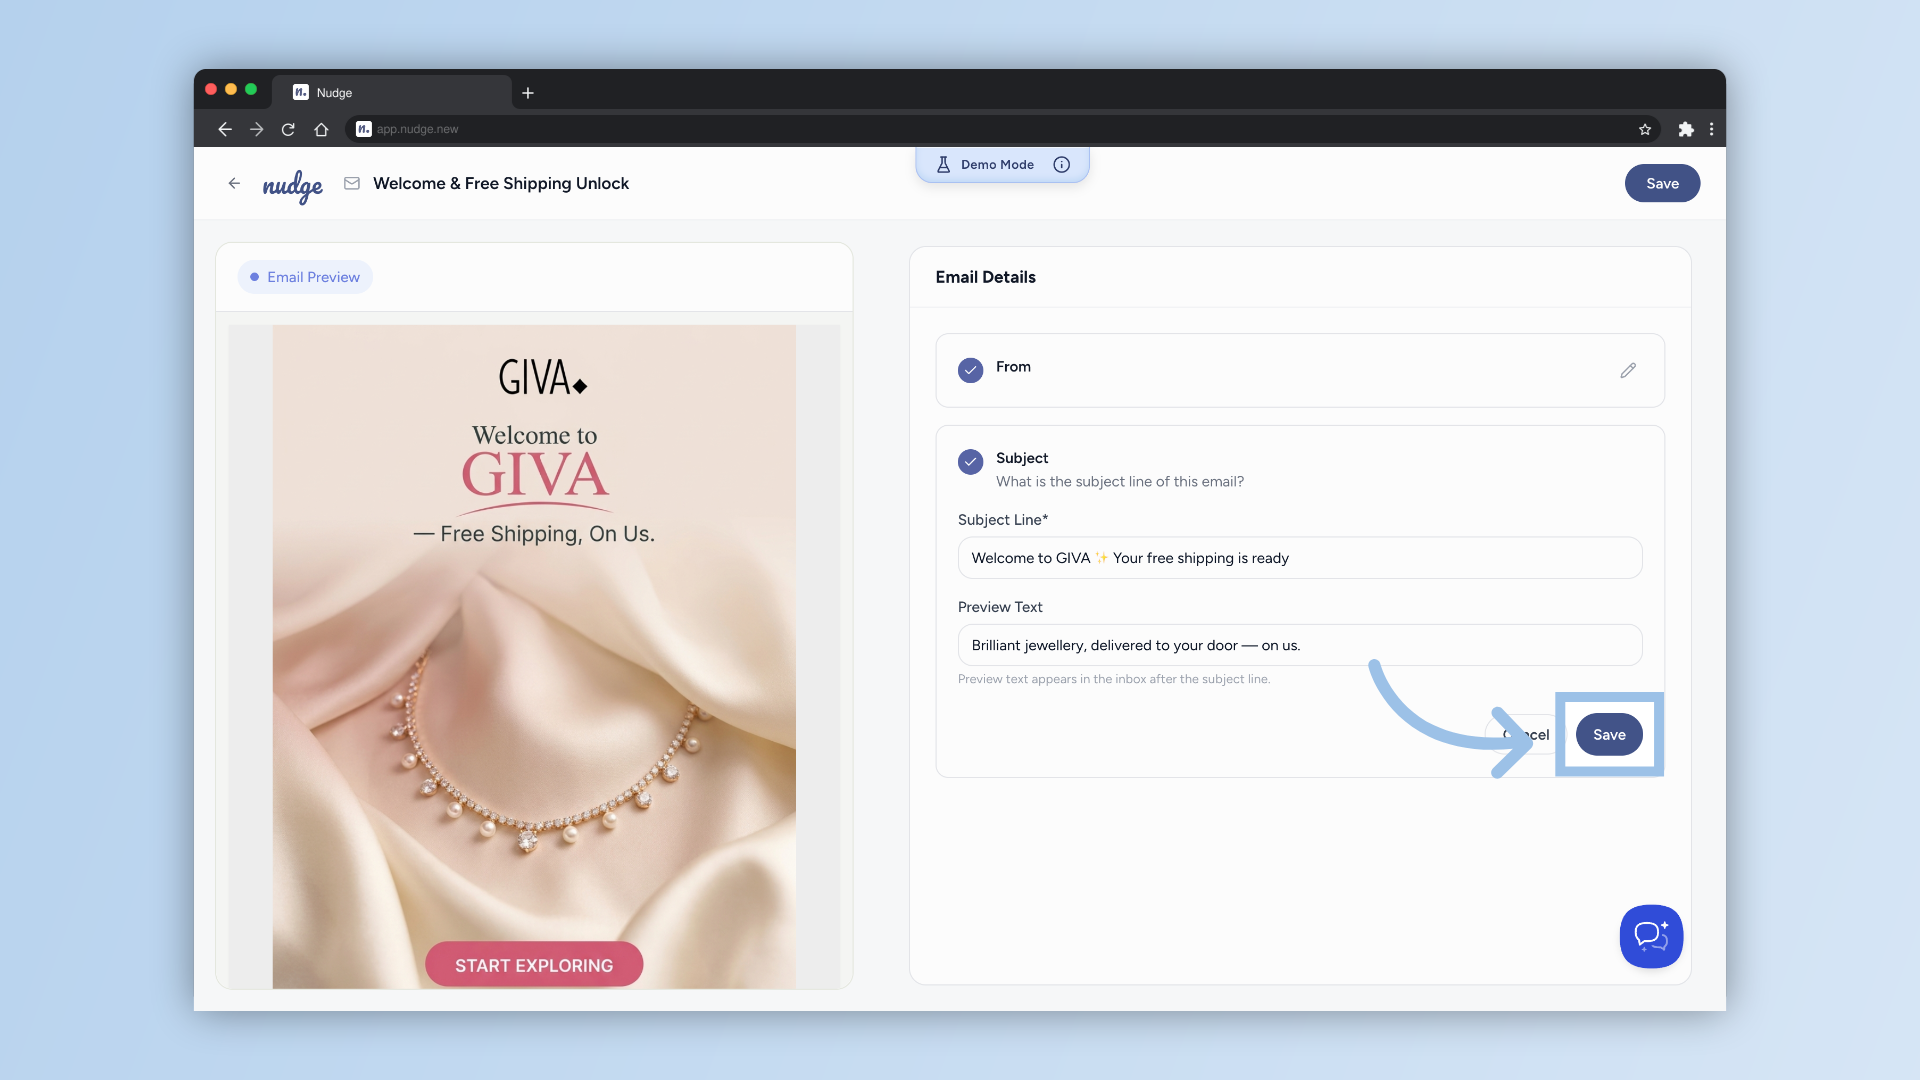
Click here to tweak the suggested subject line and preview text of your email.
Save Email Settings
Hit Save when you are done.
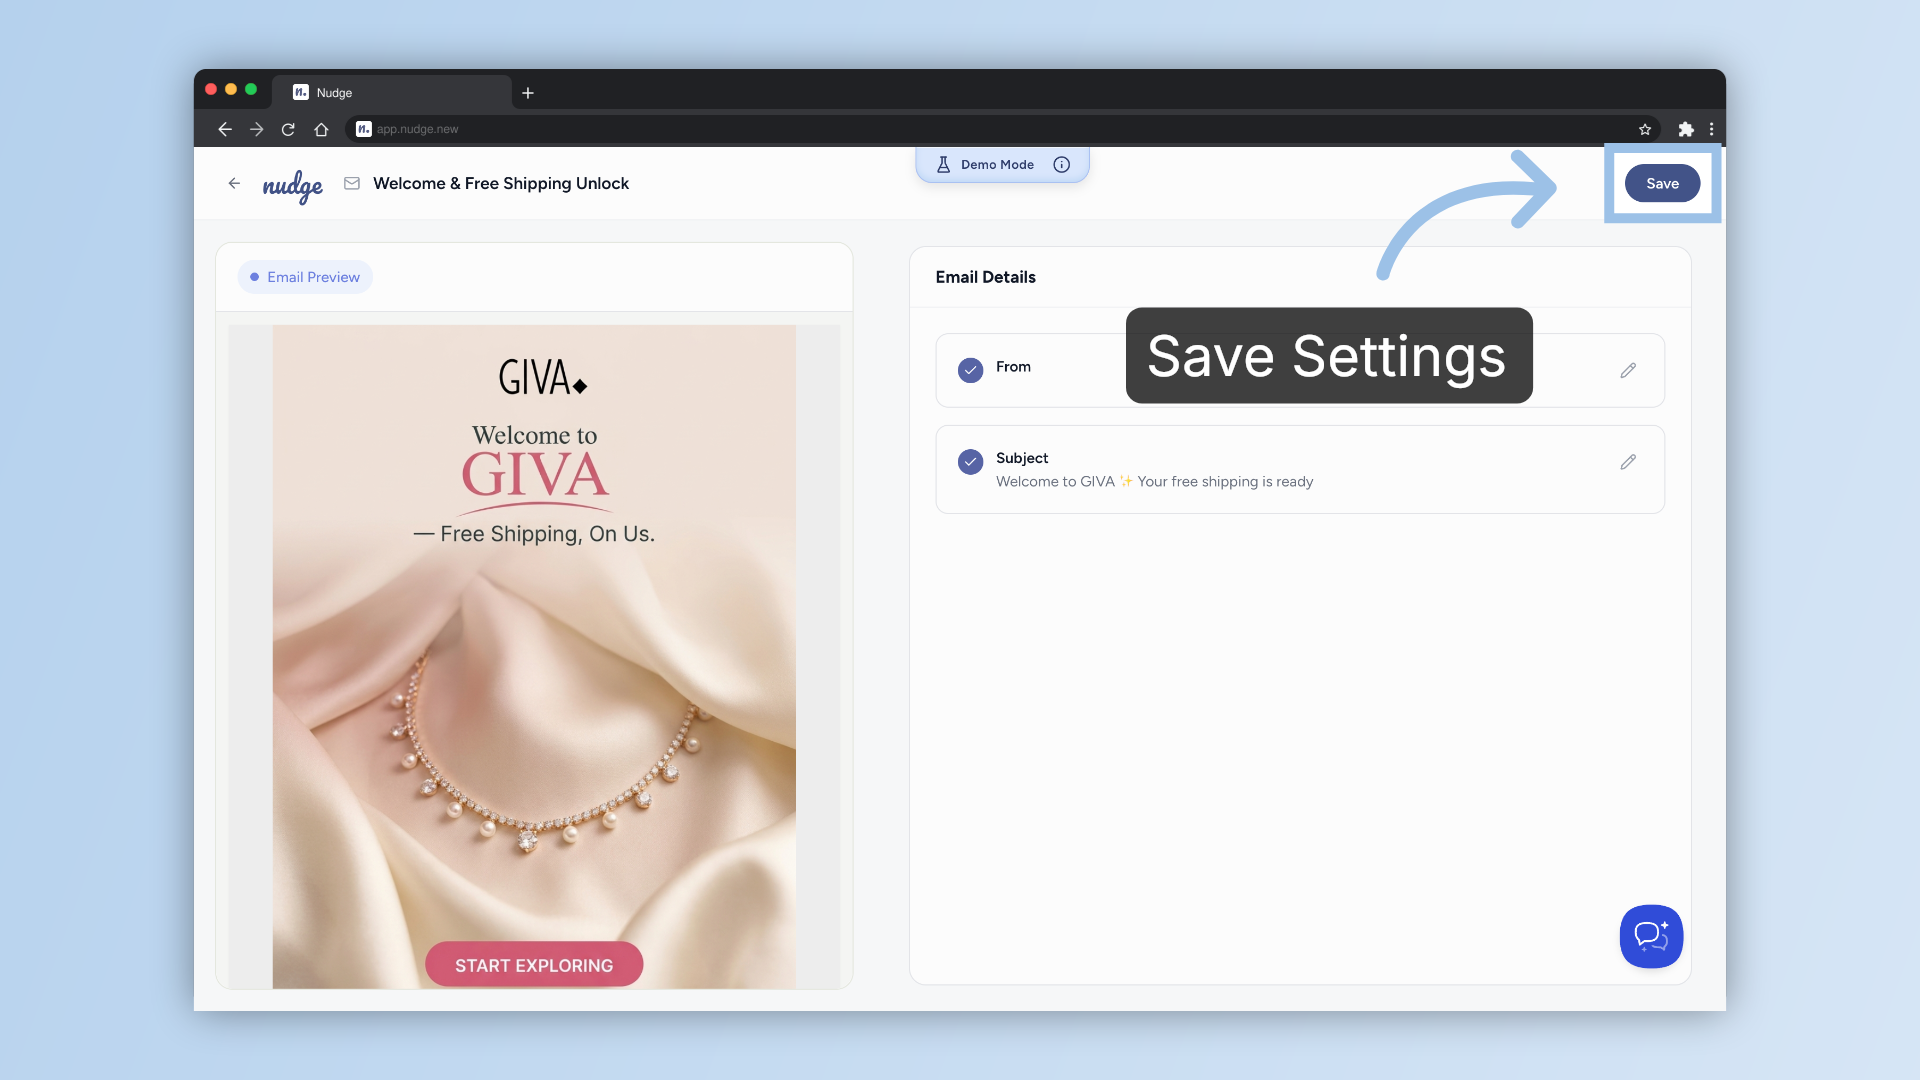
Confirm Email Configuration
Click Save again to confirm all email settings are applied.
Open Welcome Flow
Great start! You have just set up your first email of the automation. Go ahead and repeat the same steps for the remaining emails in your flow. Once they are all ready, hit Activate, and Nudge takes it from there.
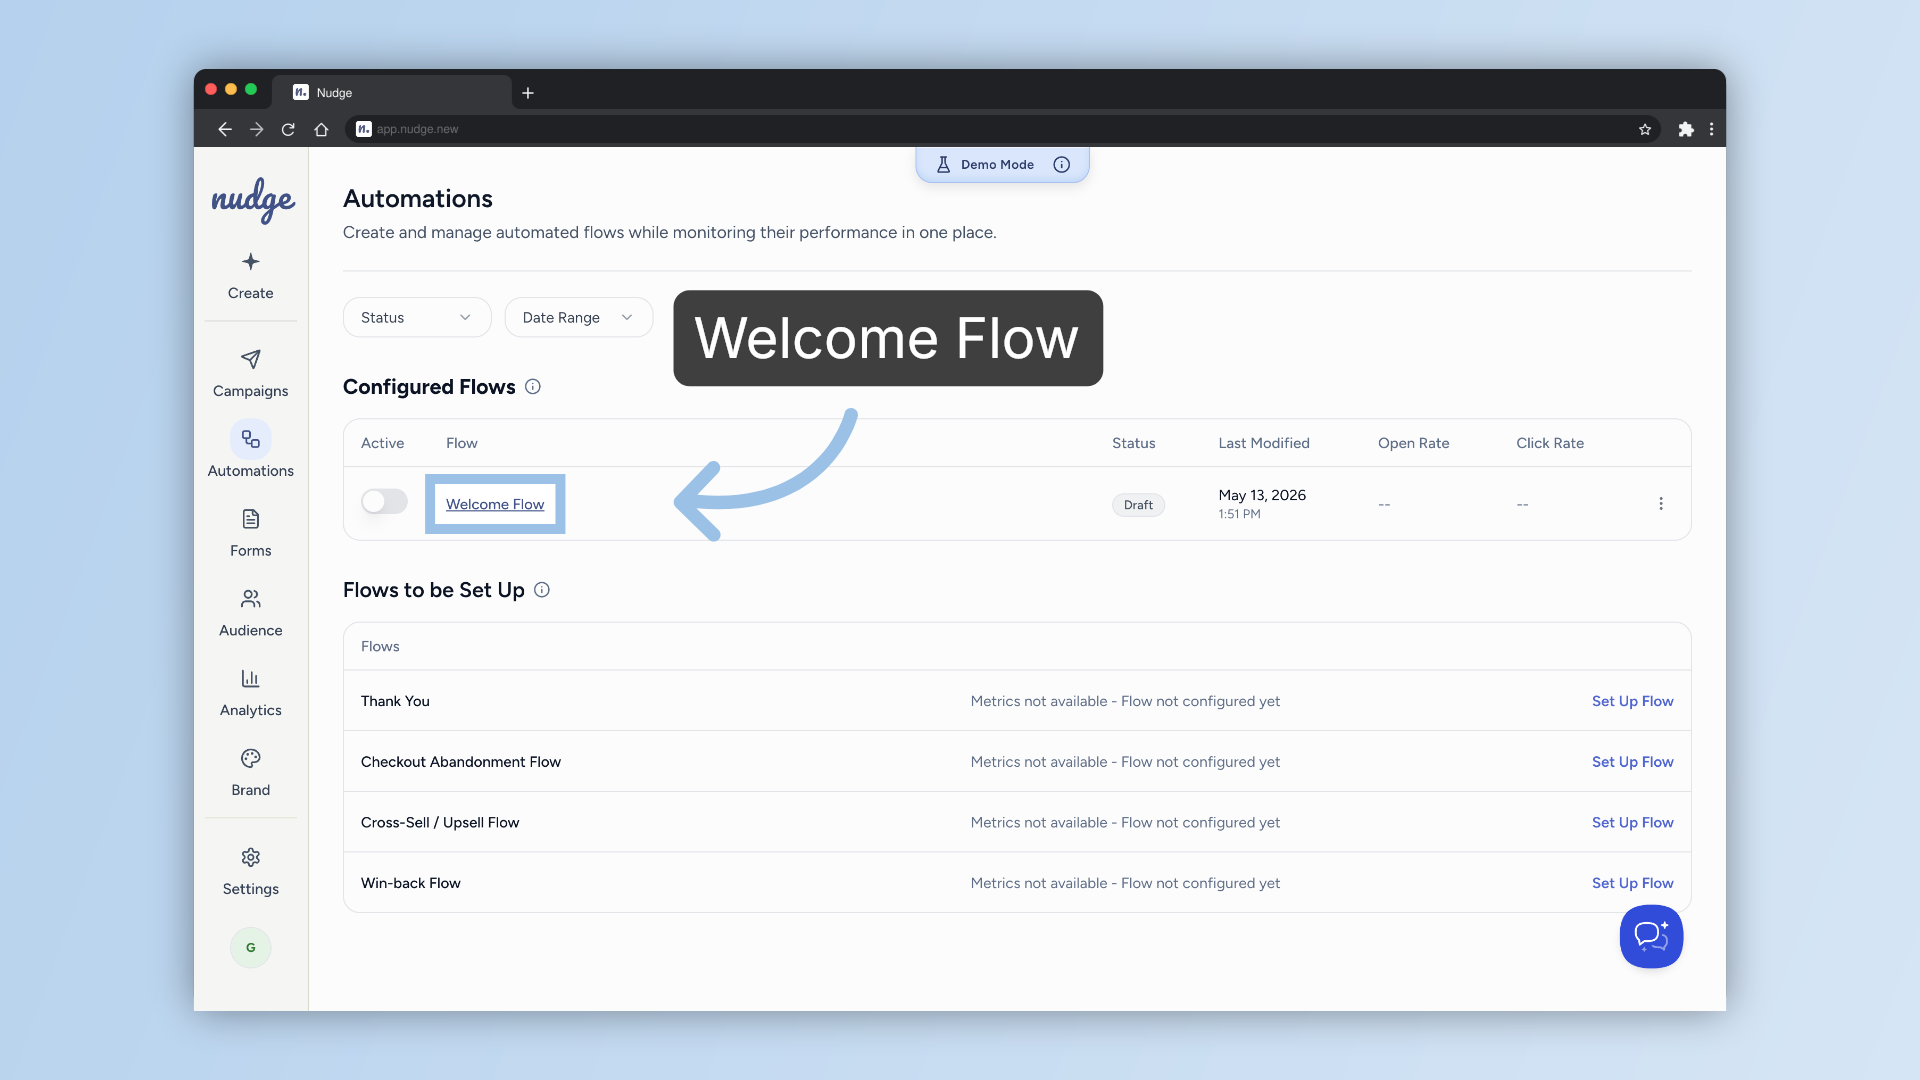
And that is it! Once all your emails are set up and turned active, your Welcome Flow will run in the background, engaging every new subscriber without you having to do a thing. Head back and repeat the process for your remaining emails, and when you are ready, explore the other flow types Nudge supports — checkout abandonment, win-back campaigns, and more. See you in the next one!